- SAP Fiori - Home
- SAP Fiori - Introduction
- SAP Fiori - Architecture
- SAP Fiori - NetWeaver Gateway
- SAP Fiori - Installation
- SAP Fiori - Launchpad
- SAP Fiori - OData Services
- SAP Fiori - Transactional Apps
- SAP Fiori - Fact Sheets
- SAP Fiori - Analytical Apps
- SAP Fiori - Theme Designer
- SAP Fiori - Security
- SAP Fiori - Data Flow
- SAP Fiori - WorkFlow
- SAP Fiori - Extension
- SAP Fiori - UI5 Concepts
- SAP Fiori - UI5 Design Patterns
- SAP Fiori - Questions and Answers
- SAP Fiori - Quick Guide
- SAP Fiori - Useful Resources
- SAP Fiori - Discussion
SAP Fiori - Workflow
Work flow ensures that right work is brought in the right sequence at the right time to the right people. There are various SAP applications like ERP, SCM, HCM, etc. Therefore, when a document is created, changed or deleted, the application creates an event.
SAP Business workflow is used to capture these events and handle work items as per templates. Workflow engines delivers the work items to responsible persons inbox.
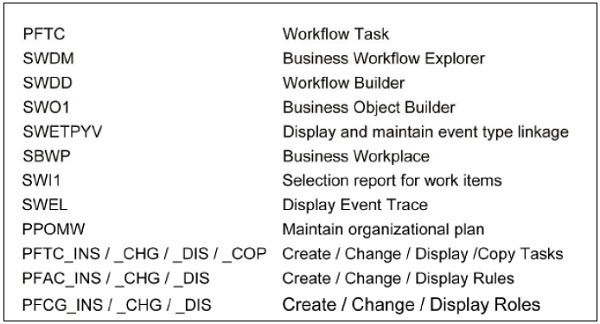
SAP Business Workflow T-Codes
Some important Business Workflow T-Codes are given below.
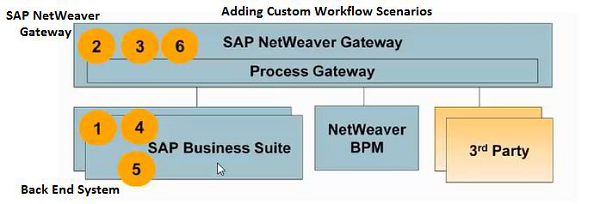
How to add custom Workflow scenarios?
To add custom workflow scenarios in Fiori, follow the steps given below in front-end and back-end system.
Step 1 − Get Workflow definitions.
Step 2 − Define the scenarios for workflow.
Step 3 − Add a tile to Fiori Launchpad.
Step 4 − Decision options definition.
Step 5 − BADI implementation for decision update.
Step 6 − Display Application data.
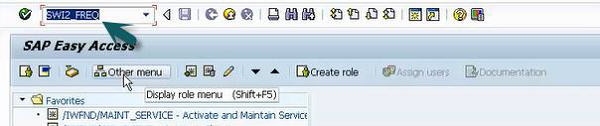
How to configure Work Flow in Fiori?
Step 1 − Login to back-end System.
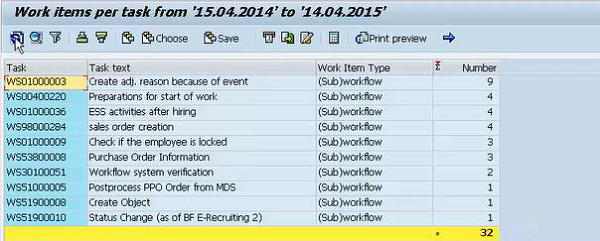
T-Code: SWI2_FREQ
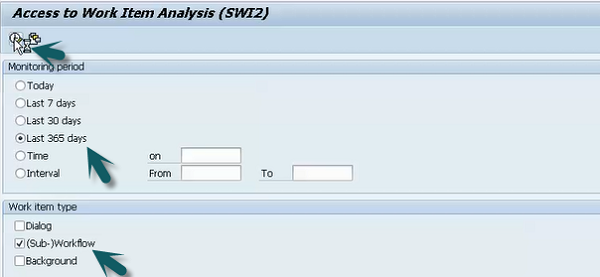
Step 2 − Enter Monitoring period and work item type and click Execute.
Step 3 − It will show all existing templates in the system.
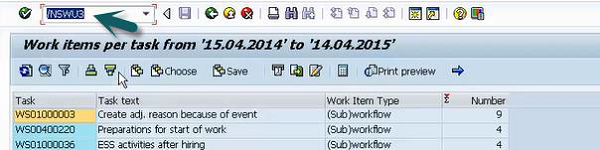
Step 4 − Now use Run T-code: /nswu3
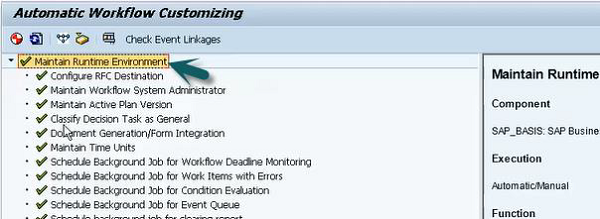
Step 5 − Expand Maintain run time environment to check if all the nodes are green.
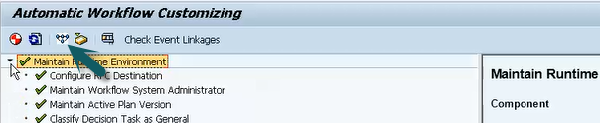
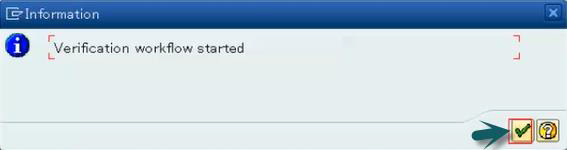
Step 6 − Click the start verification workflow option at the top.
Step 7 − Click the SAP Business Workflow button.

Step 8 − Click the Execute button. A new window will open.

Step 9 − Select Execute background step from the new window. Select document folder to get complete email notification of workflow.
