- Robot Framework - Home
- Robot Framework - Overview
- Environment Setup
- Unix and Linux Installation
- Introduction to Ride
- First Test Case Using Ride
- Writing and Executing Test Cases
- Keyword and Data Driven Test Cases
- Working With Browsers Using Selenium Library
- Working With Textbox
- Working With Radio Button
- Working With Checkbox
- Working With Dropdown
- Working With Keywords
- Working With Variables
- Working With Command Line
- Working With Setup And Teardown
- Working with Built-In Library
- Working With External Database libraries
- Testing Login Page Using Robot Framework
- Robot Framework Useful Resources
- Robot Framework - Quick Guide
- Robot Framework - Useful Resources
- Robot Framework - Discussion
Robot Framework - Introduction to Ride
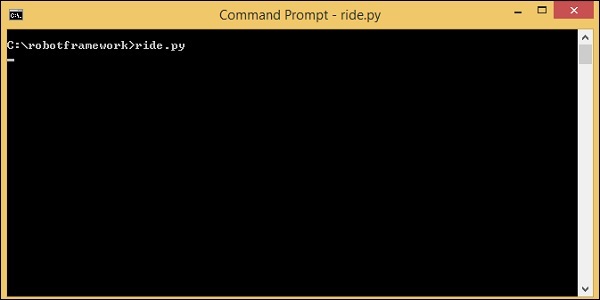
Ride is a testing editor for Robot Framework. Further, we will write test cases in Ride. To start Ride, we need to run the command shown below.
Command
ride.py
The above command will open the IDE as shown in the following screenshot −
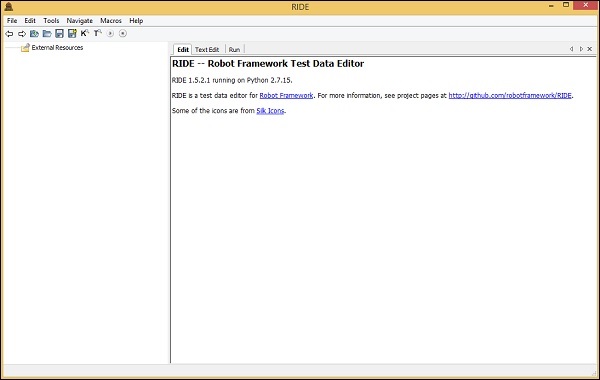
In this chapter, we will walk through the editor to see what options and features are available in the IDE. The options and features will help us in testing our project.
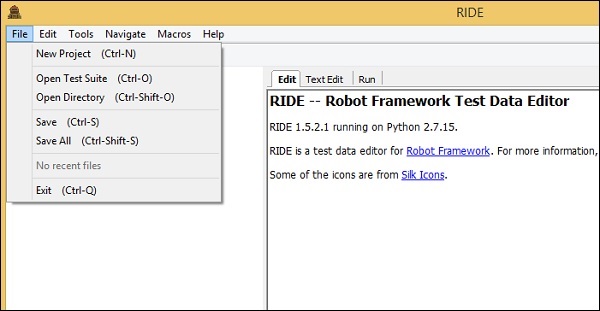
Create New Project
Go to File and click on New Project as shown below −
The following screen will appear when you click New Project.
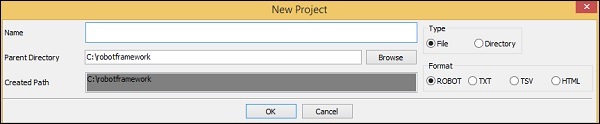
Enter the name of the project. Created Path is the path where the project will get saved. You can change the location if required. The project can be saved as File or directory. You can also save the project in format like ROBOT, TXT, TSV or HTML. In this tutorial, we are going to use the format ROBOT and how to write and execute test-cases.
Now, we will add a project as a file the way it is shown below. The project is named Testing and the following screen sppears after the project is created.
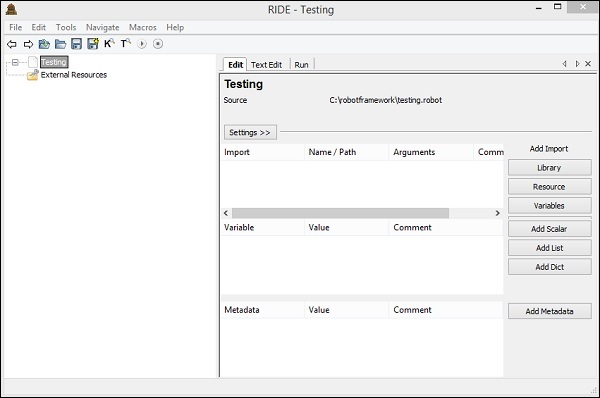
The name of the project is shown on the left side and on the right side we can see three tabs Edit, TextEdit and Run.
Edit has a lot of options on the UI as shown above. In this section, we can add data required to run our test cases. We can import Library, Resource, Variables, Add scalar, Add list, Add dict and Add Metadata.
The details added in the Edit section will be seen in the next tab, Text Edit. You can write the code here in text edit section.
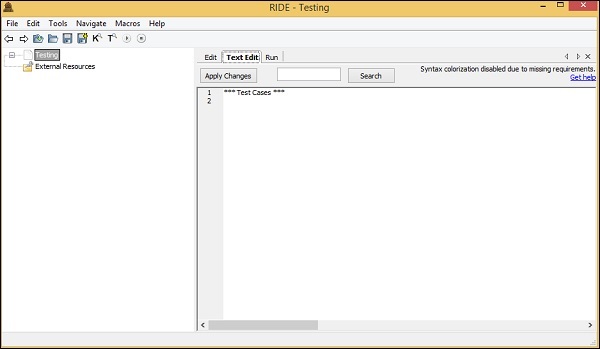
If there is any change added in Textedit, it will be seen in the Edit section. Therefore, both the tabs Edit and TextEdit are dependent on each other and the changes done will be seen on both.
Once the test cases are ready, we can we use the third tab Run to execute them.
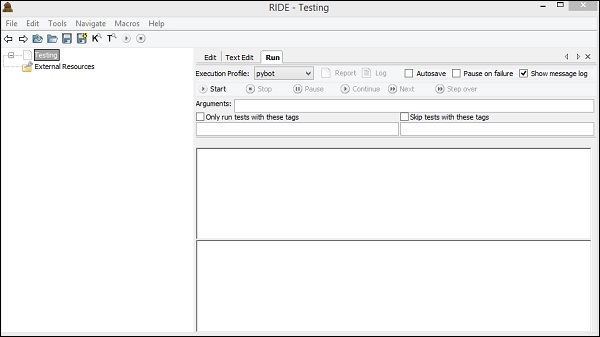
The Run UI is as shown above. It allows to run the test case and comes with options like start, stop, pause continue, next test case, step over, etc. You can also create Report, Log for the test cases you are executing.
To create a test case, we have to do the following −
Right-click on the project created and click on new test case as shown below −

Upon clicking New Test Case, a screen appears as shown below −

Enter the name of the test case and click OK. We have saved the test case as TC0. The following screen appears once the test case is saved.

The test case has options like Documentation, setup, teardown, tags, timeout and Template. They have an edit button across it; upon clicking the button a screen appears wherein, you can enter the details for each option. We will discuss the various parameters of these details in our subsequent chapters.
The test cases can be written in tabular format as shown below. Robot framework test cases are keyword based and we can write the test-cases using built-in keywords or keywords imported from the library. We can also create user-defined keywords, variables, etc. in robot framework.
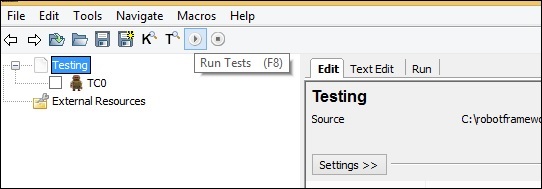
There are shortcuts available in the navigation bar to run/stop test case as shown below −
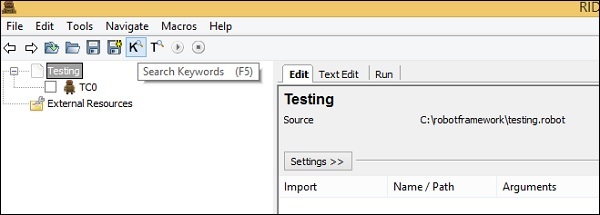
The search keyword option can be used as shown in the screenshot below −
To get the list of keywords available with robot framework, simple press ctrl+space in the tabular format as shown below and it will display all the keywords available −
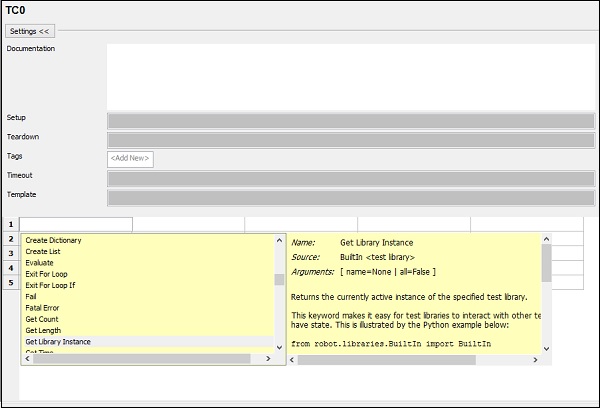
In case, you cannot remember the keyword, this will help you get the details. We have the details available across each keyword. The details also show how to use the related keyword. In our next chapter, we will learn how to create our first test case in ride.
Conclusion
In this chapter, we have seen the features available with RIDE. We also learnt how to create test cases and execute them.
