- Postman - Home
- Postman - Introduction
- Postman - Environment Setup
- Postman - Environment Variables
- Postman - Authorization
- Postman - Workflows
- Postman - GET Requests
- Postman - POST Requests
- Postman - PUT Requests
- Postman - DELETE Requests
- Postman - Create Tests for CRUD
- Postman - Create Collections
- Postman - Parameterize Requests
- Postman - Collection Runner
- Postman - Assertion
- Postman - Mock Server
- Postman - Cookies
- Postman - Sessions
- Postman - Newman Overview
- Postman - Run Collections using Newman
- Postman - OAuth 2.0 Authorization
- Postman Useful Resources
- Postman - Quick Guide
- Postman - Useful Resources
- Postman - Discussion
Postman - Authorization
In Postman, authorization is done to verify the eligibility of a user to access a resource in the server. There could be multiple APIs in a project, but their access can be restricted only for certain authorized users.
The process of authorization is applied for the APIs which are required to be secured. This authorization is done for identification and to verify, if the user is entitled to access a server resource.
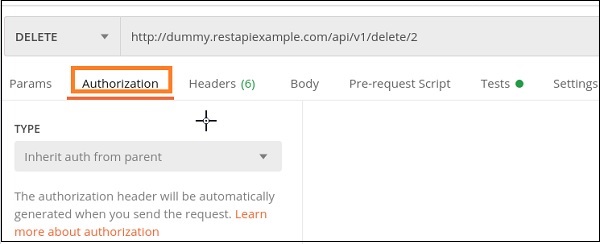
This is done within the Authorization tab in Postman, as shown below −
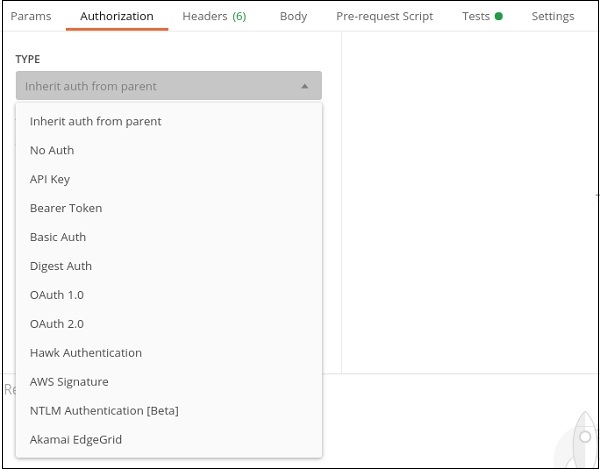
In the TYPE dropdown, there are various types of Authorization options, which are as shown below −
Let us now create a POST request with the APIs from GitHub Developer having an endpoint https://www.api.github.com/user/repos. In the Postman, click the Body tab and select the option raw and then choose the JSON format.
Add the below request body −
{
	"name" : "Tutorialspoint"
}
Then, click on Send.
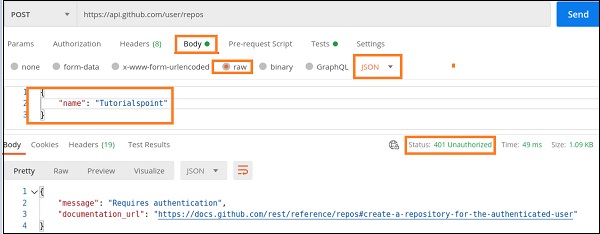
The Response code obtained is 401 Unauthorized. This means, we need to pass authorization to use this resource. To authorize, select any option from the TYPE dropdown within the Authorization tab.
Types of Authorization
Let us discuss some of the important authorization types namely Bearer Token and Basic Authentication.
Bearer Token
For Bearer Token Authorization, we have to choose the option Bearer Token from the TYPE dropdown. After this, the Token field gets displayed which needs to be provided in order to complete the Authorization.
Step 1 − To get the Token for the GitHub API, first login to the GitHub account by clicking on the link given herewith − https://github.com/login .
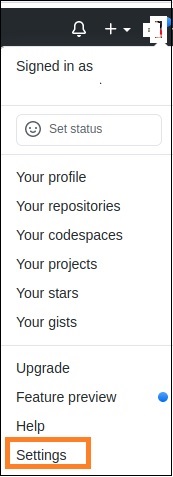
Step 2 − After logging in, click on the upper right corner of the screen and select the Settings option.
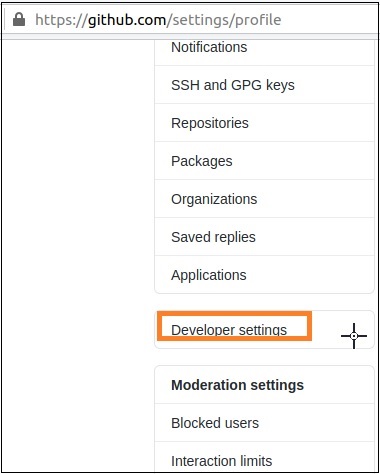
Now, select the option Developer settings.
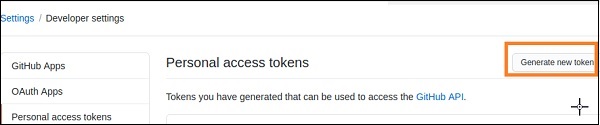
Next, click on Personal access tokens.

Now, click on the Generate new token button.
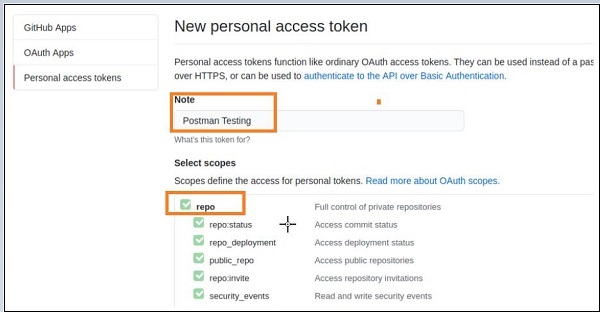
Provide a Note and select option repo. Then, click on Generate Token at the bottom of the page.
Finally, a Token gets generated.
Copy the Token and paste it within the Token field under the Authorization tab in Postman. Then, click on Send.
Please note − Here, the Token is unique to a particular GitHub account and should not be shared.
Response
The Response code is 201 Created which means that the request is successful.

Basic Authentication
For Basic Authentication Authorization, we have to choose the option Basic Auth from the TYPE dropdown, so that the Username and Password fields get displayed.
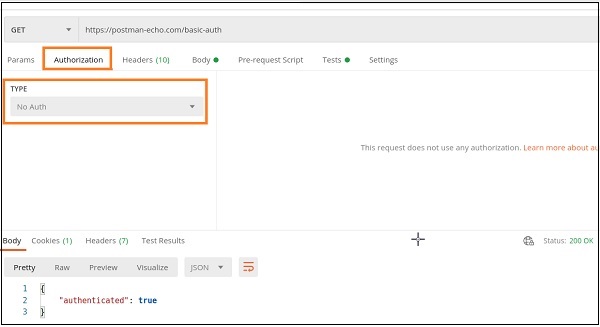
First we shall send a GET request for an endpoint (https://postman-echo.com/basic-auth) with the option No Auth selected from the TYPE dropdown.
Please note − The username for the above endpoint is postman and password is password.
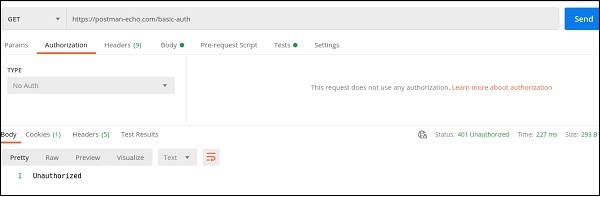
The Response Code obtained is 401 Unauthorized. This means that Authorization did not pass for this API.
Now, let us select the option Basic Auth as the Authorization type, following which the Username and Password fields get displayed.
Enter the postman for the Username and password for the Password field. Then, click on Send.
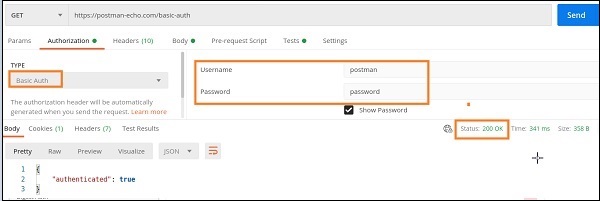
The Response code obtained is now 200 OK, which means that our request has been sent successfully.
No Auth
We can also carry out Basic Authentication using the request Header. First, we have to choose the option as No Auth from the Authorization tab. Then in the Headers tab, we have to add a key − value pair.
We shall have the key as Authorization and the value is the username and password of the user in the format as basic < encoded credential >.
The endpoint used in our example is − https://postman-echo.com/basic-auth. To encode the username and password, we shall take the help of the third party application having the URL − https://www.base64encode.org
Please note − The username for our endpoint here is postman and password is password. Enter postman − password in the edit box and click on Encode. The encoded value gets populated at the bottom.
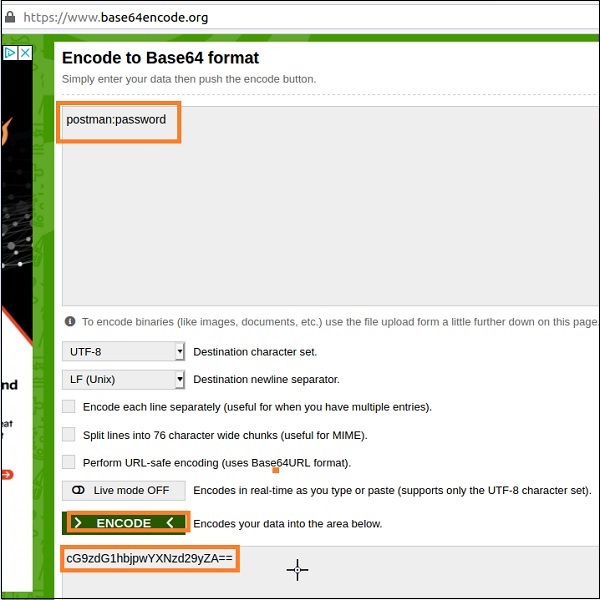
We shall add the encoded Username and Password received as cG9zdG1hbjpwYXNzd29yZA== in the Header in the format -basic cG9zdG1hbjpwYXNzd29yZA ==. Then, click on Send.
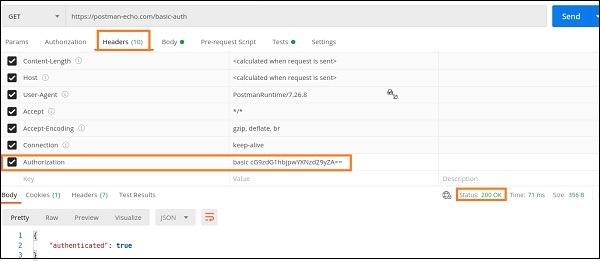
No Auth selected from the TYPE dropdown.
The Response code obtained is 200 OK, which means that our request has been sent successfully.
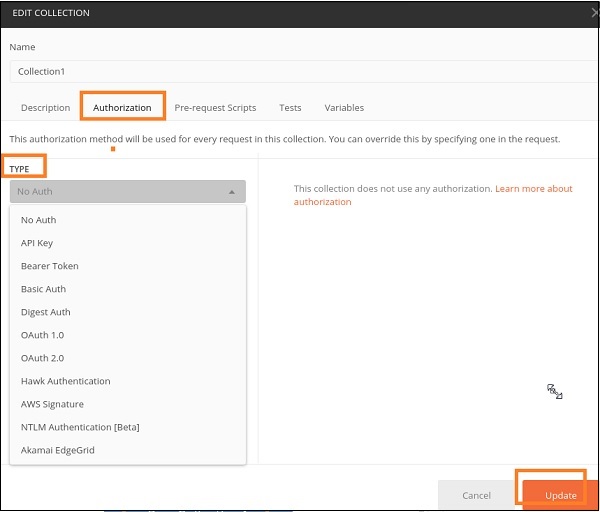
Authorization at Collections
To add Authorization for a Collection, following the steps given below −
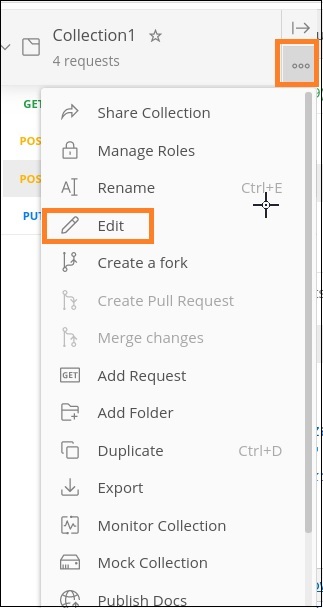
Step 1 − Click on the three dots beside the Collection name in Postman and select the option Edit.
Step 2 − The EDIT COLLECTION pop-up comes up. Move to the Authorization tab and then select any option from the TYPE dropdown. Click on Update.