
Article Categories
- All Categories
-
 Data Structure
-
 Networking
-
 RDBMS
RDBMS
-
 Operating System
-
 Java
Java
-
 MS Excel
-
 iOS
iOS
-
 HTML
HTML
-
 CSS
CSS
-
 Android
-
 Python
-
 C Programming
-
 C++
C++
-
 C#
C#
-
 MongoDB
-
 MySQL
MySQL
-
 Javascript
-
 PHP
PHP
-
 Economics & Finance
How to Download & Install Selenium WebDriver?
We can download and install Selenium webdriver. This can be done with the following steps −
- Installation of Java JDK.
- Eclipse IDE installation.
- Installation of Selenium driver files.
Installation of Java JDK
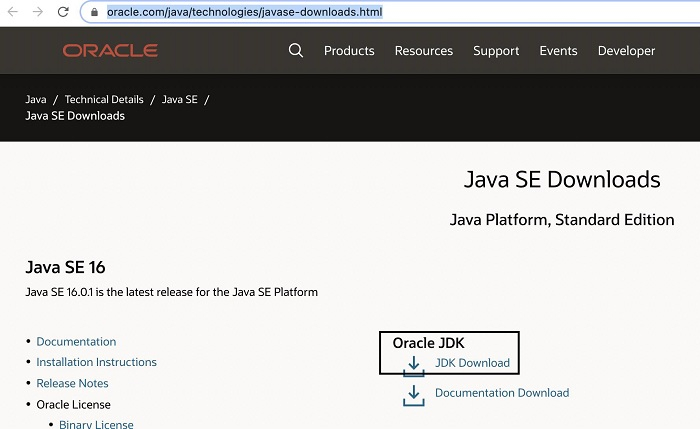
Step1 − Navigate to the below link −
https://www.oracle.com/java/technologies/javase-downloads.html
Step2 − Click on JDK Download.
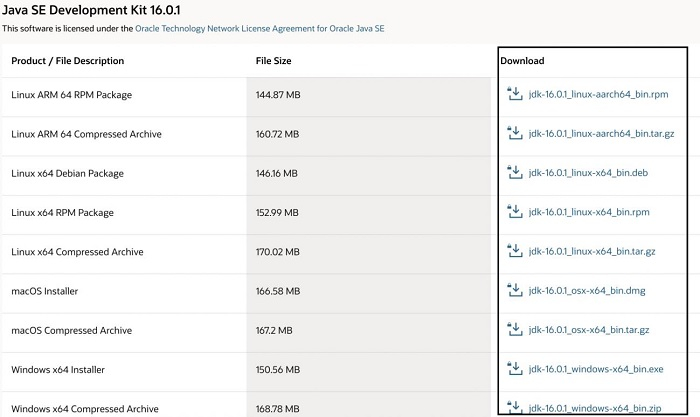
Step3 − Depending on operating system we have, click on the link and complete the download −
Step4 − Launch the Advanced System settings.
Step5 − Click on the Environmental Variables button.
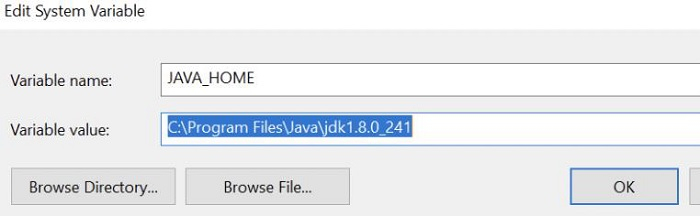
Step6 − In the System Variables section, click on New and then type JAVA_HOME under the Variable name field and the path of the jdk in the Variable value field.
Step7 − Scroll down to the Path field within the System Variables section. Then click on Edit and type the below path of the Java bin folder. Finally, save the changes.

Step8 − To verify if Java has been successfully installed and configured, we can execute the command java -version from the terminal.
Eclipse IDE installation
Step1 − Navigate to the below link −
https://www.eclipse.org/downloads/
Step2 − Click on the Download button.

Step3 − An executable file gets downloaded.
Step4 − Double-click on the downloaded executable file. Then click on the option Eclipse IDE for Java Developers in the new window.
Step5 − Provide the Installation Folder path and then click on the Install button from the new window.
Step6 − The new window shall now open the Eclipse welcome screen.

Installation of Selenium driver files
Step1 − Navigate to the below link −
https://www.selenium.dev/downloads/
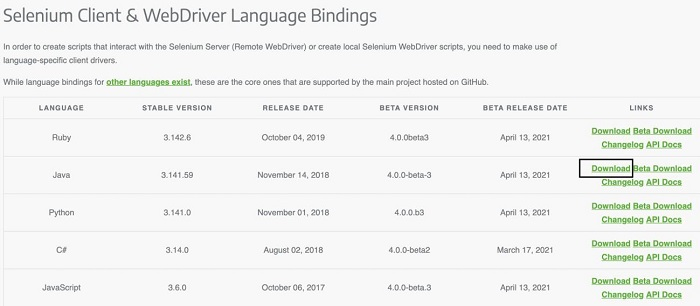
Step2 − Scroll down to the Selenium Client & WebDriver Language Bindings section and click on the Download link for Java.
Step3 − After the download is completed, a zip file gets created in our system. We have to extract this file and then later import the JARs to Eclipse.
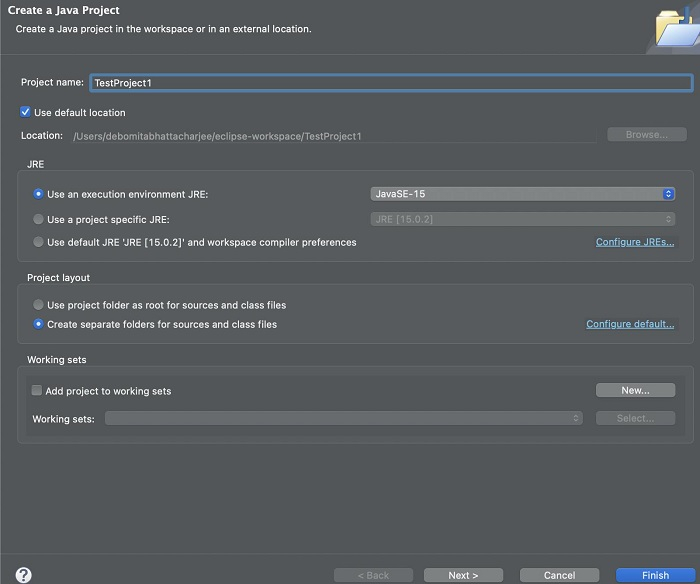
Step4 − Open Eclipse, click on File-> New-> Java Project.

Step4 − Give a project name and click on Finish.
Step5 − Right-click on the newly created project and then click New-> Package. Input a Package name and click on Finish.
Step6 − Right-click on the newly created package and then click on New -> Class. Provide a class name and click on Finish.
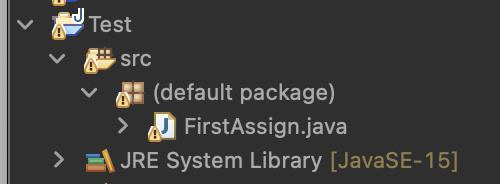
Step7 − The project structure should be −
Step8 − Right-click on the Java Project then click on Properties.
Step9 − Click on Java Build Path in the Properties window.
Step10 − Move to the Libraries tab. Then click on Add External JARs. Browse and add all the JARs inside and outside the libs folder.
Step11 − The below image shows the list of JARs to be added to configure Selenium Driver files. Click on Apply and Close.

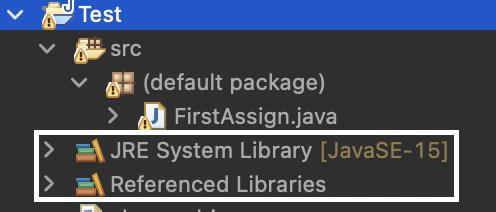
Step12 − Package Explorer shall show all the JARs added to the Project.
Step13 − Navigate to the below link −
https://www.selenium.dev/downloads/www.microsoft.com/en-in/download/
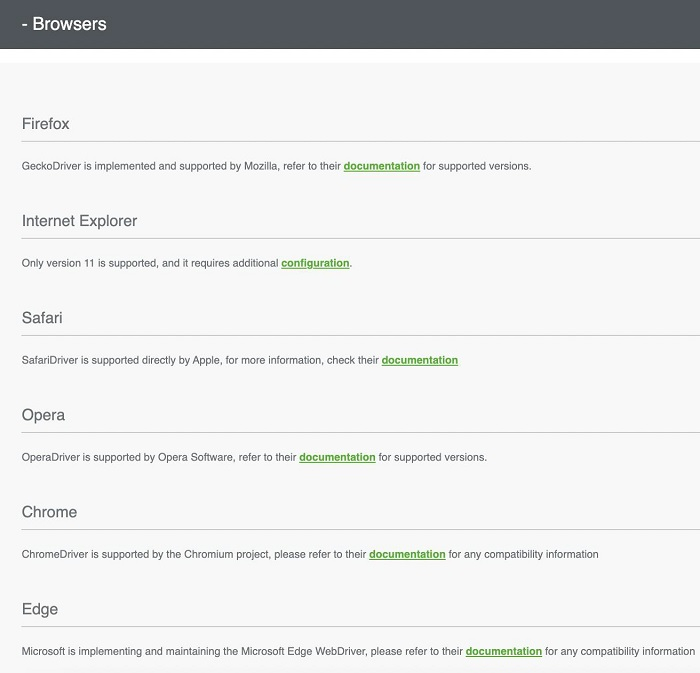
Step14 − Scroll down to the Browser section and to download the browser drivers for different browsers.

4K+ Views
