 Data Structure
 Networking
 RDBMS
RDBMS Operating System
 Java
Java MS Excel
 iOS
iOS HTML
HTML CSS
CSS Android
 Python
 C Programming
 C++
C++ C#
C# MongoDB
 MySQL
MySQL Javascript
 PHP
PHP
- Selected Reading
- UPSC IAS Exams Notes
- Developer's Best Practices
- Questions and Answers
- Effective Resume Writing
- HR Interview Questions
- Computer Glossary
- Who is Who
How to create a Switch in ReactJS?
ReactJS is a popular JavaScript library for building user interfaces, and it provides an effective approach to developing interactive components. Toggle switches are frequently used to allow users to switch between a dark mode and a light mode theme in a web application. Toggle switches can also be used to show or hide specific content or sections of a page. In this article, we will explore how to create a toggle switch using ReactJS.
Prerequisites
Before proceeding with this tutorial, it is assumed that you have a basic understanding of ReactJS and have a development environment set up with Node.js and npm installed.
Setting Up the React App and installing required libraries
To begin, let's create a new React application using Create React App. Open your command prompt and run the following command:
npx create-react-app toggle-slider-switch
This command will create a new directory called toggle-slider-switch and set up a basic React application inside it. To Navigate to the project directory write the following command.
cd toggle-slider-switch
Step 2: Creating the ToggleSlider Component
In the src directory of your project, create a new file called ToggleSlider.js. This file will contain our toggle slider component code. Open the ToggleSlider.js file in your preferred text editor and add the following code:
Example
In the code below, we import the useState hook from React, which allows us to handle state in functional components. We define a ToggleSlider component that maintains the state of the switch using the checked variable. The handleToggle function is responsible for updating the state when the switch is clicked.
import React, { useState } from 'react';
import './ToggleSlider.css';

const ToggleSlider = () => {
  const [checked, setChecked] = useState(false);

  const handleToggle = () => {
    setChecked(!checked);
  };

  return (
    <div className="toggle-slider">
      <input
        type="checkbox"
        id="toggle"
        checked={checked}
        onChange={handleToggle}
      />
      <label htmlFor="toggle" className="slider" />
    </div>
  );
};

export default ToggleSlider;
Step 3: Styling the Toggle Slider
Create a new file called ToggleSlider.css in the same directory (src). Add the following CSS code to style our toggle slider:
Example
In the code below, CSS code styles the toggle slider, including the switch and its slider handle. The input[type='checkbox'] is hidden, and we use labels to trigger the toggle effect.
.toggle-slider {
  position: relative;
  width: 60px;
  height: 34px;
}

.slider {
  position: absolute;
  top: 0;
  left: 0;
  right: 0;
  bottom: 0;
  background-color: #ccc;
  border-radius: 34px;
  cursor: pointer;
  transition: 0.4s;
}

.slider:before {
  position: absolute;
  content: '';
  height: 26px;
  width: 26px;
  left: 4px;
  bottom: 4px;
  background-color: white;
  border-radius: 50%;
  transition: 0.4s;
}

input[type='checkbox'] {
  display: none;
}

input[type='checkbox']:checked + .slider {
  background-color: #2196f3;
}

input[type='checkbox']:checked + .slider:before {
  transform: translateX(26px);
}
Step 4: Implementing the ToggleSlider Component
Next, let's modify the App.js file in the src directory to include our ToggleSlider component. Open the App.js file and update its contents with the following code
Example
In the code below, we import the ToggleSlider component and render it within the App component. This will display our toggle slider on the screen.
import React from 'react';
import ToggleSlider from './ToggleSlider';

const App = () => {
  return (
    <div className="app">
      <h1>Toggle Slider Example
      <ToggleSlider />
    </div>
  );
};

export default App;
Step 5: Running the React App
Now, we can run our toggle switch app. In your command prompt, ensure you are in the project's root directory (toggle?slider?switch). Run the following command to start the React development server:
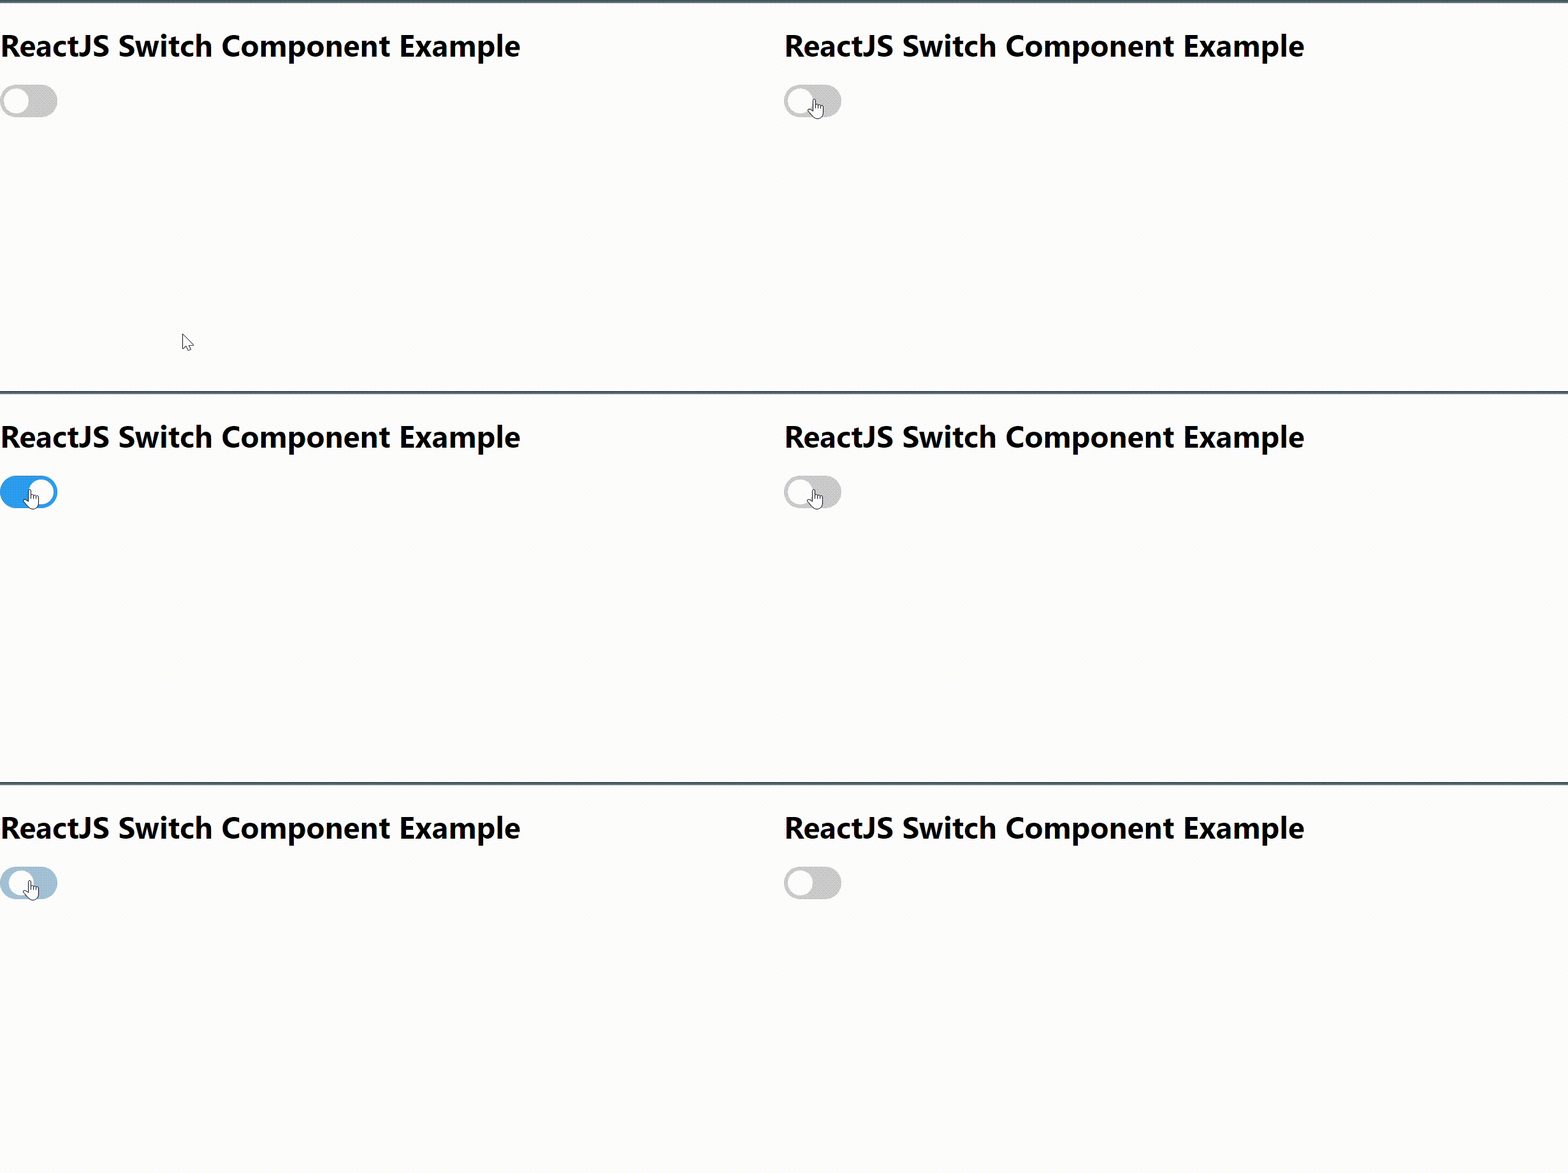
After the compilation process, your default browser will open, and you should see the heading "Toggle Slider Example" along with the toggle slider on the screen.
npm start
Step 6: Testing the Toggle Slider
Clicking the toggle slider will switch its state and change its appearance. The initial state is set to "false" in the ToggleSlider component, so when you click the slider, it will turn blue, indicating the "true" state. Click it again, and it will return to the initial state.
Output
Conclusion
In this article, we discussed how we can create a switch in Reactjs. We covered the step?by?step process, including setting up a React app, creating a toggle slider component, styling the slider, implementing the component, and running the app. By following this guide, you should now have a functional toggle slider switch in your ReactJS application, ready for further customization and integration into your projects.


