
Article Categories
- All Categories
-
 Data Structure
-
 Networking
-
 RDBMS
RDBMS
-
 Operating System
-
 Java
Java
-
 MS Excel
-
 iOS
iOS
-
 HTML
HTML
-
 CSS
CSS
-
 Android
-
 Python
-
 C Programming
-
 C++
C++
-
 C#
C#
-
 MongoDB
-
 MySQL
MySQL
-
 Javascript
-
 PHP
PHP
-
 Economics & Finance
How to Convert One Cell to Multiple Cells/Rows in Excel?
Have you faced a problem where all the data is present in a single cell and you are unable to perform any operations and need to divide the data into multiple cells? If you try to divide the data manually, then it can be a time-consuming process. Instead, you can use a simple trick mentioned in this tutorial to save time and get more accurate results. Read this tutorial to learn how you can convert one cell to multiple cells or rows in Excel.
Converting One Cell to Multiple Cells/Rows in Excel
Here, we will first use the Text to Column operation and then use the transpose while pasting the data. Let's look at a simple procedure for converting one cell to multiple cells or rows in Excel. We can complete this process directly in Excel by following some simple steps.
Step 1
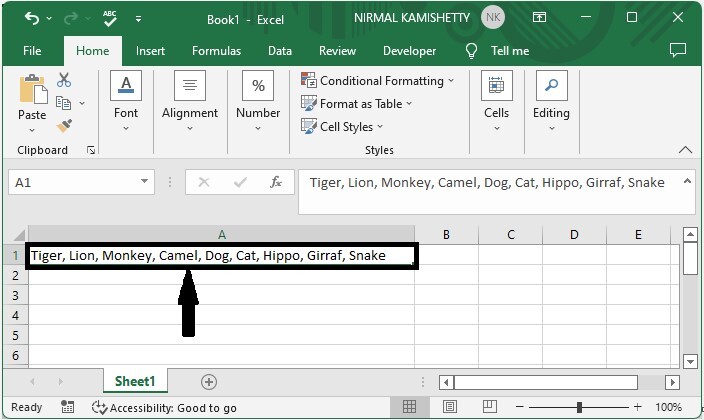
Consider an Excel sheet containing data that is similar to the data shown in the image below.
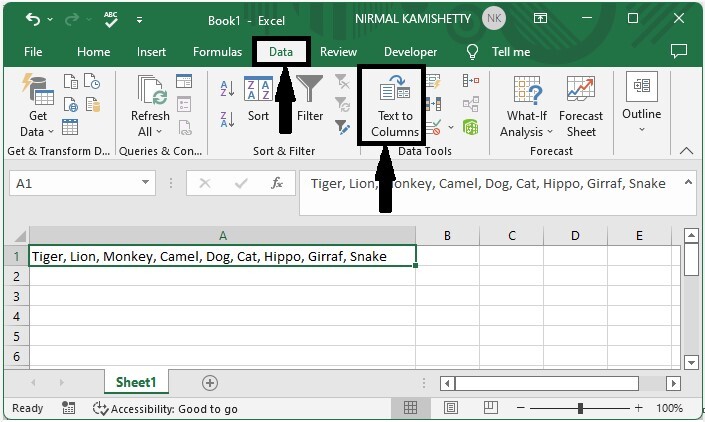
Now select the data, then click on data and select text for columns.
Select data > Data > Text to columns
Step 2
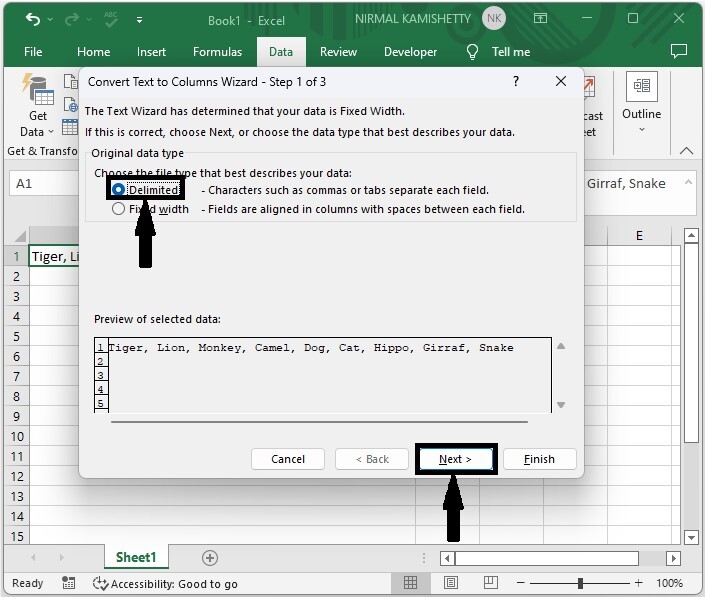
Then select the delimited list and click next.
Delimited > Next
Step 3
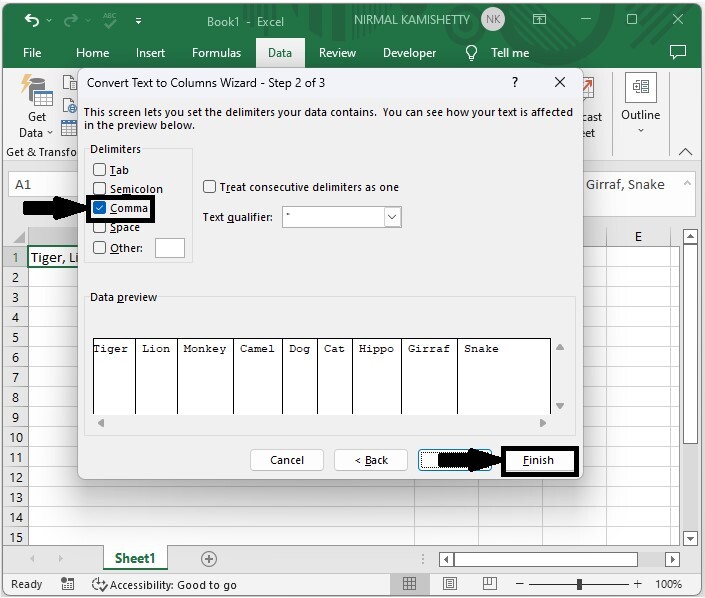
Deselect all of the check boxes and choose comma before clicking Finish.
Deselect > Comma > Finish
Step 4
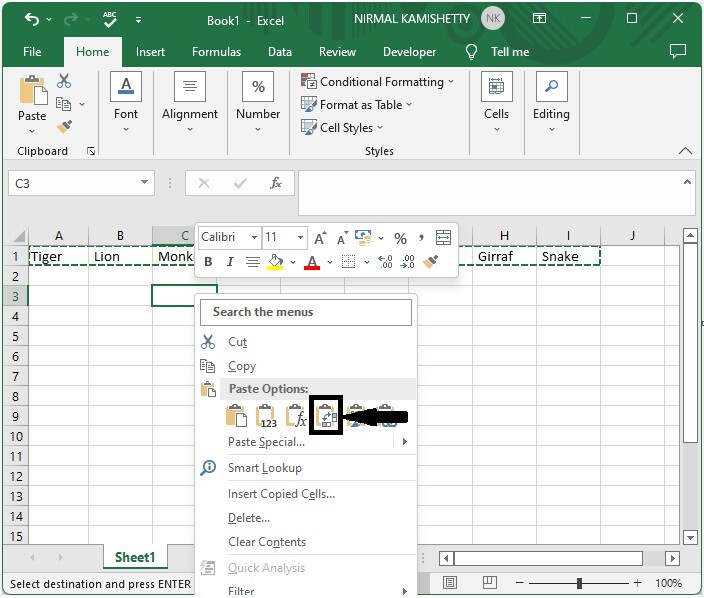
Then select the values and use the command CTRL + C to copy the values, click on an empty cell, then right-click and select Transpose Paste as shown in the below image.
Select data > CTRL + C > Empty cell > Right click > Paste
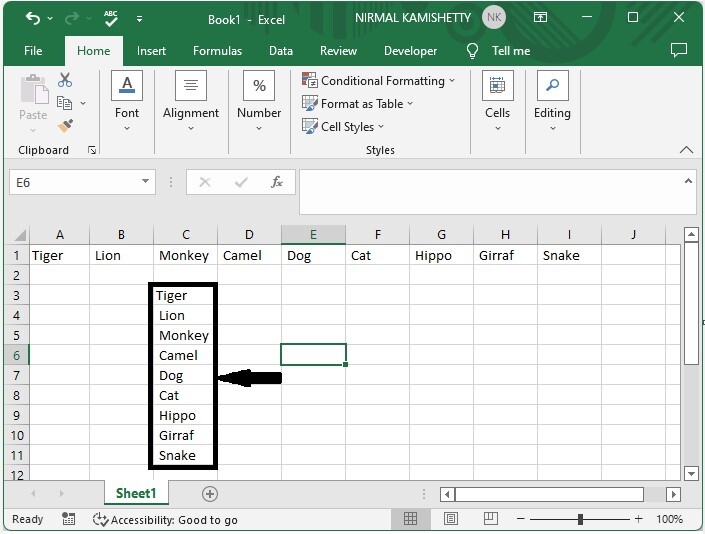
Our final result will be similar to the image shown below.
Conclusion
In this tutorial, we used a simple example to demonstrate how you can convert one cell to multiple cells in Excel.

19K+ Views
