
Article Categories
- All Categories
-
 Data Structure
-
 Networking
-
 RDBMS
RDBMS
-
 Operating System
-
 Java
Java
-
 MS Excel
-
 iOS
iOS
-
 HTML
HTML
-
 CSS
CSS
-
 Android
-
 Python
-
 C Programming
-
 C++
C++
-
 C#
C#
-
 MongoDB
-
 MySQL
MySQL
-
 Javascript
-
 PHP
PHP
-
 Economics & Finance
How to add the JDBC MySQL driver to an Eclipse project?
To add the JDBC MySQL driver to an Eclipse project, you need to follow the below steps.
The first step is as follows:
Step1: Create a dynamic web project with some name in Eclipse.
Step2: After pressing the Dynamic Web Project, a new window will open. Now give the project name. The screenshot is as follows:

After clicking the Finish button, you will get a project structure. The screenshot is as follows:
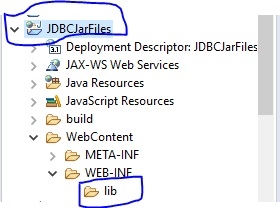
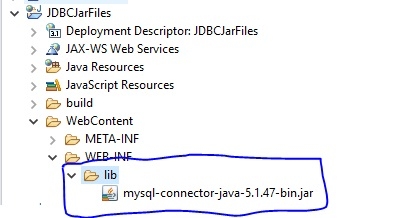
Therefore, I have a project name JDBCJarFiles and in WEB-INF, there is a lib folder. You can add JDBC jar files in lib folder. Now, paste the jar files here. The screenshot is as follows:
Now create a Java class to test if it connects to the database or not. First create a class and give class name and click the finish button. The following is the screenshot:
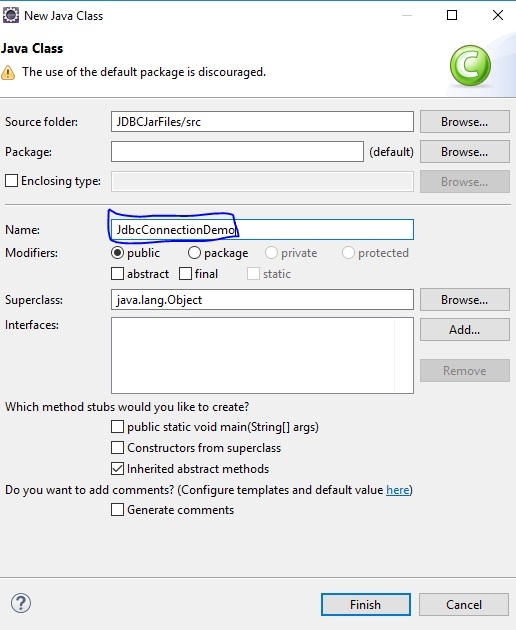
After clicking the finish button, you will get a window like this.

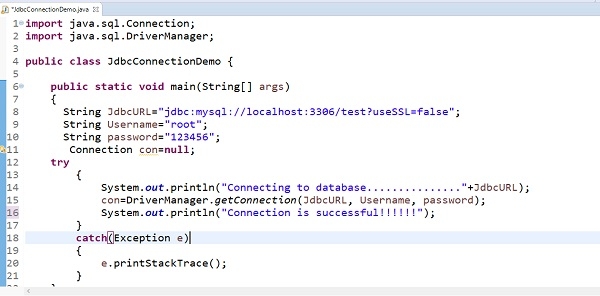
After that write the following code to test the Database connection. Here, we have database name ‘test’, username=’root’ and password is ‘123456’.
The Java code is as follows:
import java.sql.Connection;
import java.sql.DriverManager;
public class JdbcConnectionDemo {
   public static void main(String[] args) {
      String JdbcURL = "jdbc:mysql://localhost:3306/test?useSSL=false";
      String Username = "root";
      String password = "123456";
      Connection con = null;
      try {
         System.out.println("Connecting to database..............."+JdbcURL);
         con=DriverManager.getConnection(JdbcURL, Username, password);
         System.out.println("Connection is successful!!!!!!");
      }
      catch(Exception e) {
         e.printStackTrace();
      }
   }
}
The screenshot of code is as follows:
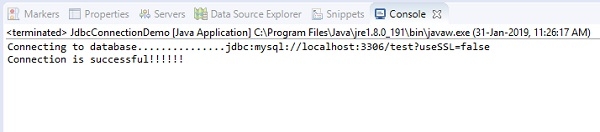
The following is the output:
Connecting to database...............jdbc:mysql://localhost:3306/test?useSSL=false
Connection is successful!!!!!!
The snapshot of sample output:

12K+ Views
