- Set Up SSH Keys in Gerrit
- Generate New SSH Key
- Add Your SSH Key
- Add SSH Key to your Gerrit Account
- Add SSH Key to use with Git
- Download Extension Using Git
- Prepare to work with Gerrit
- Installing Git-Review
- Configuring Git-Review
- Setting up Git-Review
- How to Submit a Patch
- Gerrit - Update Master
- Gerrit - Create Branch
- Make & Commit Your Change
- Prepare Push change set to Gerrit
- Push your change set to Gerrit
- View the Change / Next Steps
- Editing via the Web-Interface
- How Code is reviewed in Gerrit
- Review Before Merge
- Gerrit - Project Owners
- How to Comment on, review, merge
- Gerrit Useful Resources
- Gerrit - Quick Guide
- Gerrit - Useful Resources
- Gerrit - Discussion
Gerrit - Project Owners
Project owner means that the project belongs to the person mentioned. Project owners is a virtual group in which you cannot add members or other groups in it. The project owner provides access rights to allow permission on the project to different groups.
You can view the access rights of your project using the following steps.
Step 1 − Open Gerrit dashboard by clicking this link.
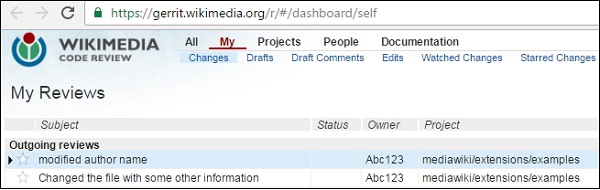
Step 2 − Click Projects → List option. Search the project in your project list and click it as shown in the following screenshot.

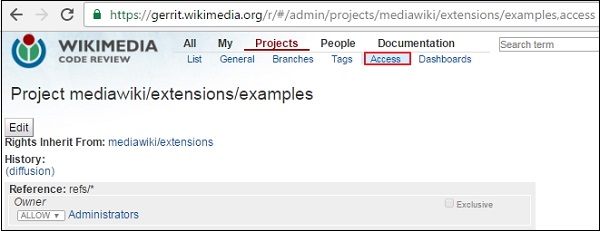
Step 3 − When you open your project, click the Access option as shown in the following screenshot.
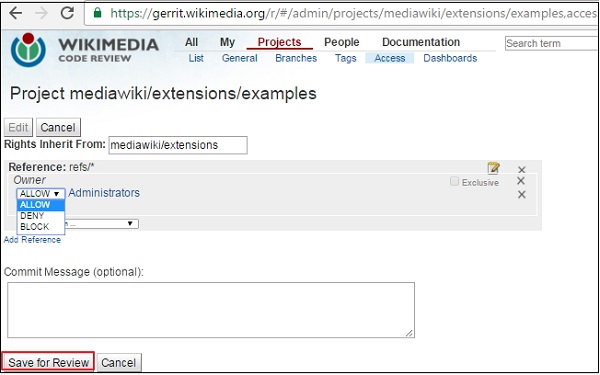
Step 4 − Click the edit option. You can change the access rights by clicking the dropdown menu. Click the Save Changes button as shown in the following screenshot.