- Dialogflow - Home
- Dialogflow - Overview
- Dialogflow - Getting Started
- Dialogflow - Components
- Dialogflow - Creating First Agent
- Dialogflow - Creating Parameters
- Dialogflow - Creating Custom Entities
- Dialogflow - Contexts
- Dialogflow - Creating a Custom Intent
- Dialogflow - Training
- Dialogflow - Intent Matching
- Dialogflow - Integration
- Dialogflow - Building a Chatbot
- Dialogflow - Knowledge Base
- Dialogflow Useful Resources
- Dialogflow - Useful Resources
- Dialogflow - Discussion
Dialogflow - Integration
Dialogflow is useful with many popular chat services, like Google Assistant, Slack, and Facebook Messenger. If you want to create an agent for one of these websites, select one of the various integration options. Direct end-user interactions are handled for you, freeing up your time to focus on agent creation. Each integration handles end-user interactions in a platform-specific method.
There are various types of Dialogflow integrations. See the descriptions for each type below.
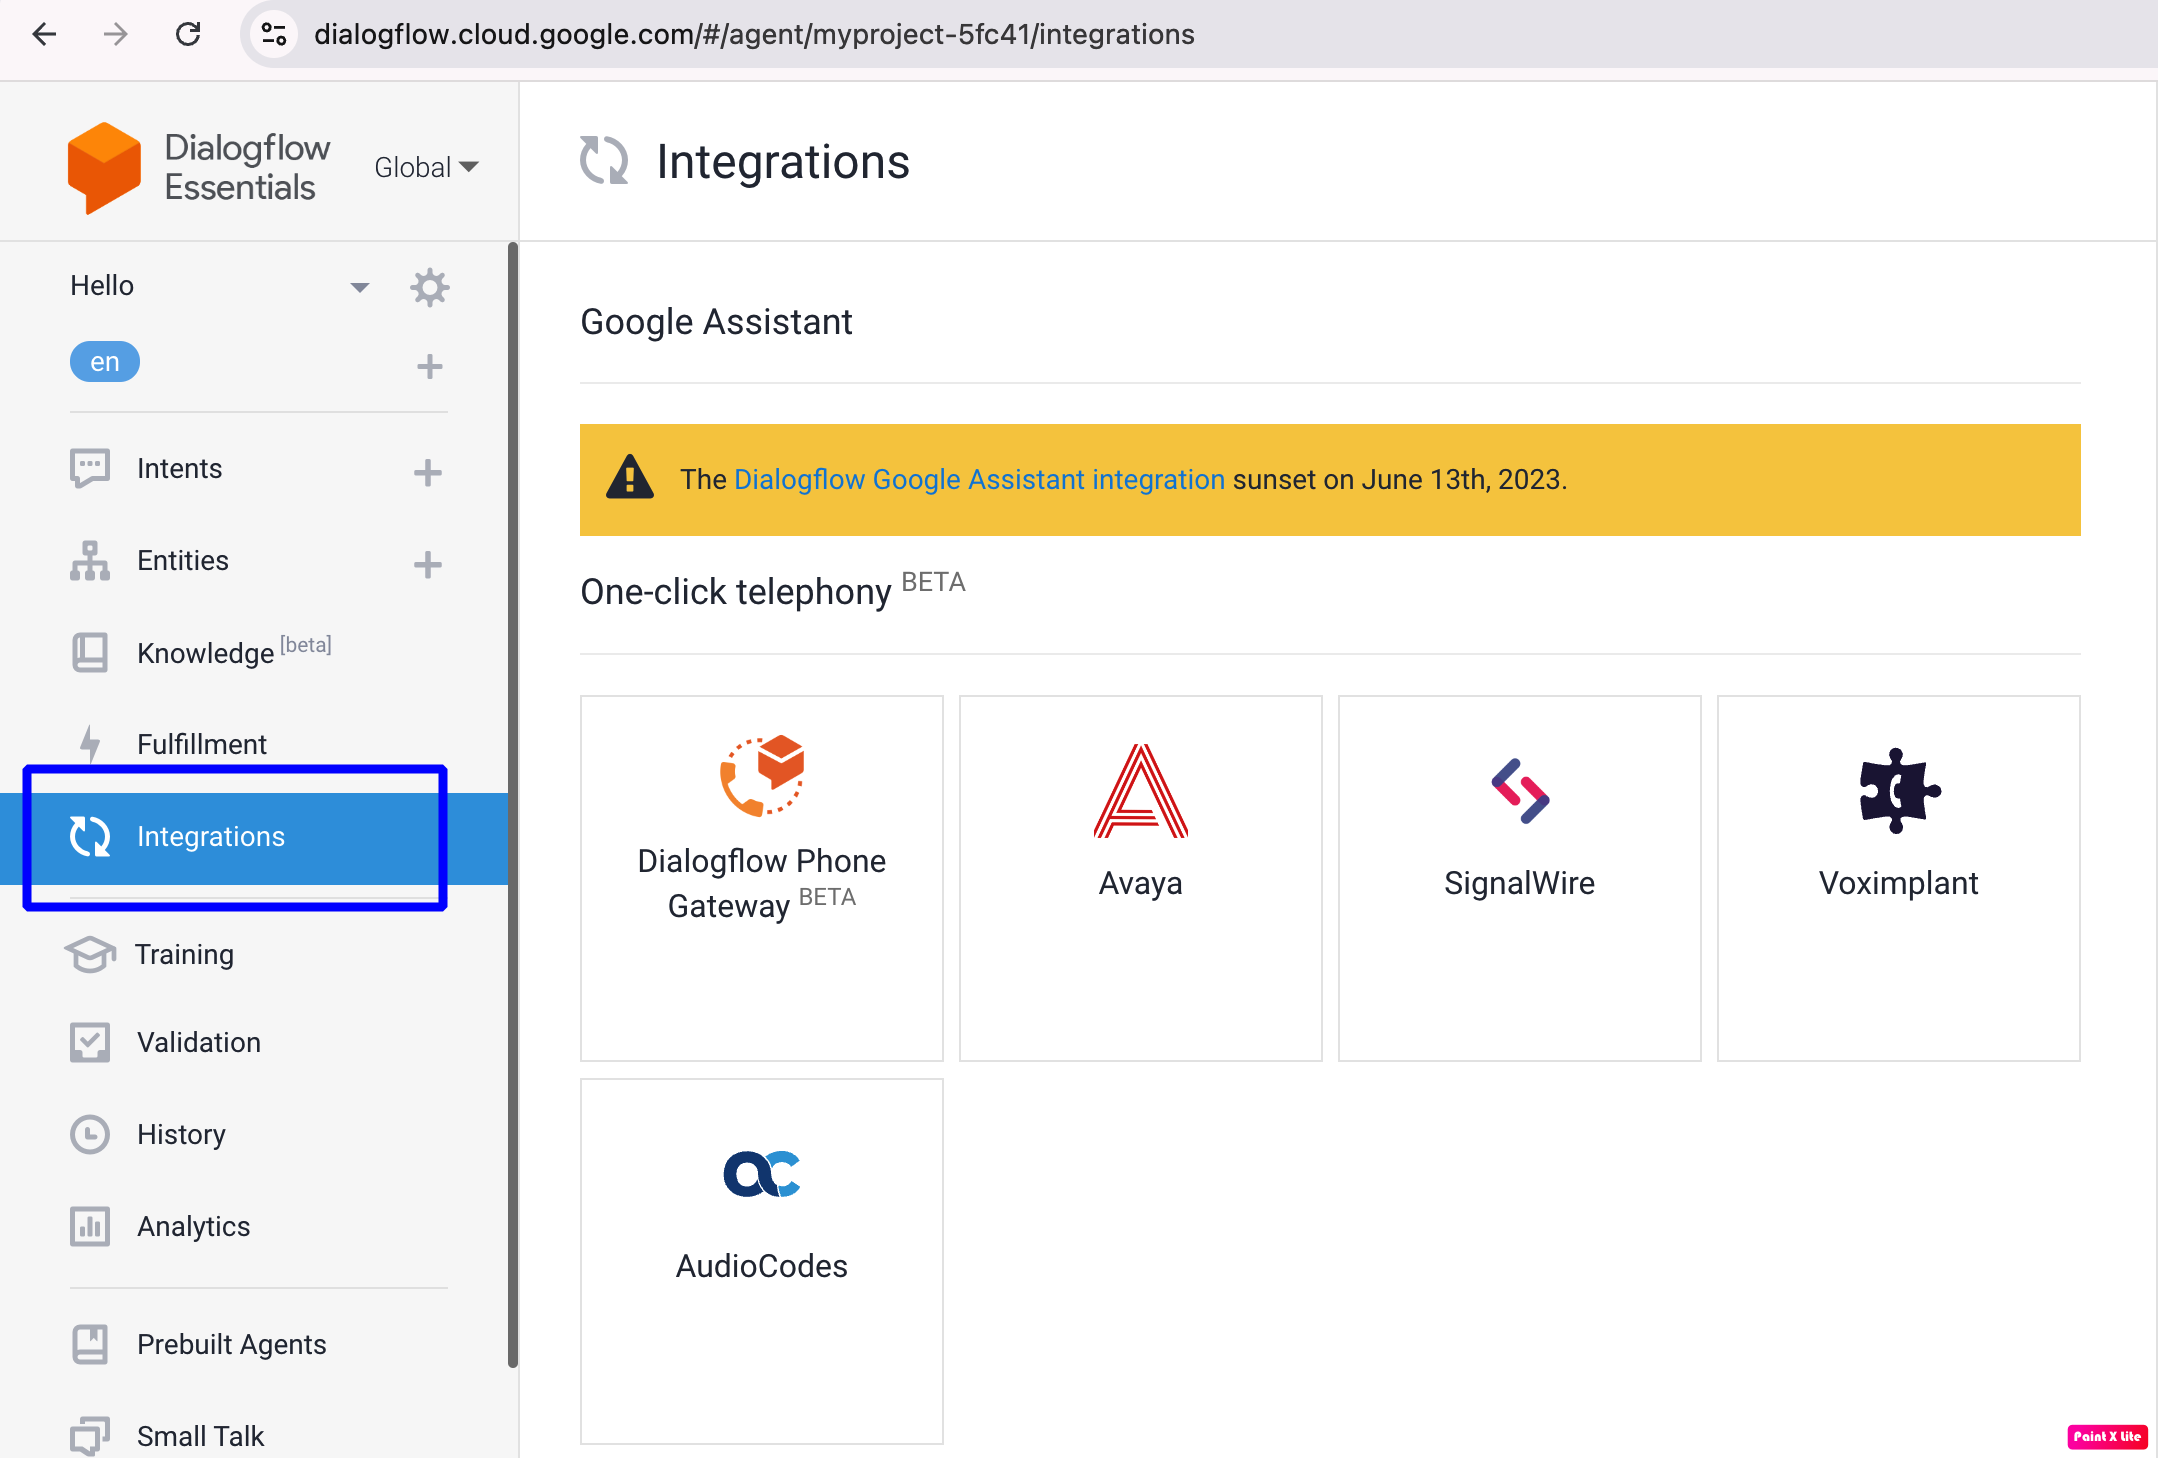
Partner Telephony Integrations
Google partners built these telephony integrations in partnership with Google. Google provides no support for these integrations. If you need help, please contact the integration owner. These integrations need just one click to be activated from Dialogflow, after which the partner needs to finish the necessary configuration steps. Google's partners offer the following −
AudioCodes
Avaya
SignalWire
Voximplant
Dialogflow Built-in Integrations
These integrations are completely supported by Dialogflow and can be enabled using the Dialogflow Console. The following is available −
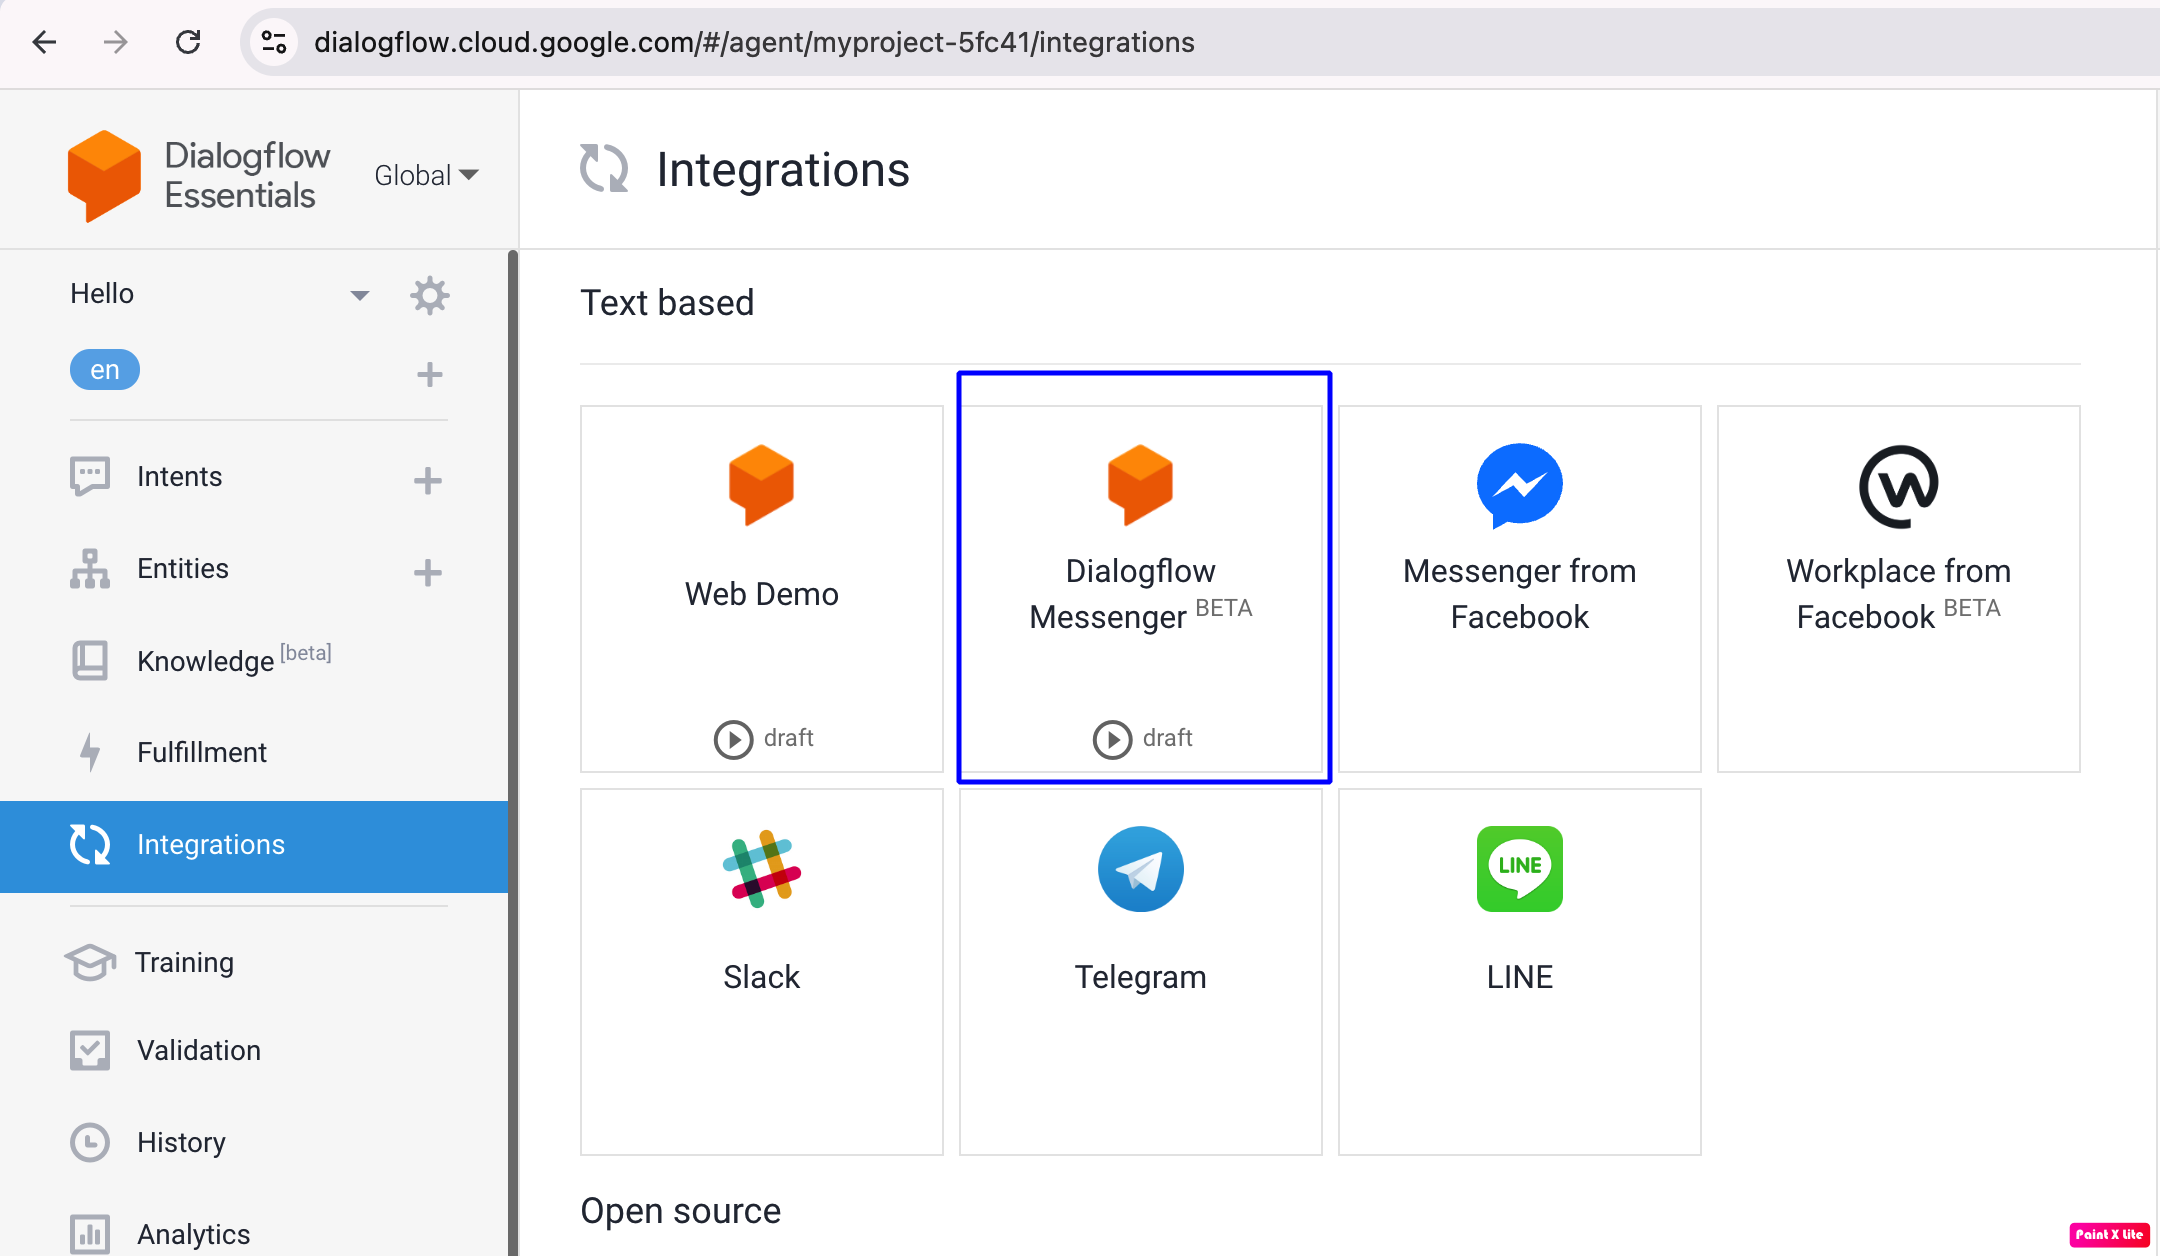
Dialogflow Messenger
Dialogflow Phone Gateway
Dialogflow Web Demo
Messenger from Facebook
Workplace from Facebook
Google Assistant (legacy)
Google Chat
LINE
Slack
Telegram
Google-contributed Open Source Integrations
Google's open-source technologies are yours to use, alter, and share as you see suitable. Some of these tools (called connectors) can still be used to help with tasks or provide answers on various platforms, even though they are older versions: Kik, Skype, Spark (Cisco Webex), Twitter and Viber.
Independent Integrations
These integrations are not pre-installed and are created by other businesses and individuals. You can also create a custom integration using the Dialogflow API. Google does not support these integrations. Contact the integration owner if you need help.
How to Enable the Integration
To enable integration, follow these steps −
Open the Dialogflow Console first.
Next, pick an agent.
Next, select the Integration option from the menu on the left sidebar.
After that you have to enable Web Demo integration.
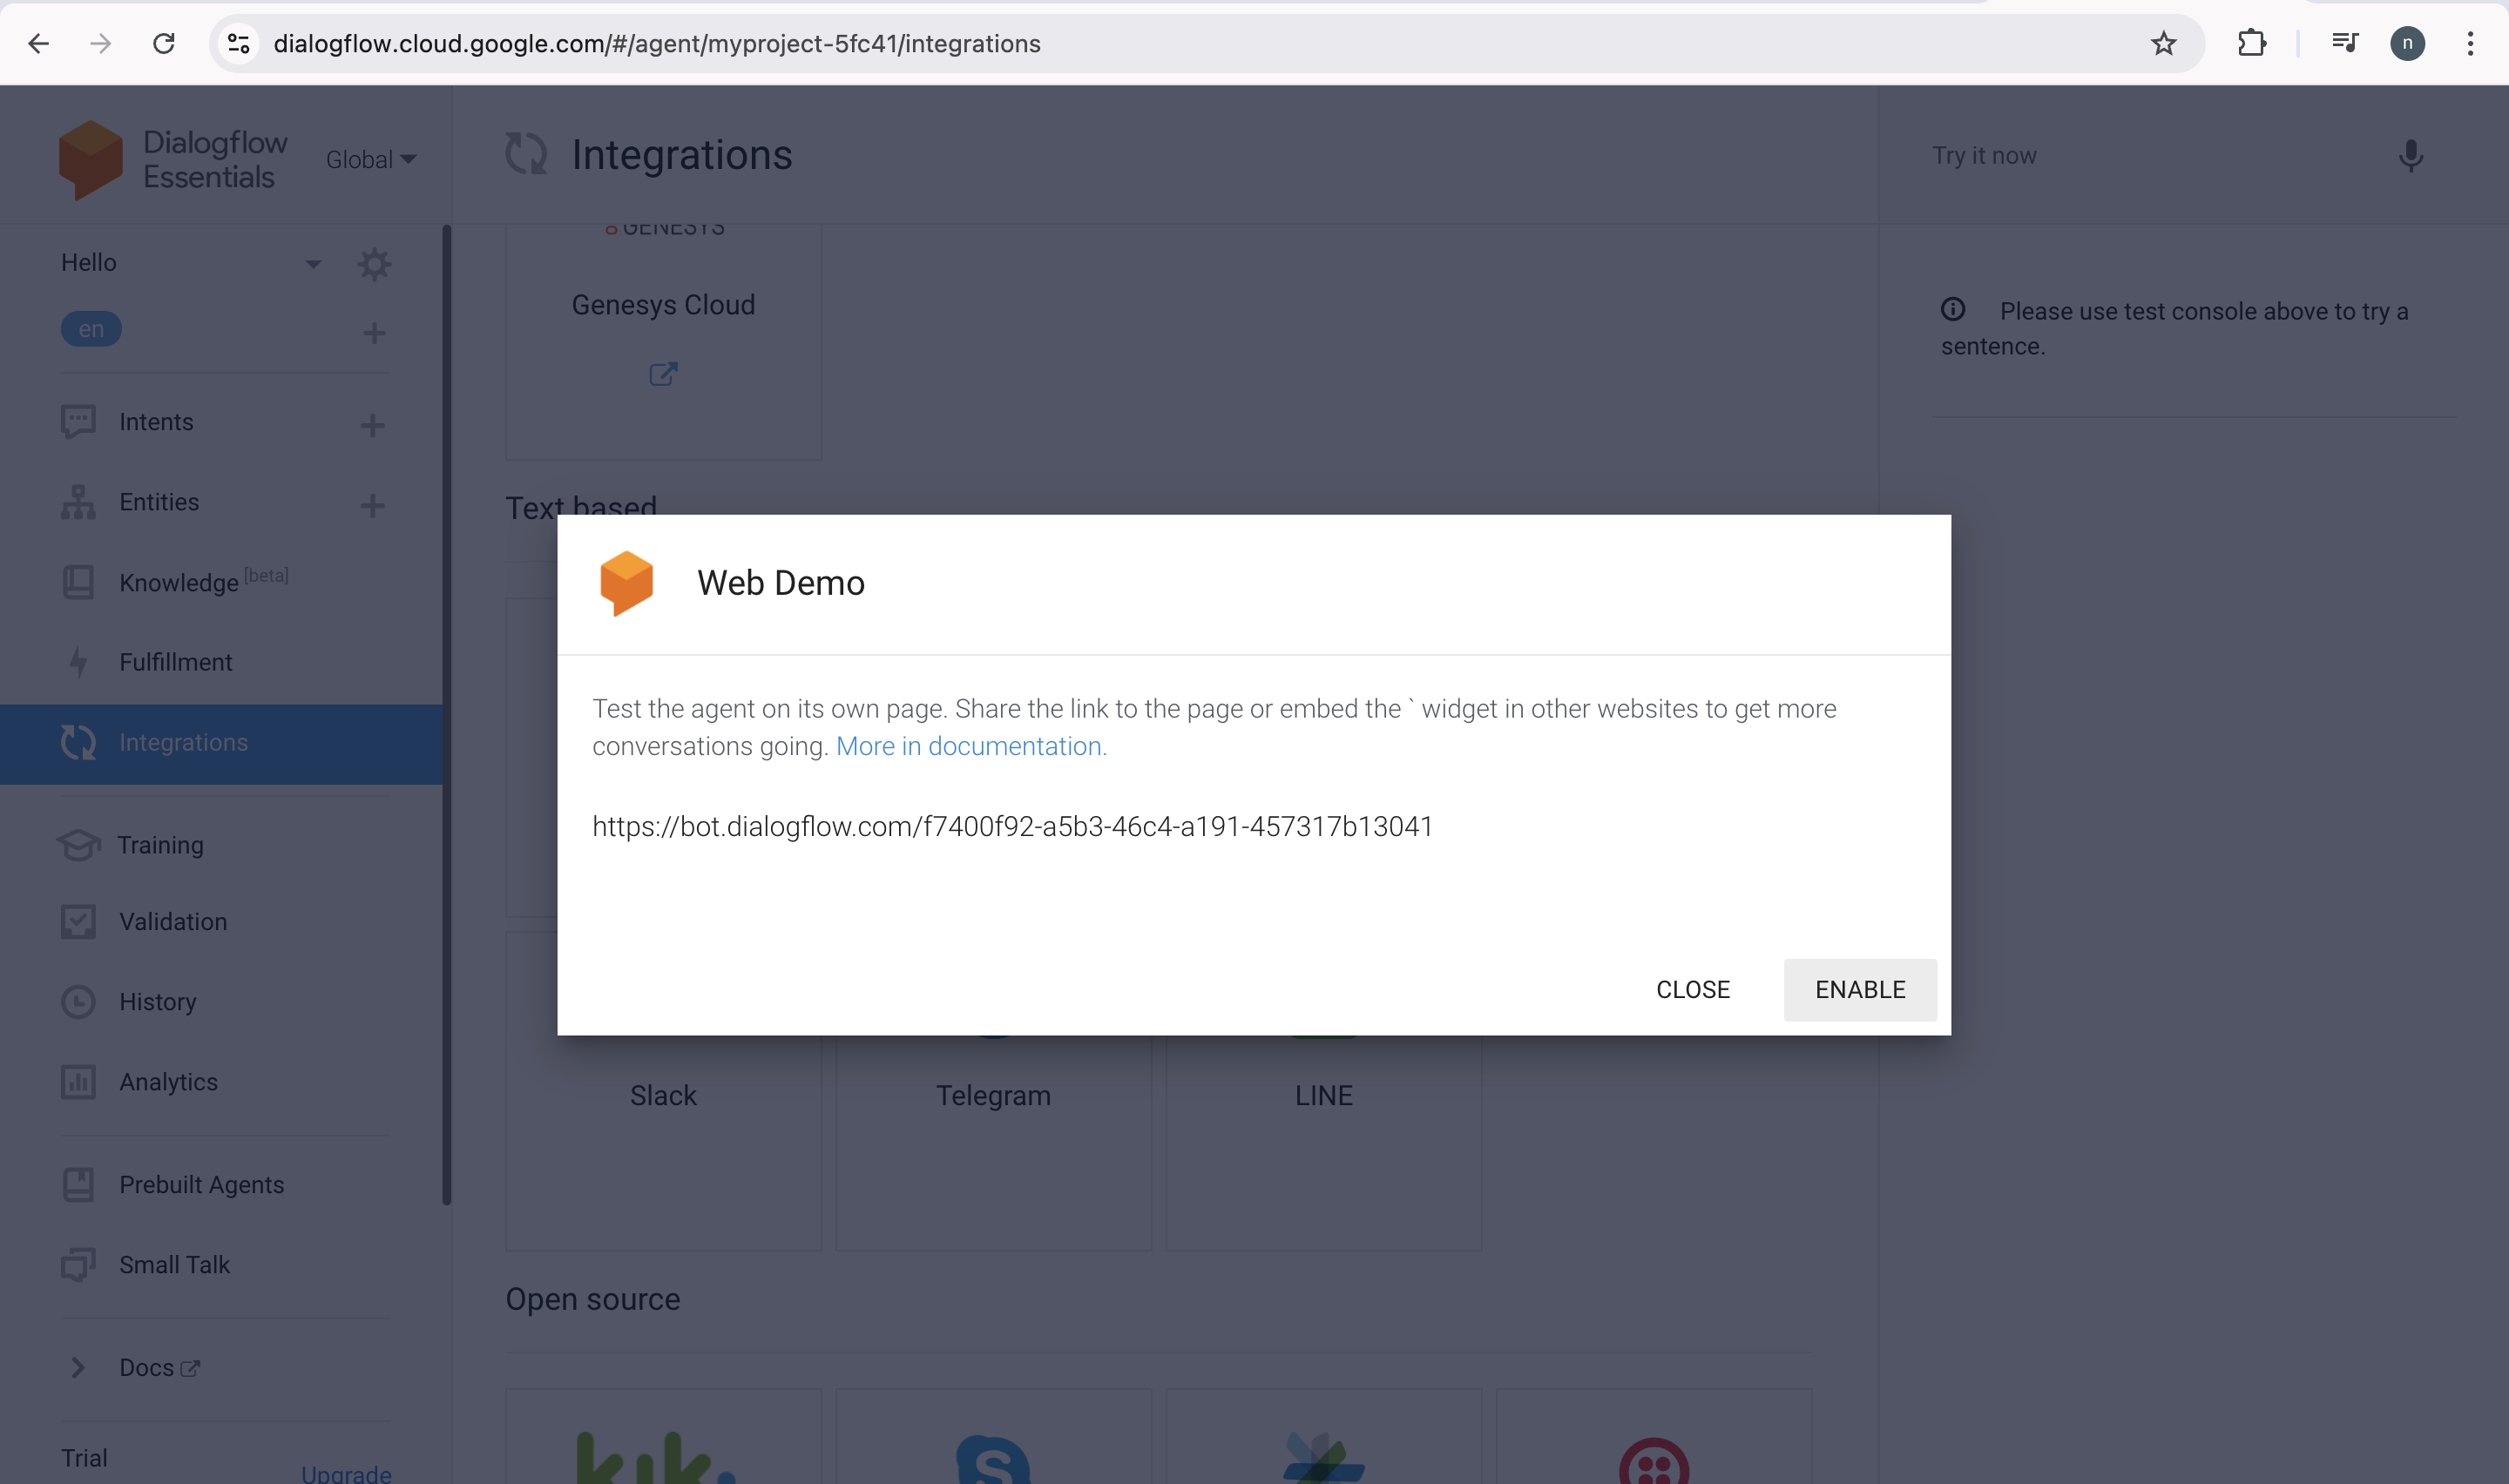
When the web demo opens the dialog, the window displays the following options:
1. It provides you with the URL of the page hosting the integration.
2. For integrating the agent on your website, it provides HTML code.
3. Also, there is a link to the agent setting, which is used to change the elements of the webpage.

How to Interact with your Agent
To get in connect with the agent, go to their webpage using the link above. This page has a text chat interface that you can use. You have to type your name and then hit Enter. The response you set in the last QuickStart is then used by the agent in response.

Dialogflow Messenger
The Dialogflow Messenger integration enables your agent to have a customized chat dialog that is integrated into your website. The chat dialog is built as a dialog window that your end-user can open and close. The chat window appears above your content in the bottom right corner of the screen.
To set up and enable Dialogflow Messenger you have to go to the Dialogflow ES console. Then click Integrations in the left sidebar menu. And after that click Dialogflow Messenger.
Then a configuration dialog will get open. You have to choose an environment. Then click Enable and copy the embed code for pasting in your website. And after that click Try It Now to test your agent.

The Dialogflow logo displays as a button in the bottom right corner of the window. Click the button. A chat dialog appears, which you can communicate with. When you finish testing, close the chat dialog. Click the Close button in the configuration dialog.
