- Dialogflow - Home
- Dialogflow - Overview
- Dialogflow - Getting Started
- Dialogflow - Components
- Dialogflow - Creating First Agent
- Dialogflow - Creating Parameters
- Dialogflow - Creating Custom Entities
- Dialogflow - Contexts
- Dialogflow - Creating a Custom Intent
- Dialogflow - Training
- Dialogflow - Intent Matching
- Dialogflow - Integration
- Dialogflow - Building a Chatbot
- Dialogflow - Knowledge Base
- Dialogflow Useful Resources
- Dialogflow - Useful Resources
- Dialogflow - Discussion
Dialogflow - Getting Started
Now you have a basic understanding if you have read previous two chapters of this tutorial. In this chapter we will look into how you can setting up an account on Google Dialogflow, creating a dialogflow project and how you cna navigate to the dialogflow console. So let's get started.
Setting Up a Google Dialogflow Account
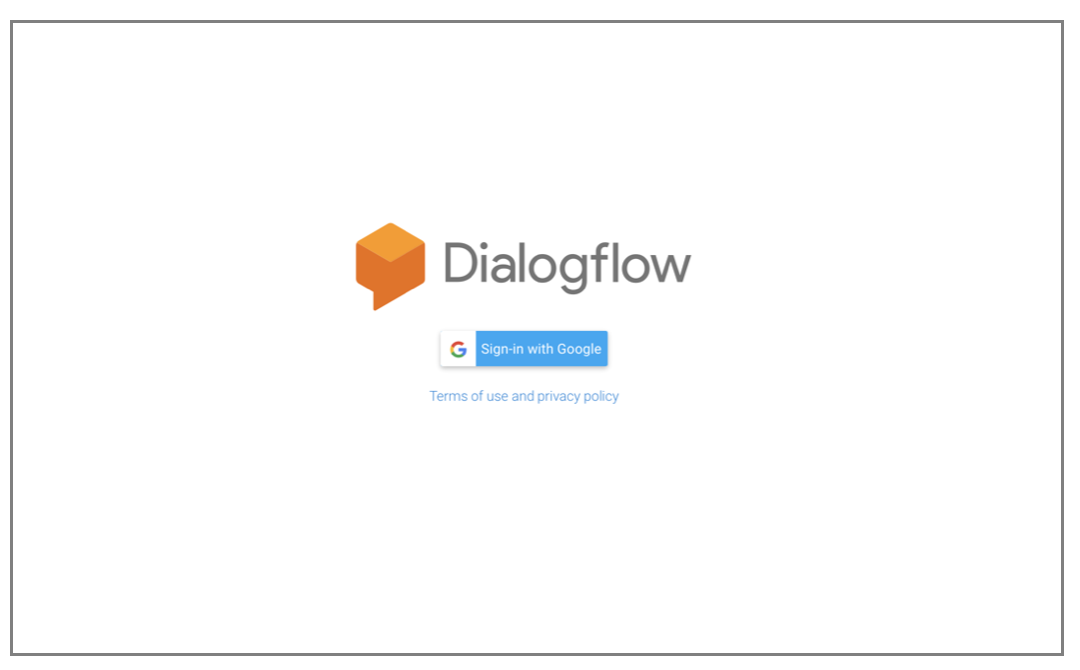
First we need to sign up into Dialogflow. We can access the Dialogflow and log in by using the URL "https://dialogflow.cloud.google.com/". After logging in successfully we need to select Sign up for free.
Next you need to get into the Google account. To use a Dialogflow, you need to have a Google account. So when you go to the above mentioned link you will be landing to the below page −
Creating a Dialogflow Project
After that, you will see your dashboard and the message "Welcome to Dialogflow!" on the image below. The dashboard has a feature to create an agent by which you can create your first agent.
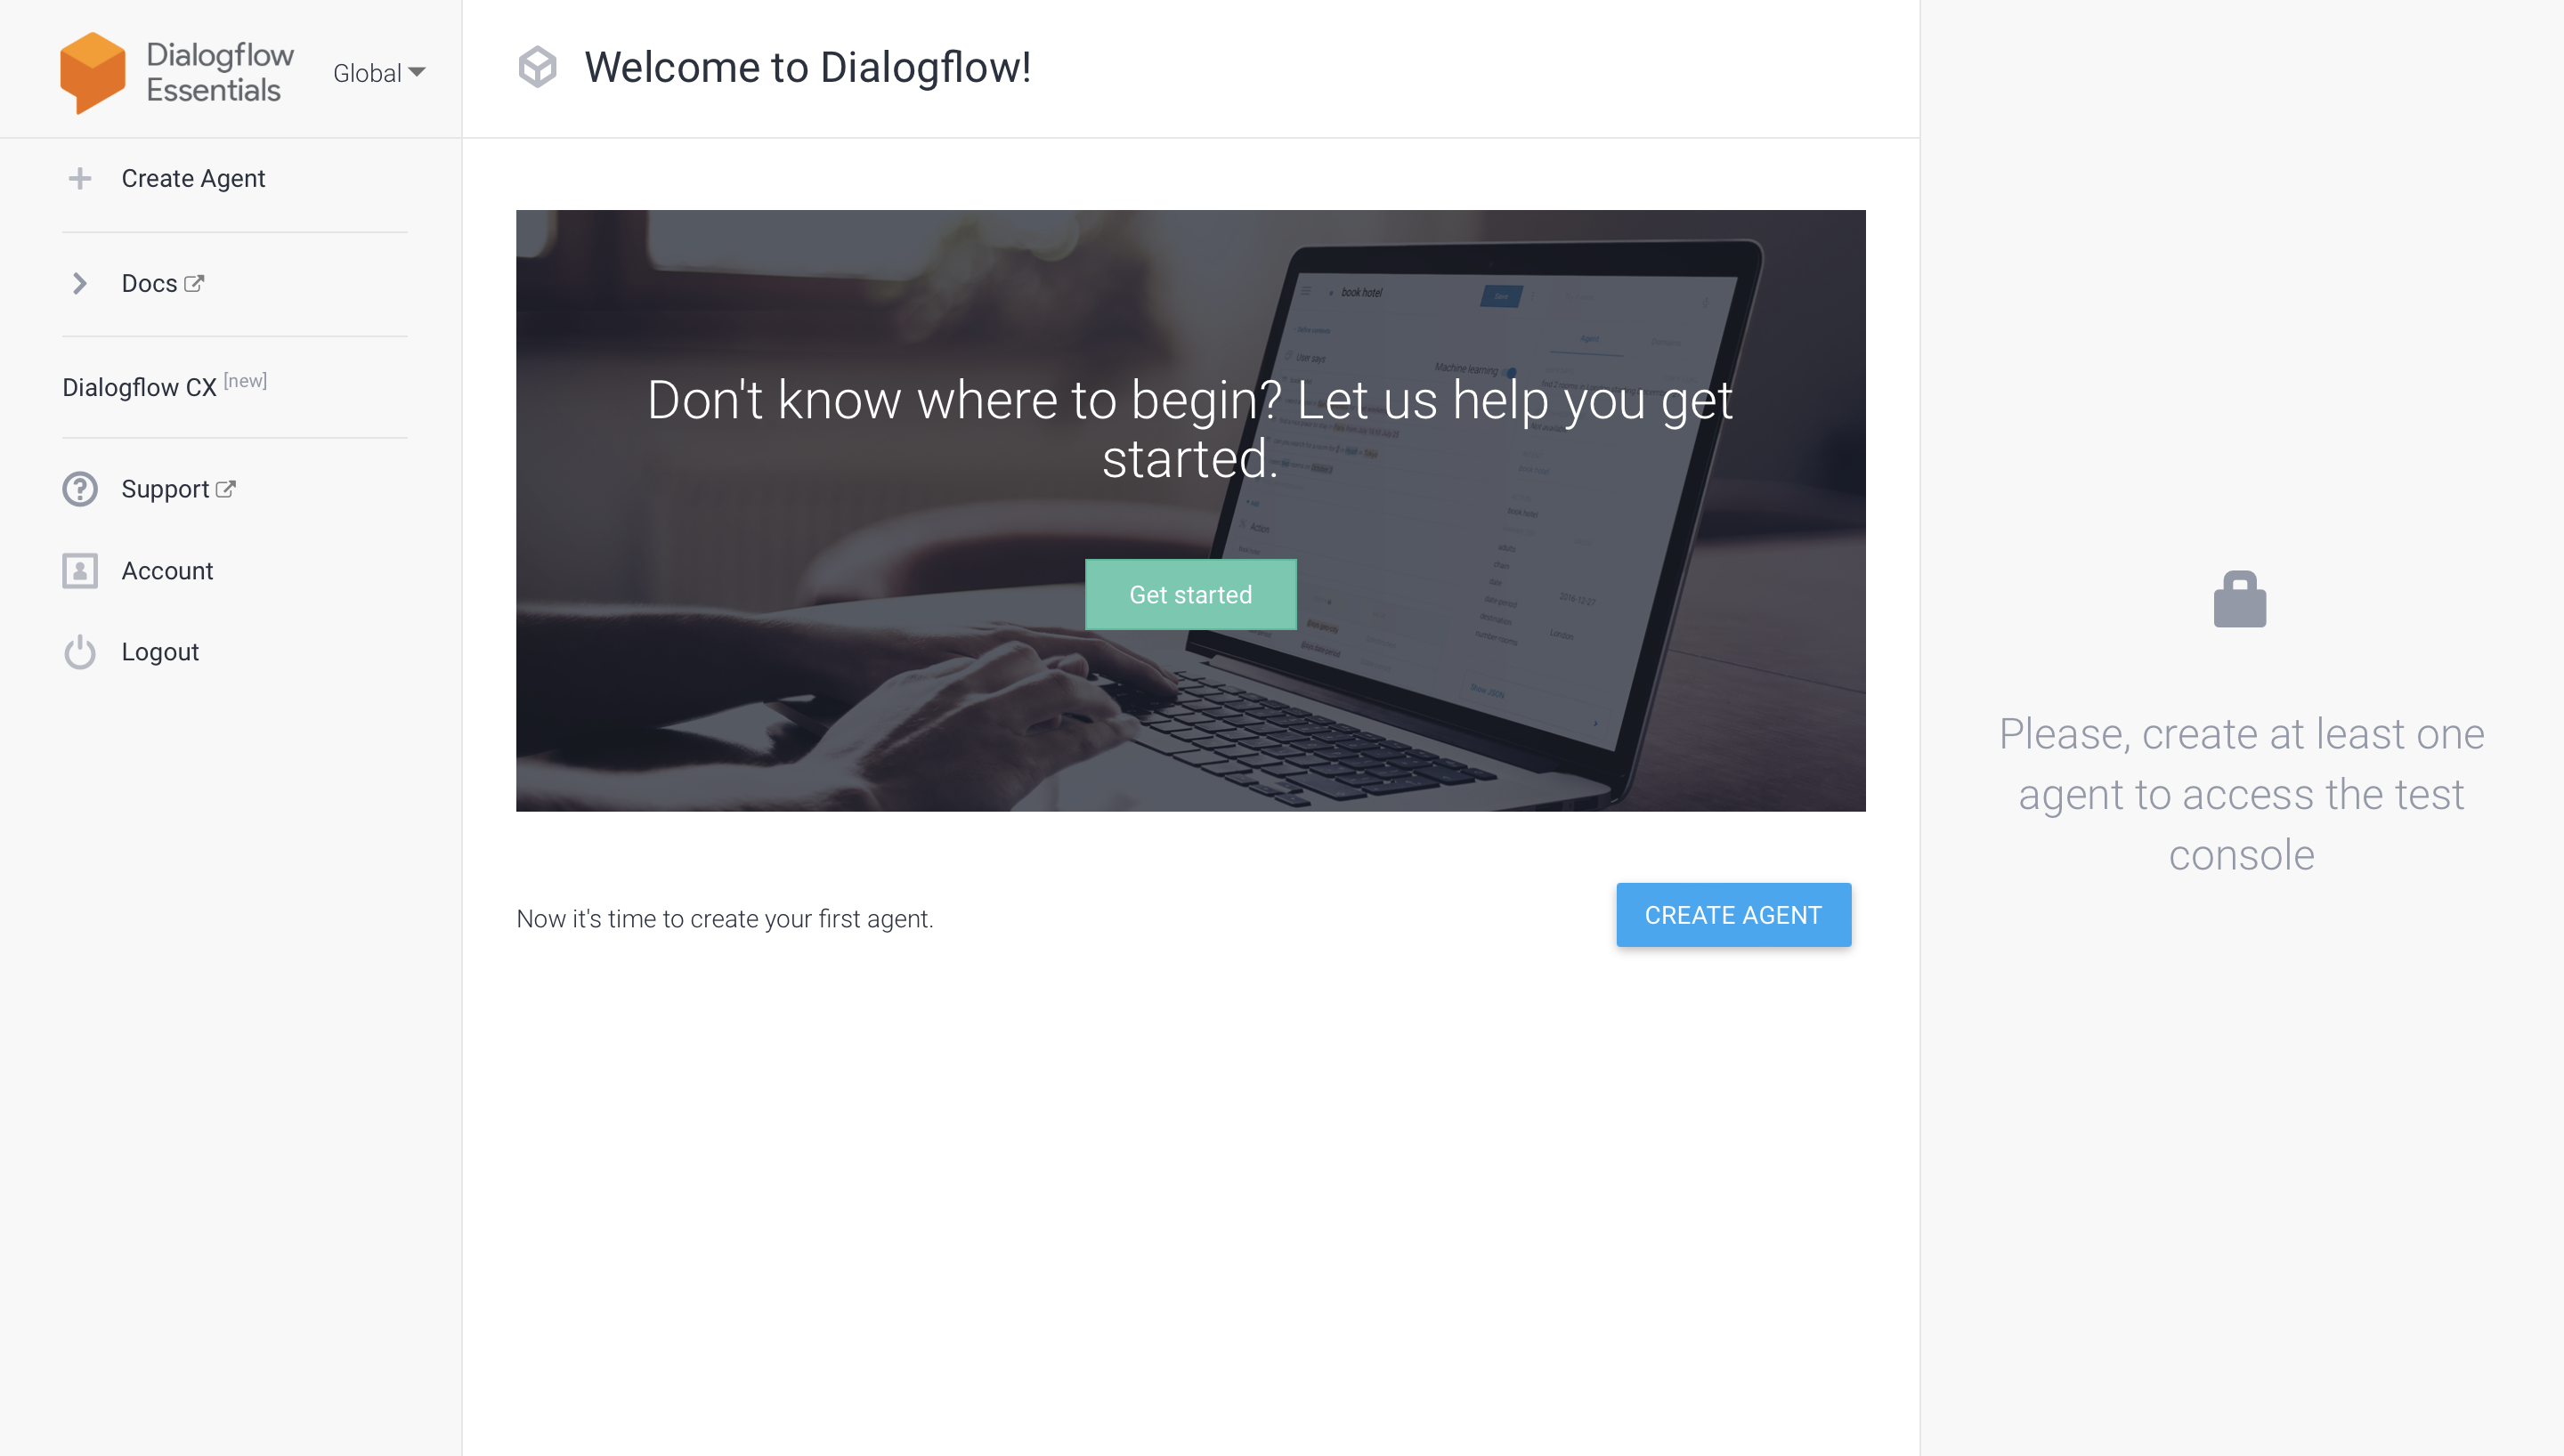
So using the "Create Agent" button you can create your first agent. After clicking on the button you can see the that there are some details you need to fill like Agent Name, DEFAULT LANGUAGE, DEFAULT TIME ZONE and GOOGLE PROJECT. After filling these details click on the Create Agent button.

Navigating the Dialogflow Console
After creating your agent, the Dialogflow Console will be displayed. Many options like Intents, Entities and Integrations will be seen on the left.
Intents: Under the "Intents" area you can define what your bot will understand and respond to.
Entities: These are distinct phrases or categories that your bot can identify as such persons, dates or places.
Integrations: These allow you to connect your chat-bot to other services like Facebook Messenger or Google Assistant.
Make use of this UI to create and manage your chat-bot.
Enabling Billing
While Google provides free credits to new users so paying may need to be activated in order to take advantage of certain features of of Dialogflow. You can enable charging by going to your Google Cloud Console and selecting "Billing" and entering your payment information. There will not be any fees until you use more than is allowed.
Granting Permissions for the Project
Allowing developers or other team members to work together on the same Dialogflow project can be required. Go to the Google Cloud Console, choose your project and then click "IAM & Admin" to provide access in order to add team members. They choose their jobs carefully and taking into consideration the level of access required.
Working with APIs and Services
Talk about how you can allow your chat-bot to retrieve real-time data like market prices, weather reports and other information by integrating Dialogflow with third-party APIs. Dialogflow can be setup to do this using the use of fulfillment where your bot sends a request to an external service and returns dynamic data to you.
Summary
In this chapter, we have seen how to set up and use Dialogflow. In this chapter you covered the basics of setting up Dialogflow, creating your first chat-bot and making use of a number of important features.
