- Dialogflow - Home
- Dialogflow - Overview
- Dialogflow - Getting Started
- Dialogflow - Components
- Dialogflow - Creating First Agent
- Dialogflow - Creating Parameters
- Dialogflow - Creating Custom Entities
- Dialogflow - Contexts
- Dialogflow - Creating a Custom Intent
- Dialogflow - Training
- Dialogflow - Intent Matching
- Dialogflow - Integration
- Dialogflow - Building a Chatbot
- Dialogflow - Knowledge Base
- Dialogflow Useful Resources
- Dialogflow - Useful Resources
- Dialogflow - Discussion
Dialogflow - Contexts
Contexts give you control over the flow of conversation by defining specific states that the conversation needs to be for an intent to match. If the end-user phrase and its training words are comparable, the dialogflow will generally match the intent. When contexts are applied to Dialogflow, it will only consider an intent for matching if the context is active.
So there are two kinds of context that you can activate and deactivate contexts and also you can control the flow of your conversation −
Input Contexts: Dialogflow is only allowed to match an intent when the input context is active and the end-user expression matches the intent.
Output Contexts: When an output context is applied to an intent the Dialogflow gives permission to either keep the context after the intent is matched or activate the context if it is not already active.
Example of Context
In the example we created for our hotel booking demo chatbot, reservations can be made by just providing the number of people and the number of nights they will be staying. Also to the current parameters we will add a new one to our webhook that asks the user if they would prefer a hotel with a view of the mountains or the sea- totalPersons and totalNights.
1. Click the Booking Info intent button in the Dialogflow console.
2. Enter bookingInfoCtxt as the output context in the Context field and press Enter.
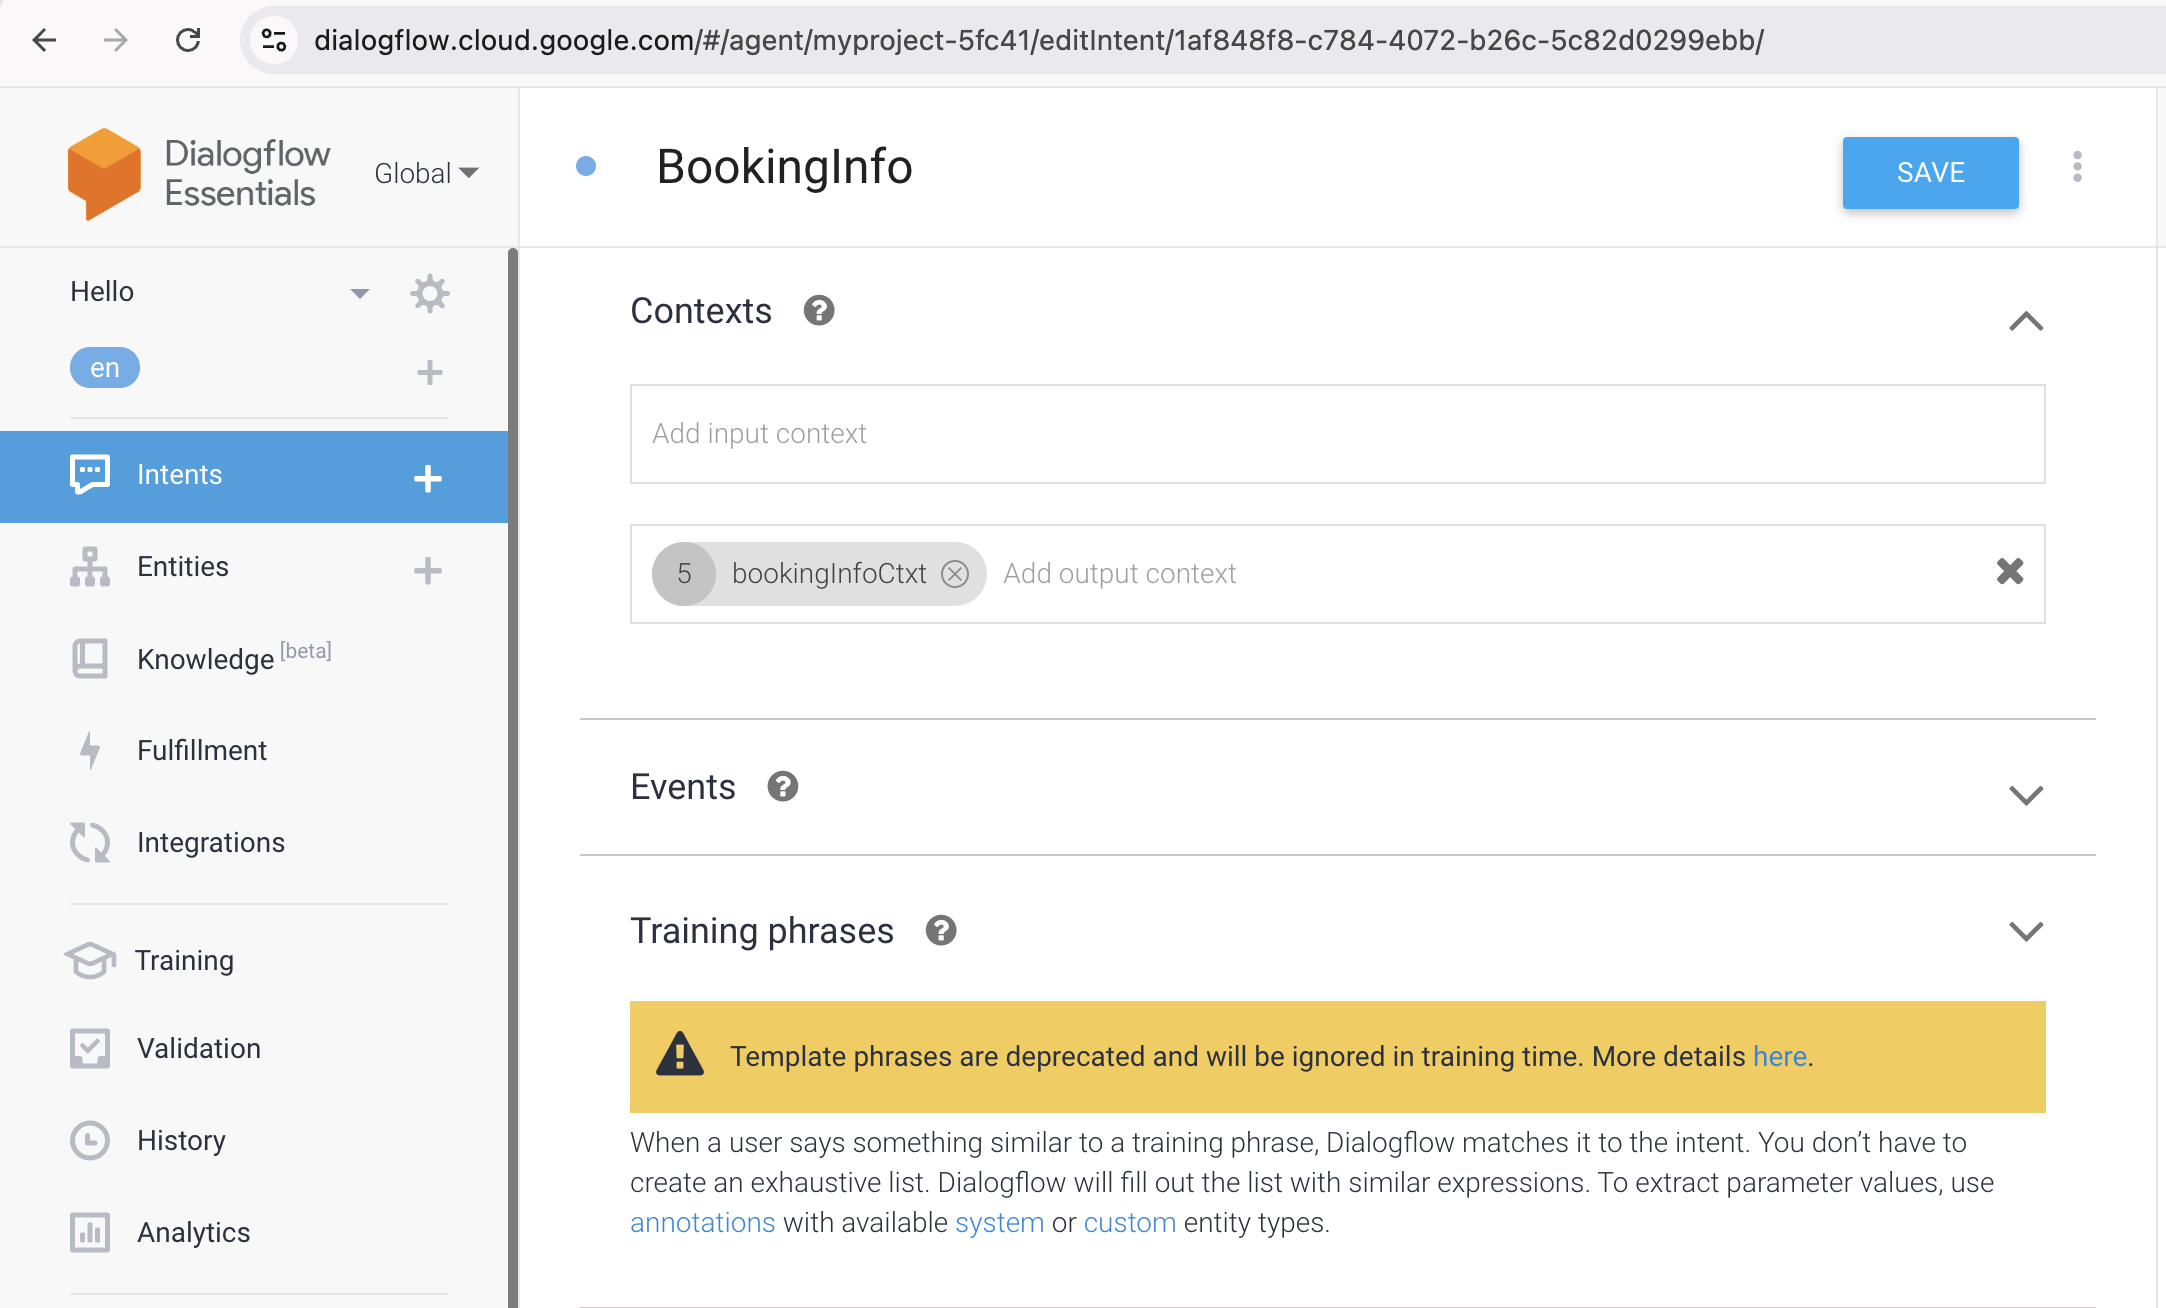
3. Now you have to go to the Text Response section and create it as below. Since the user is likely to show their wish with the same intent in a real-world setting, this can be handled differently.

4. Go to the fulfillment section and turn off: For this, activate the webhook call. The webhook call will be moved to a new intent.
As you can see above, we created an output context for this intent, which will be used to send to another intent that logs the user's preferred room view. Let us look at how:
Create a new purpose and call it Room View.
In the Contexts section, enter the value of the input context that we created in the previous steps: Press Enter once bookingInfoCtxt has been entered.
We have simply included the Sea and Mountain values for Phrase Training; you can add more to increase the accuracy of determining the user's intent.
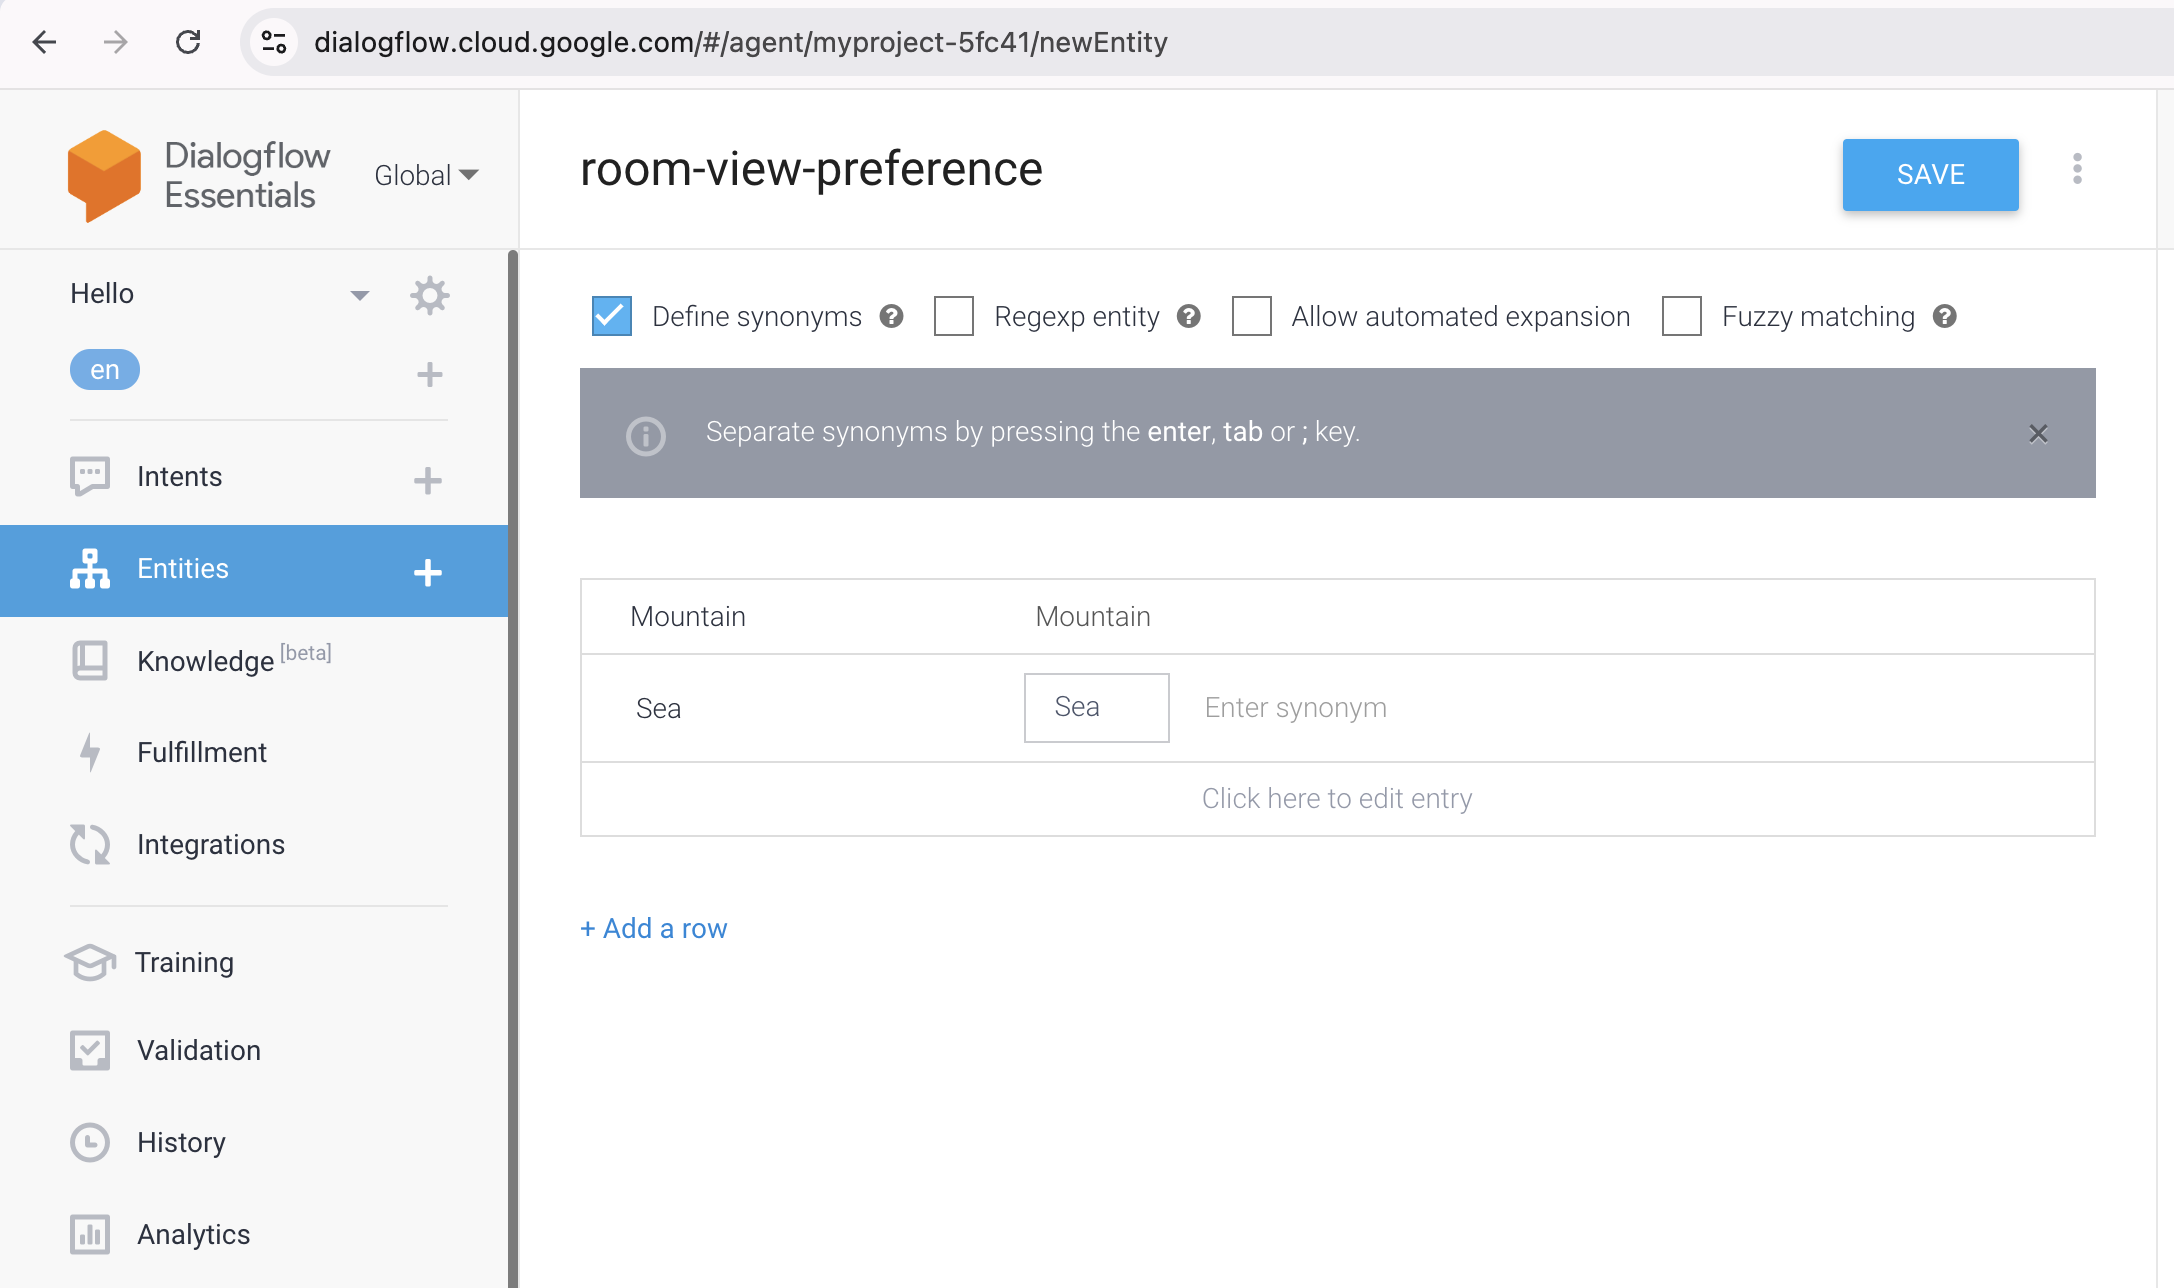
After clicking Save you have to create a new entity named room-view-preference by selecting Entities from the menu on the left. The entity is only a type that can be retrieved from the intent, I created it using two values, as indicated below.
5. Now you have to go back to the 'Room View' intent and you have to set the Entity for the Training Phrases just like below (for both):
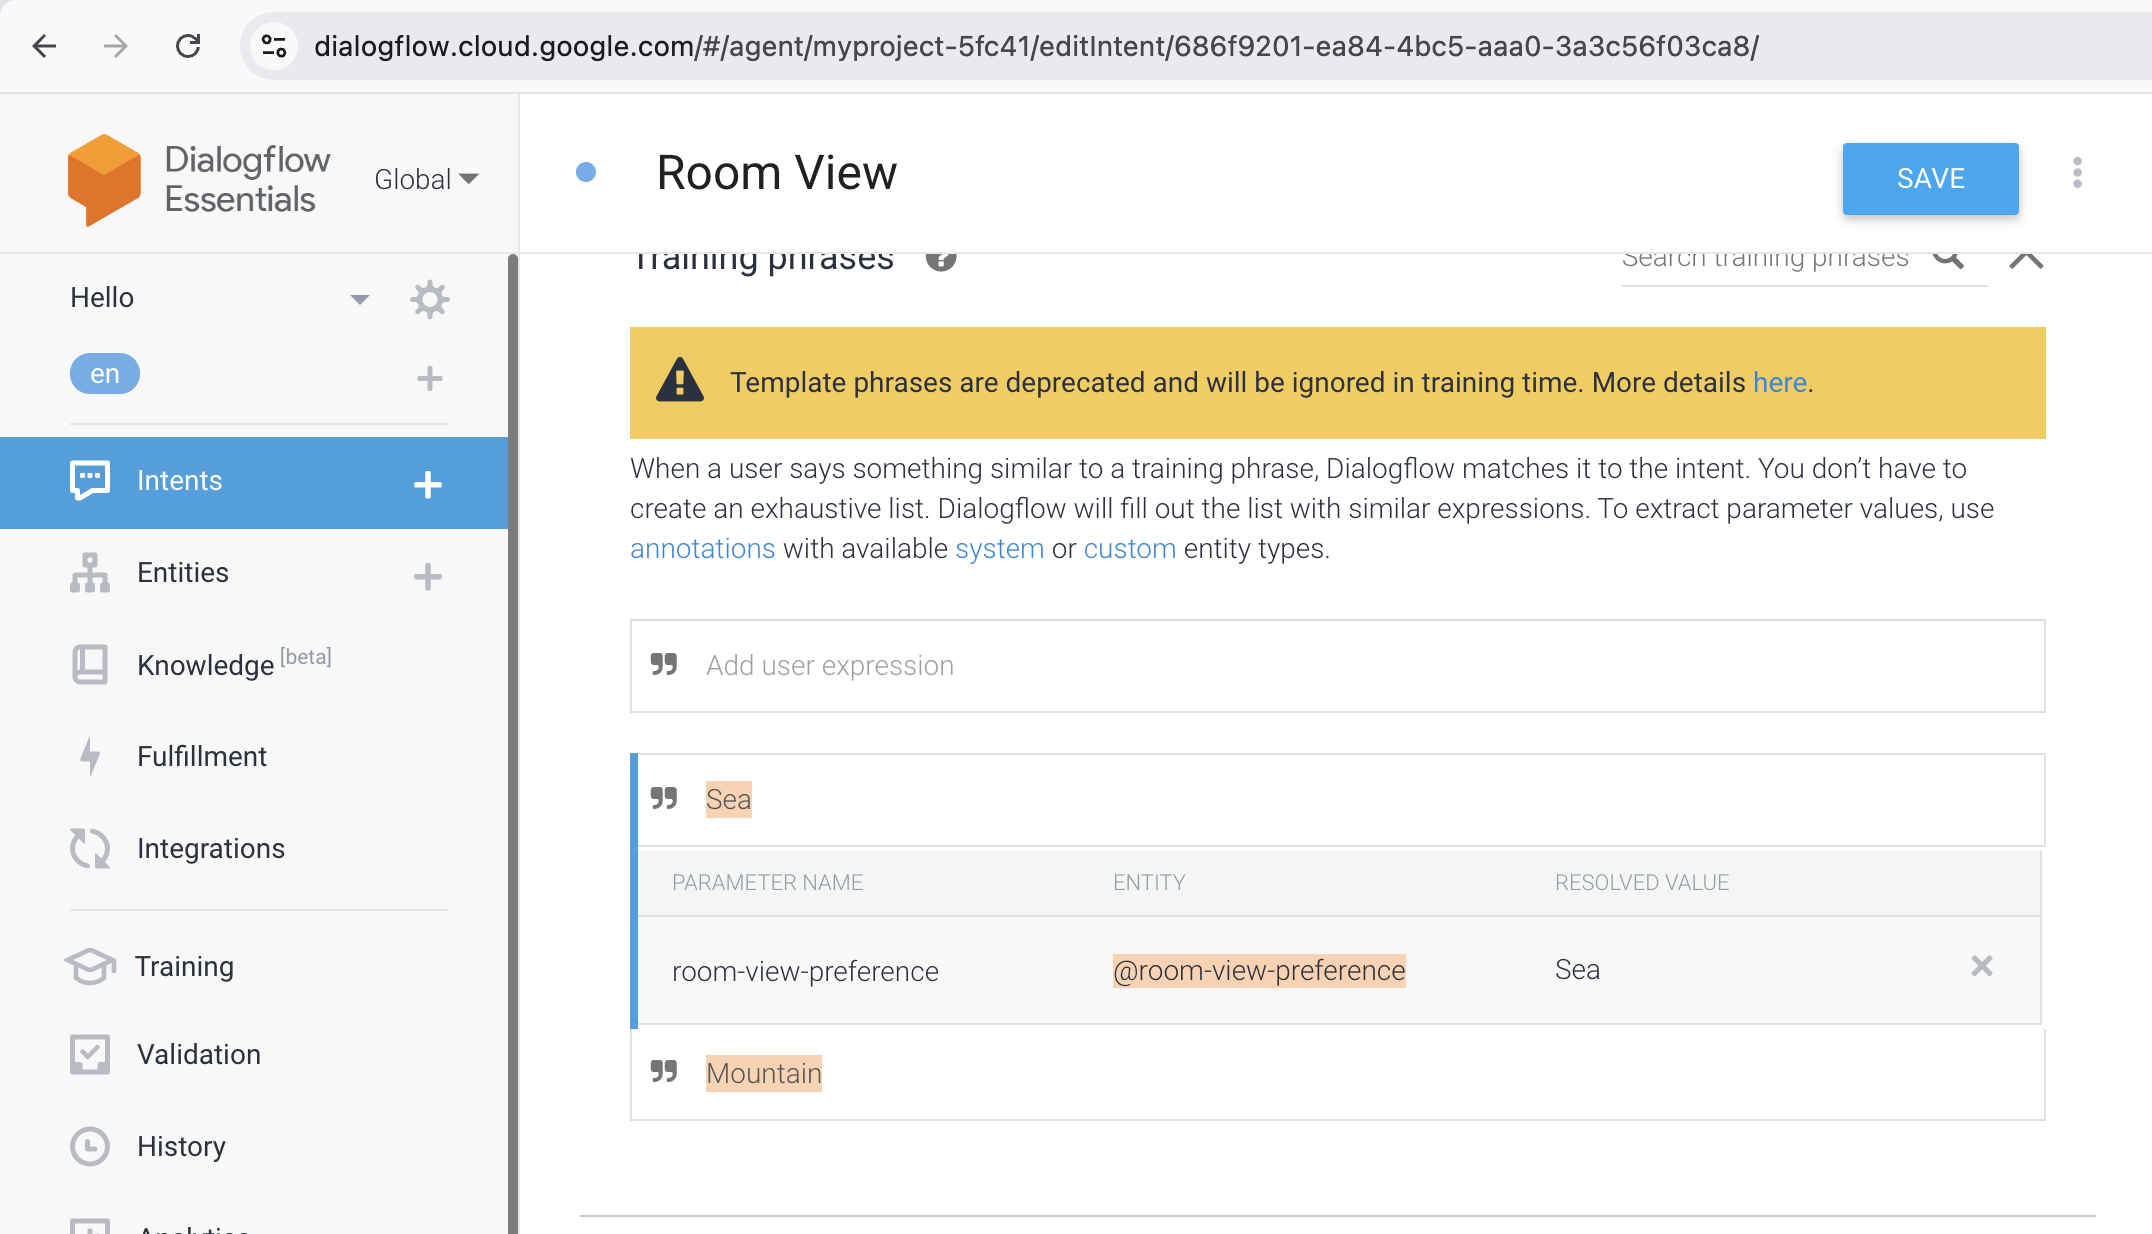
6. Move to the Actions and Parameters section and complete it as follows. Use #[ContextName].[ParamName] to verify how the parameters are taken from the context.

Follow-up Intents
Follow-up intents allow you to automatically define contexts for intent pairings. A follow-up intent is a child of the parent intent that it is related with. An input context of the same name is added to the follow-up intent and an output context is automatically added to the parent intent when you create a follow-up intent. Only when the parent intent from the previous conversation round is matched does a follow-up intent match. Also, you can create nested follow-up intents at various levels.
Dialogflow has various pre-established follow-up intents for typical end-user responses, like "yes," "no," or "cancel." To deal with unique responses you can also design your own follow-up intents.
The following nested intents, for example, can be present in a hair stylist agent.
| Intent | Training Phrase | Input Context | Output Context | Intent Response |
|---|---|---|---|---|
| Appointment | Hello | appointment-followup | Would you like to make an appointment? | |
| Appointment - yes | Yes | appointment-followup | appointment-yes-followup | Would you like a haircut? |
| Haircut - yes | Yes | appointment-yes-followup | Your appointment is set. | |
| Haircut - no | No | appointment-yes-followup | Goodbye. | |
| Appointment - no | No | appointment-followup | Goodbye. |
Manage contexts
Contexts are typically configured during the design phase (when creating an agent). As an example, use the following training phrase: "I would like to add pizza to my shopping cart."
You could also want to build code that retrieves and sets certain contexts at runtime in some more complex situations. For example, you can have verified the location of a gadget and added it to the context so you can access it later.
Context Naming
The below rules apply to naming contexts −
| Rule | Examples |
|---|---|
| Use alphanumeric names. | mycontext1 |
| Use - or _ instead of spaces. | my-context-1 |
| Names are not case sensitive. | Abc123 and abc123 are considered equivalent. |
| All context names are lowercase when using the API. | abc123 |
