- Bugzilla - Home
- Bugzilla - Overview
- Installation Prerequisites
- Bugzilla - Installation
- Bugzilla - Sample Web Application
- New Account Creation
- Bugzilla - Login
- Bugzilla - Logging a New Bug
- Bugzilla - Clone a Bug
- Bugzilla - Understanding a Bug
- Bugzilla - Editing a Bug
- Bugzilla - Reports
- Bugzilla - Graphical Reports
- Bugzilla - Tabular Reports
- Bugzilla - Duplicate
- Bugzilla - Browse Function
- Bugzilla - Simple Search
- Bugzilla - Quick Search
- Bugzilla - Advance Search
- Bugzilla - Custom Search
- Bugzilla - Bug Lists
- Bugzilla - Preferences
- Bugzilla - General Preferences
- Bugzilla - Email Preferences
- Bugzilla - Saved Searches
- Bugzilla - Account Information
- Bugzilla - Permissions
Bugzilla - Logging a New Bug
The procedure of filling a new bug is quite simple and has been explained below.
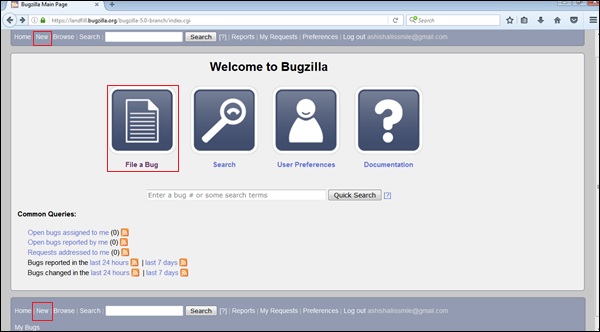
Step 1 − Click on the New link, present on the header or the footer or Click on the File a Bug button on the home page as shown in the following screenshot.
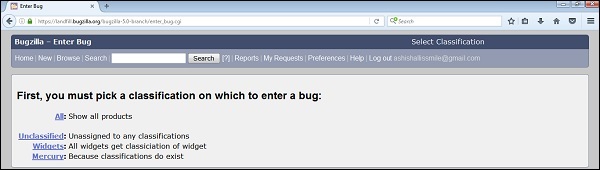
Step 2 − Now, select the product group in which the bug is noticed.
Step 3 − After selecting the Product, a form will appear where the user should enter the following details related to the bug −
- Enter Product
- Enter Component
- Give Component description
- Select version
- Select severity
- Select Hardware
- Select OS
- Enter Summary
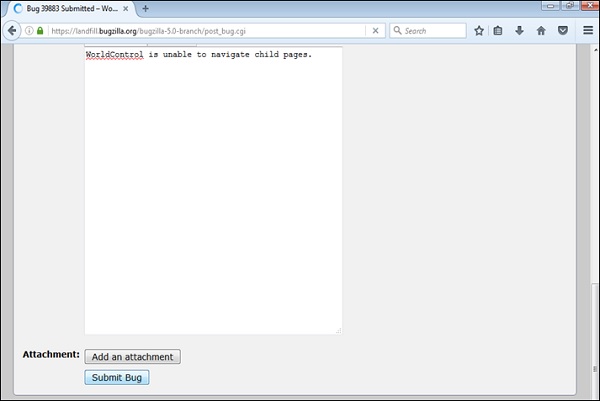
- Enter Description
- Attach Attachment
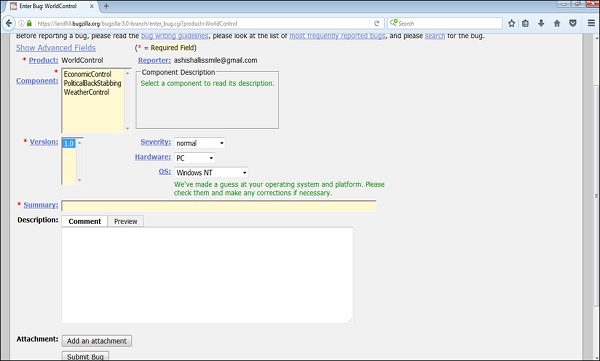
Note − The above fields vary as per the customization of Bugzilla. The Mandatory fields are marked with a red asterisk (*).
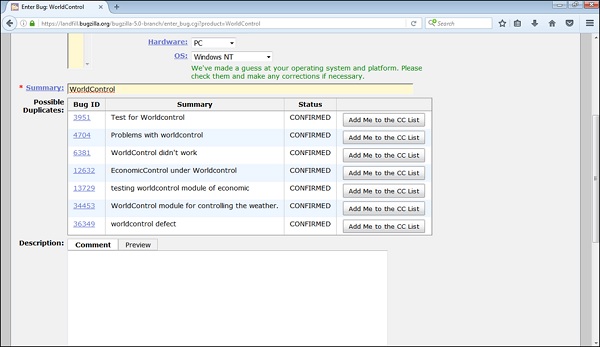
Step 5 − Once the user starts typing in the Summary, Bugzilla filters the already logged in defects and displays the list to avoid duplicate bugs.
Step 6 − Click on the Submit Bug button to log the bug.
Step 7 − As soon as the user clicks on the Submit bug button, a Bug Id is generated with the details that of bug as that were entered.
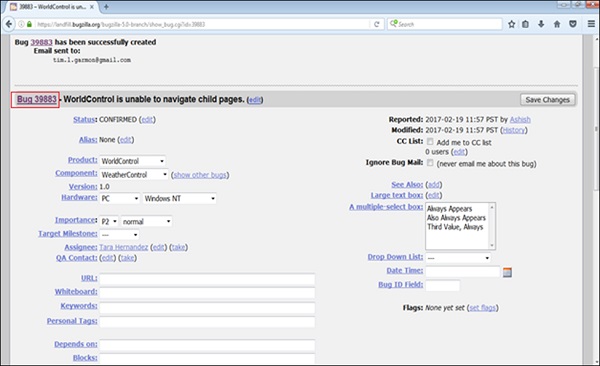
Step 8 − The Deadline and the Status will be shown as depicted in the following screenshot.
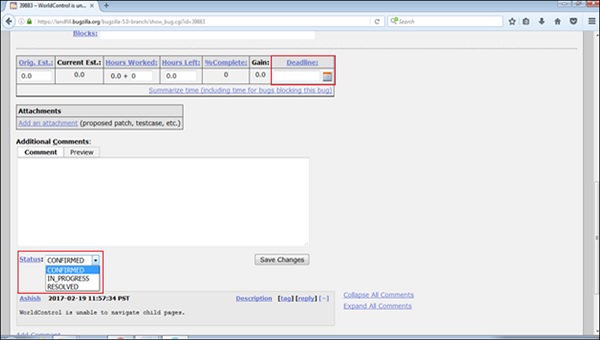
A user can also add additional information to the assigned bug like URL, keywords, whiteboard, tags, etc. This extra-information is helpful to give more details about the Bug that is created.
- Large text box
- URL
- Whiteboard
- Keywords
- Tags
- Depends on
- Blocks
In the next chapter, we will learn how a bug can be cloned.
