- AWS Lambda - Home
- AWS Lambda - Overview
- AWS Lambda - Environment Setup
- AWS Lambda - Introduction
- Building the Lambda function
- Function in NODEJS
- Function in Java
- Function in Python
- Function in Go
- Function in C#
- Configuring Lambda Function
- Creating & Deploying using AWS Console
- Creating & Deploying using AWS CLI
- Creating & Deploying using Serverless Framework
- AWS Executing & Invoking Lambda Function
- Deleting Lambda Function
- Working with Amazon API Gateway
- Lambda Function with Amazon S3
- Lambda Function with Amazon DynamoDB
- Lambda Function with Scheduled Events
- Lambda Function with Amazon SNS
- Lambda Function with CloudTrail
- Lambda Function with Amazon Kinesis
- Lambda Function with Custom User Applications
- AWS Lambda@Edge with CloudFront
- Monitoring and TroubleShooting using Cloudwatch
- AWS Lambda - Additional Example
AWS Lambda Environment Setup
Before you start working with AWS Lambda, you need to have a login with Amazon console. AWS Lambda supports two IDEs:Visual studio and Eclipse. In this chapter, we will discuss about the installation of AWS Lambda stepwise in detail.
Create login in AWS Console
You can create your login in AWS Console for free using Amazon free tier. You can follow these steps given below to create a login with amazon to make use of the Amazon services −
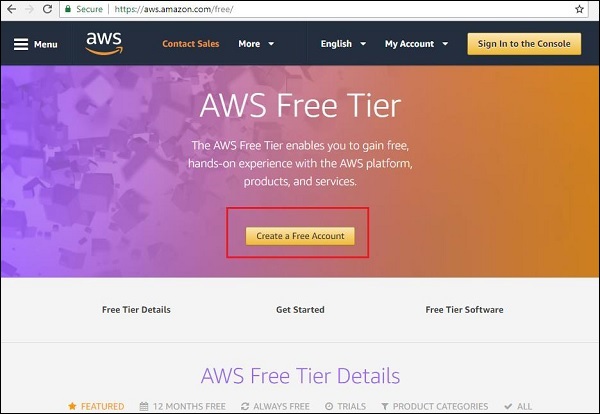
Step 1
Go to https://aws.amazon.com/free/ and click on create free account. You can see the screenshot as given below −
Step 2
Click on Create a Free Account button and you will be redirected to the screen as shown below −
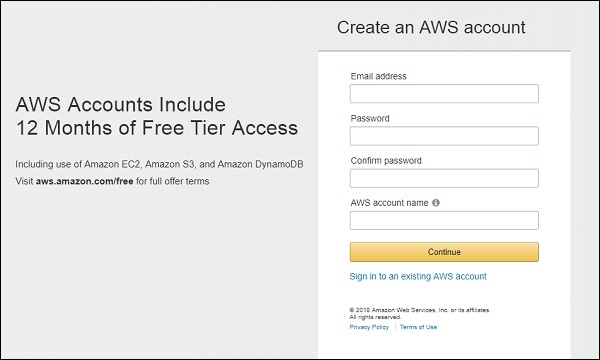
Now, fill in the details of email address, password and AWS account name as per your choice in this form shown above and click Continue.
Step 3
Now, you can find the screen as shown below −
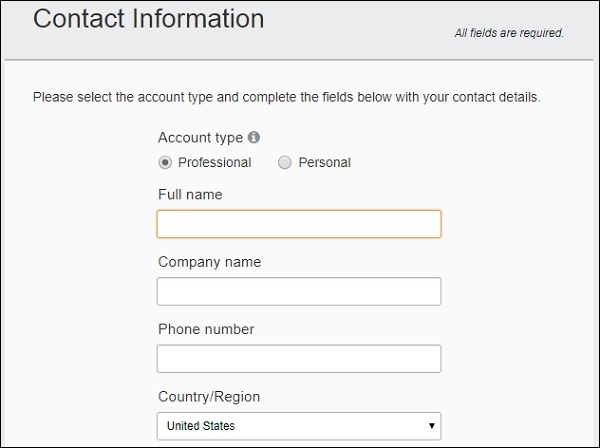
Enter all the required details in this form.
Note that there are minimum charges to be paid based on country selected. The same is refunded once the details entered are validated. You need credit or debit card details to create the free account. For Indian users Rs 2/- is deducted and for US $1 is charged.The same is refunded to the respective card user once the user is validated.
Please note the account is free and there is limit to the usage of the services. If the usage exceeds the limit, the user will be charged for it.
Once the details are entered in the form shown above click Create Account and Continue.
You will be redirected to the next screen as shown below.
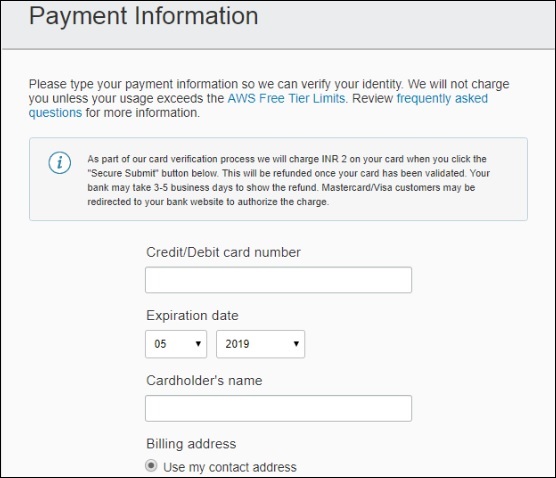
Step 4
You need to enter the payment details, that is either credit card or debit card, along with its expiry date and the card holder's name as shown below −
Step 5
Once all the details are entered, click Secure Submit and it will validate the card with the bank and will give you the OTP on your mobile which is linked with the card. You can find a window as shown below −
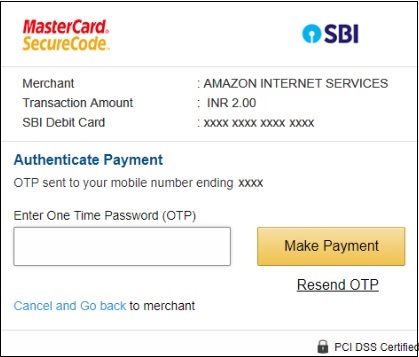
Now, enter the OTP details and click Make Payment. You are charged based on the country selected.
Step 6
Once the payment is done the next step is phone verification. You need to enter your mobile number as shown below −
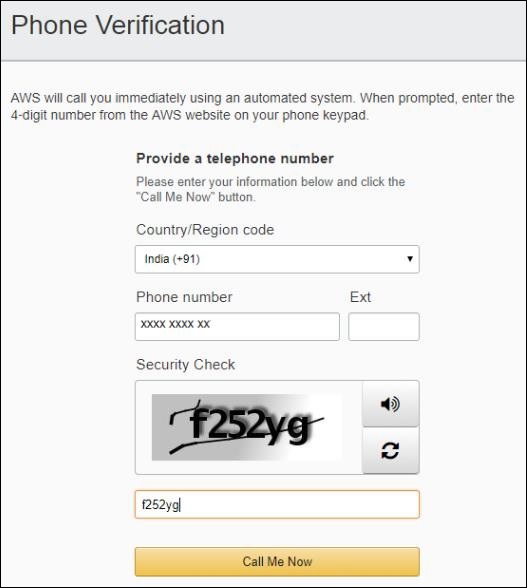
Once details are filled click Call Me Now. AWS will call immediately using automated system. When prompted on call, enter the 4-digit number that will appear on your AWS site to your phone using your phone keypad. This will verify your number and you will get the mail activation in the mail id specified at the start while creating login.
Step 7
Click the mail link and enter the account name or email id and the password and login to you to the AWS services as shown below −
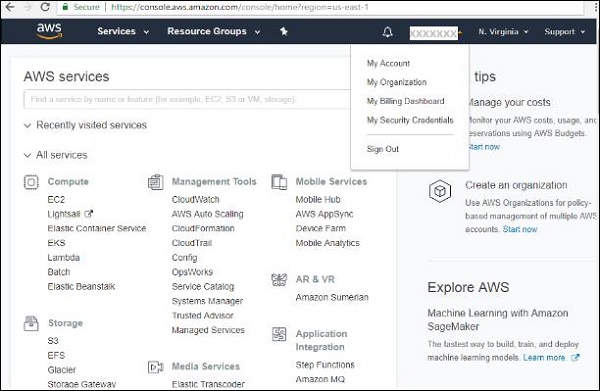
The account name is displayed at top right corner as shown above. You can now start using the AWS Lambda service. For AWS Lambda service the languages supported are NodeJS, Python, Java, C# and Go.
Installation of Visual Studio 2017
There are 2 IDEs compatible with AWS: Visual Studio and Eclipse. In this section, we will discuss installation ofVisual studio 2017 on Windows, Linux Mac. Go to the official site of Visual Studio : https://www.visualstudio.com/downloads/. You can find the welcome screen as shown −
Download the community version ie Visual Studio Community 2017 as its a free now for practice. Once installed, it will run you through the installation steps where you need to select packages to be used later. You can select nodejs, python, c# package for us to work later.

AWS Toolkit Support for Visual Studio 2017
Once you have Visual Studio 2017 installed, you will have to follow the given steps for installing AWS Toolkit support for Visual Studio 2017 −
Step 1
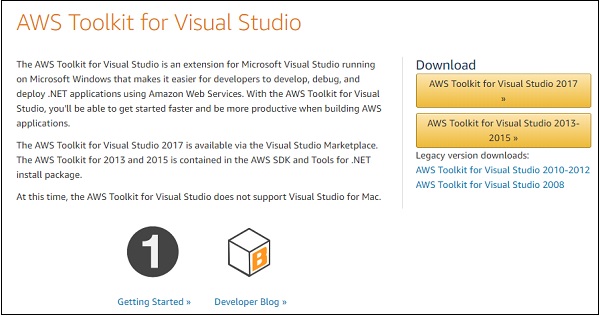
Go to https://aws.amazon.com/visualstudio/ and download the AWS toolkit for Visual Studio.The display is as shown below −
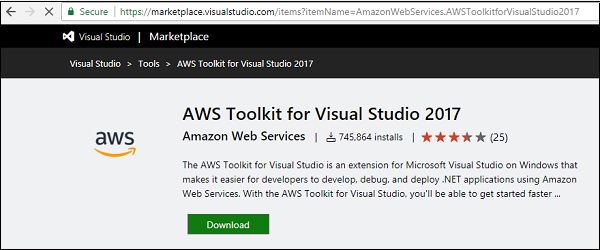
Note that the package downloaded for Visual Studio 2017 is vsix package. If your visual studio version is between 2013-2015, it will install a msi installer. Click the Download button as shown below.
Step 2
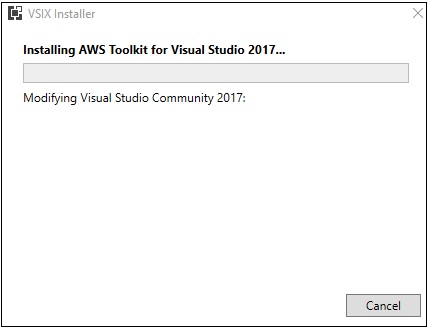
Now, double click the vsix package downloaded and it will run you through installation steps as shown below −
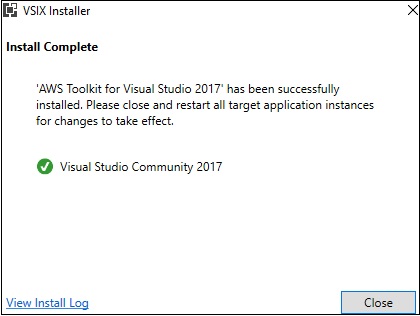
Once Visual Studio is successfully installed, you can see a window, as shown below −
Step 3
Now, open Visual Studio 2017 and you should see a welcome page from AWS as shown below −
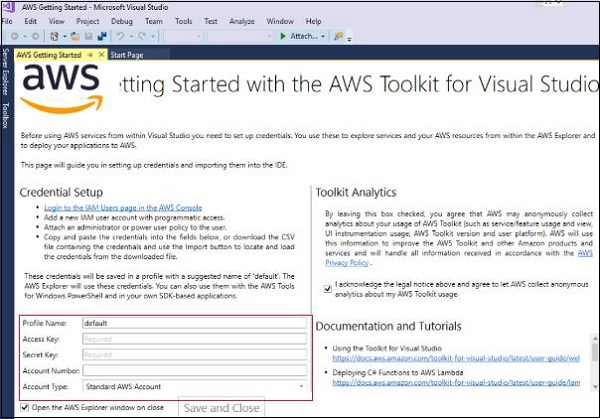
Note that you need to add the access key, secret key, account number to get started and use the AWS services from visual studio.s
AWS Lambda BoilerPlate for NodeJS
You can use it with visual studio code as shown below.
Step 1
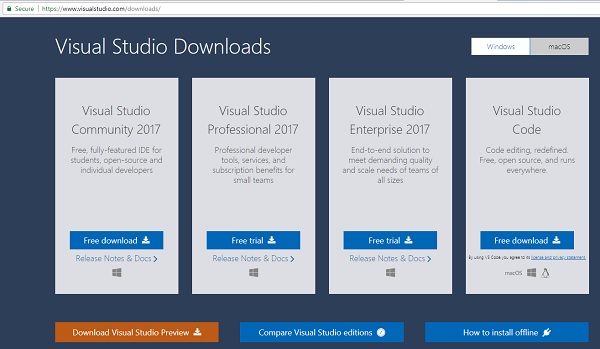
You can download Visual studio code for free from the official website:https://www.visualstudio.com/downloads/. The home page of Visual Studio downloads looks like this −
Step 2
Now, open Visual Studio code as shown below −

Step 3
To install support for AWS, support for nodejs option is available inside extensions. You can search for AWS and it will display the option as follows −
Step 4
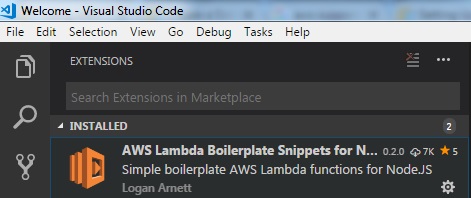
Now, install the boilerplate for AWS Lambda in nodejs as shown −
Step 5
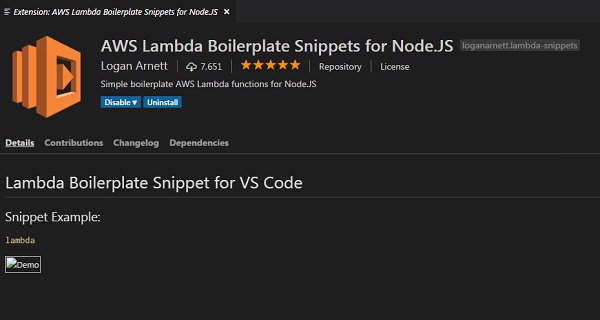
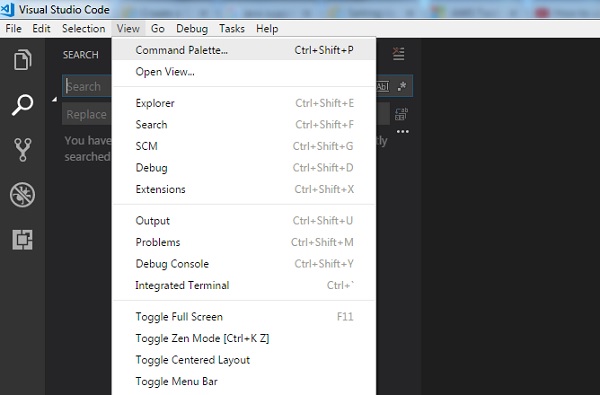
Click the repository and clone it in Visual Studio to start writing the Lambda function in Visual Studio. It redirects you to this repository which we can clone in Visual Studio: https://github.com/loganarnett/vscode-lambda-snippets. Now, open command palette from View option in Visual Studio.
Step 6
Click on it and choose git clone as shown below −

Step 7
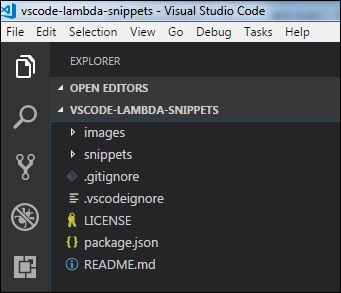
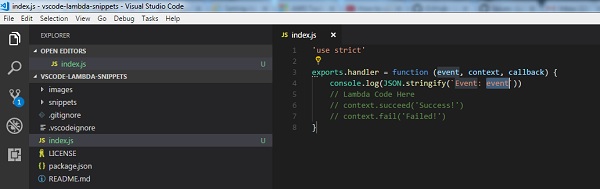
Enter the repository url and save it as per your choice locally. Create index.js file as shown below to work with lambda function −
Installation of Eclipse IDE
Now, you will have to install latest eclipse Java EE IDE. You can download it from Eclipse official site: https://www.eclipse.org/downloads/
AWS Toolkit Support for Eclipse IDE
Once Eclipse is installed, perform the following steps −
Step 1
Go to help from the menu and click Install New Software.
Step 2
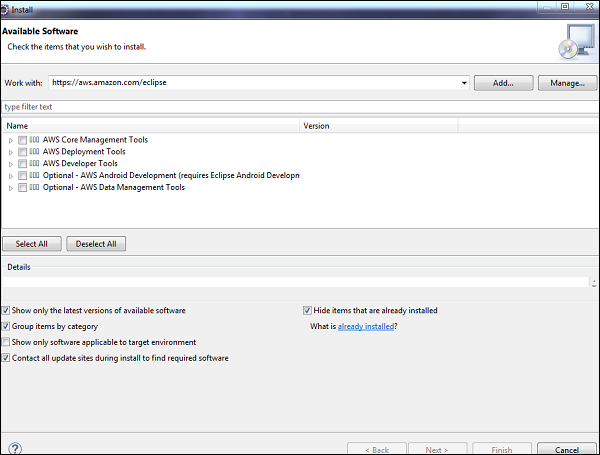
Enter https://aws.amazon.com/eclipse in the text box labelled Work with at the top of the dialog.
Step 3
Now, select the required AWS Core Management Tools and other optional items from the list shown below.
Step 4
Now, click Next. Eclipse will guide you through the remaining installation steps as given in the further steps given below.
Step 5
The AWS core modules are displayed in the grid below as shown in the screenshot given below −
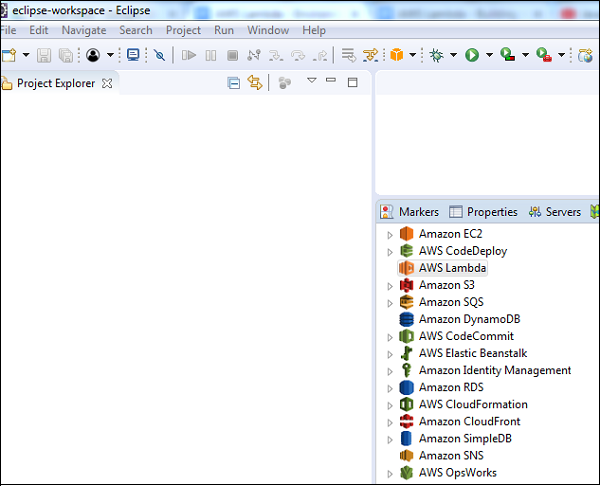
Step 6
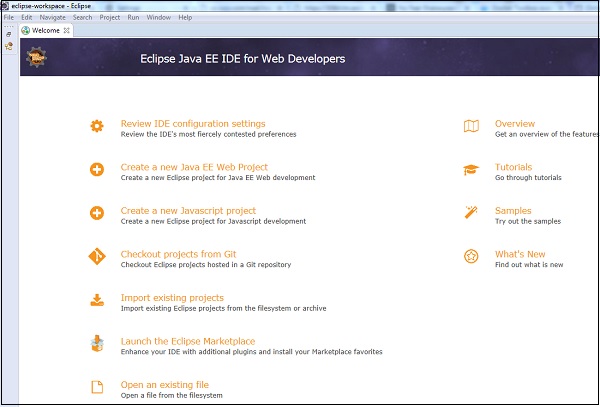
Once installed the AWS tool will be available in Eclipse as shown below −
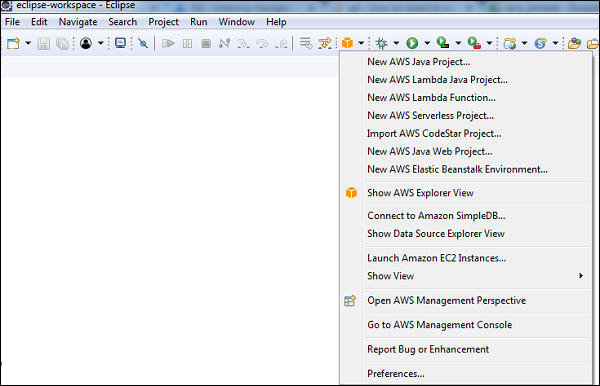
Step 7
You can see the following screen when you click on the Amazon service.
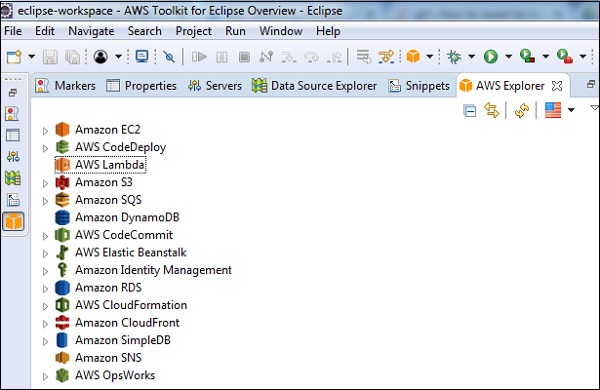
Now, click on AWS Explorer to see the services available. We shall discuss how to work with the installed IDE in upcoming chapters.
