- AWS Lambda - Home
- AWS Lambda - Overview
- AWS Lambda - Environment Setup
- AWS Lambda - Introduction
- Building the Lambda function
- Function in NODEJS
- Function in Java
- Function in Python
- Function in Go
- Function in C#
- Configuring Lambda Function
- Creating & Deploying using AWS Console
- Creating & Deploying using AWS CLI
- Creating & Deploying using Serverless Framework
- AWS Executing & Invoking Lambda Function
- Deleting Lambda Function
- Working with Amazon API Gateway
- Lambda Function with Amazon S3
- Lambda Function with Amazon DynamoDB
- Lambda Function with Scheduled Events
- Lambda Function with Amazon SNS
- Lambda Function with CloudTrail
- Lambda Function with Amazon Kinesis
- Lambda Function with Custom User Applications
- AWS Lambda@Edge with CloudFront
- Monitoring and TroubleShooting using Cloudwatch
- AWS Lambda - Additional Example
Creating and Deploying using AWS Console
We can create Lambda function and test the same in AWS console. This chapter discusses this in detail. For this purpose, you will have to follow the steps given here and observe the respective screenshots given −
Step 1
Login to AWS Console https://aws.amazon.com/console/. Now, you will be redirected to the screen where the AWS services are displayed.
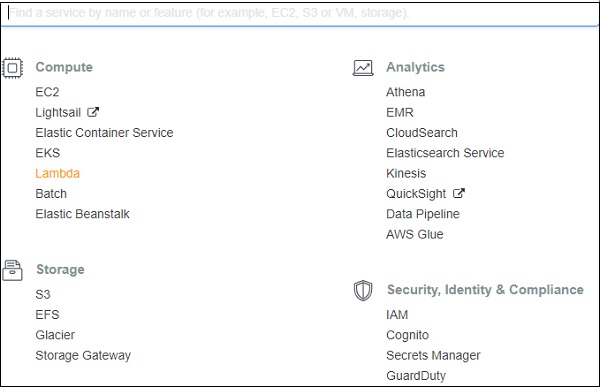
Step 2
Now, click on Lambda service as highlighted above. This will redirect to create function as shown below −

Step 3
Now, click Create function and enter the details of the function. Then you can see a screen as shown below −
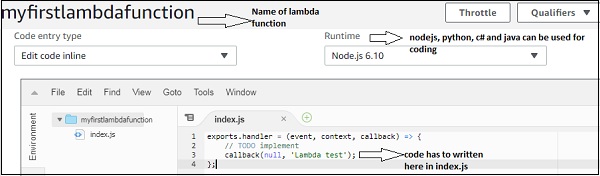
Step 4
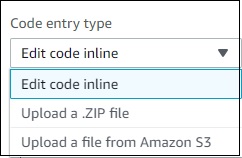
You can write your code by choosing the language of your choice. The code has to be written in editor if the option selected is edit code inline. The other options available are as follows −
Step 5
Once done you need to save the changes for which the button is given at the top right corner as shown below −

Step 6
Now, click Test button. This gives all details of the execution of the Lambda function as shown below −
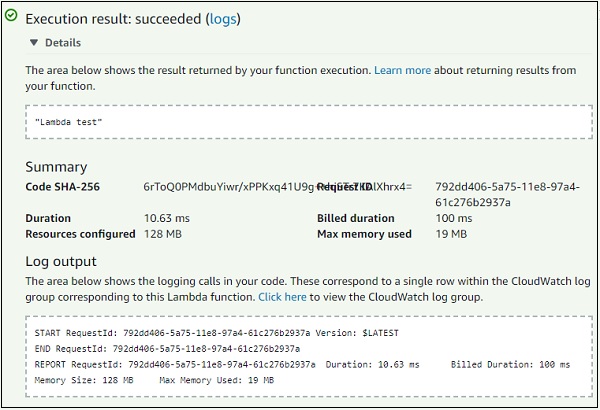
Step 7
The code for index.js is as follows −
exports.handler = (event, context, callback) => {
   // TODO implement
   callback(null, 'Lambda test');
};
This will call the Callback function and the result can be error or success. On success you will see a Lambda test message; if error it will pass null.
Step 8
The Role details for Lambda function is a part of the configuration and is displayed as shown below −
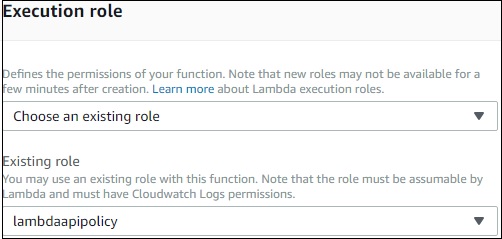
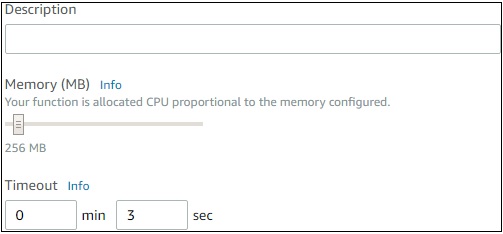
Step 9
Now, you can update the role if required and save the Lambda function. Then, the memory and timeout details for lambda function are displayed as shown below −
Step 10
Now, we need to add trigger to the Lambda function so that it executes when the event occurs. The trigger details are displayed at the start of the AWS Lambda function screen as shown below −
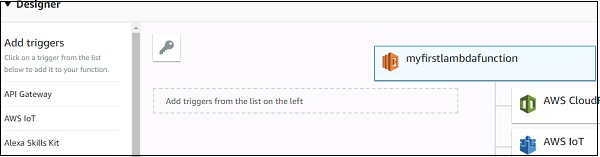
From this, you can select the trigger you want your Lambda function to get triggered. When you select the trigger, the config details for the trigger has to be added.
For Example, for trigger on S3 the config details to be added are as follows −
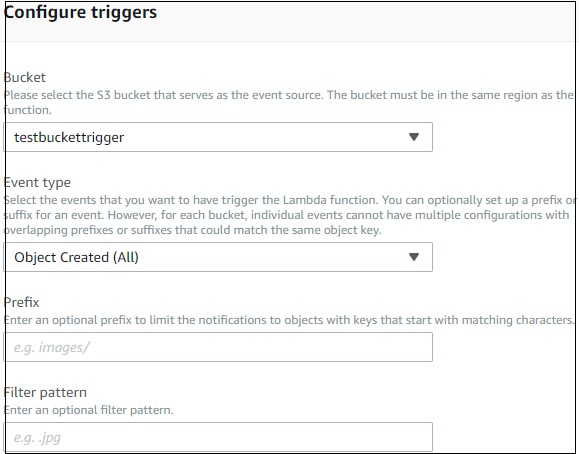
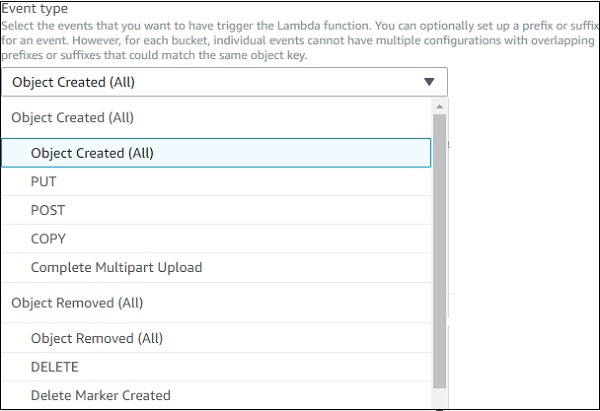
Step 11
Now, select the bucket you want the trigger on. The event type has the following details −
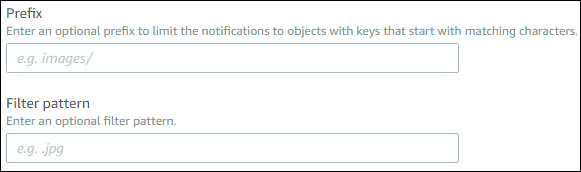
Step 12
For the trigger, you can also mention the prefix type files or file pattern, the Lambda has to be trigger. The details are as shown −
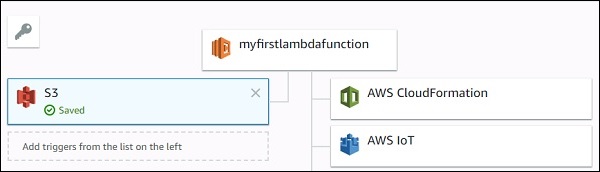
Step 13
Now, fill up the required details for the trigger and click Add button .Save the Lambda function for the trigger to get added.Saving the function deploys the details, and from now onwards anytime files are added to the S3 bucket, the Lambda will get triggered.
Observe the following screenshot which shows S3 trigger added to AWS Lambda −
Step 14
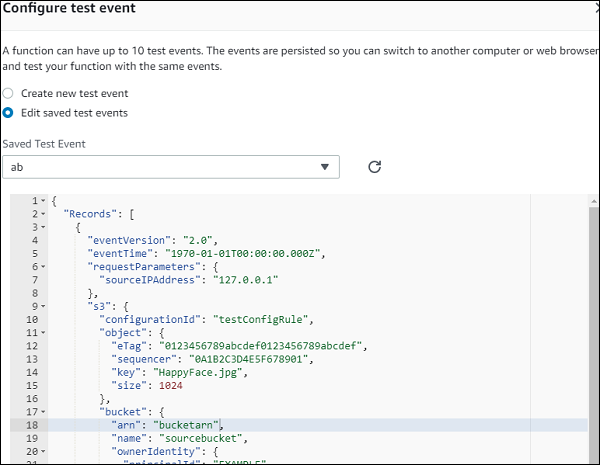
Now, let us use S3 sample event to test the Lambda function. The code for the same is shown here −
Amazon S3 Put Sample Event
{
   "Records": [{
      "eventVersion": "2.0",
      "eventTime": "1970-01-01T00:00:00.000Z",
      "requestParameters": {
         "ExampleIPAddress": "127.0.0.1"
      },
      "s3": {
         "configurationId": "testConfigRule",
         "object": {
            "eTag": "0123456789abcdef0123456789abcdef",
            "sequencer": "0A1B2C3D4E5F678901",
            "key": "HappyFace.jpg",
            "size": 1024
         },
         "bucket": {
            "arn": bucketarn,
            "name": "Examplebucket",
            "ownerIdentity": {
               "principalId": "Example"
            }
         },
         "s3SchemaVersion": "1.0"
      },
      "responseElements": {
         "x-amz-id-2": "Example123/5678abcdefghijklambdaisawesome/mnopqrstuvwxyzABCDEFGH",
         "x-amz-request-id": "Example123456789"
      },
      "awsRegion": "us-east-1",
      "eventName": "ObjectCreated:Put",
      "userIdentity": {
         "principalId": "Example"
      },
      "eventSource": "aws:s3"
   }]
}
You will have to use the following command to get the details of file uploaded from the S3 put event −
event.Records[0].s3.object.key //will display the name of the file
You will have to use the following command to get the bucket name −
event.Records[0].s3.bucket.name //will give the name of the bucket.
You will have to use the following command to get the EventName −
event.Records[0].eventName // will display the event name
Step 15
Now, let us update AWS Lambda code to print the S3 details as shown below −
exports.lambdahandler = (event, context, callback) => {
   callback(null, "Bucket name: "+event.Records[0].s3.bucket.name+"
   File name:"+event.Records[0].s3.object.key );
};
Step 16
Save the changes. Click Test and enter the S3 sample event −
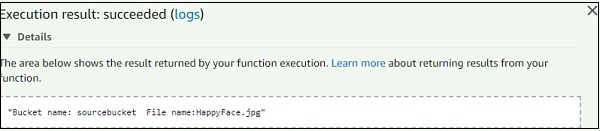
Step 17
Now click Test and you can see the output as shown −
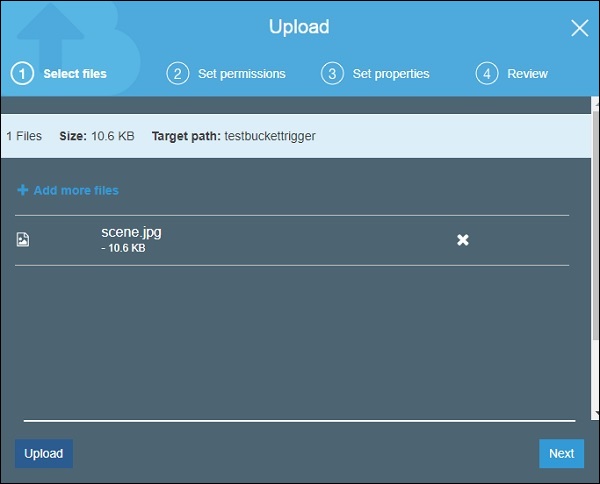
Step 18
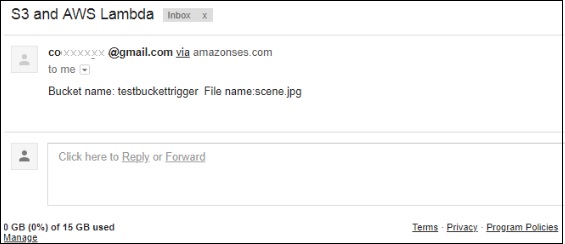
To test the trigger on S3 using S3 AWS service, upload a file in S3 bucket: test bucket trigger. Update the role used with Lambda to take S3 and SES policy(to send mail) for permissions. This will update AWS Lambda code to send mail to see the trigger working −
The updated AWS Lambda code is as shown −
var aws = require('aws-sdk');
var ses = new aws.SES({
   region: 'us-east-1'
});
exports.lambdahandler = function(event, context, callback) {
   var eParams = {
      Destination: {
         ToAddresses: ["coxxxxxxx@gmail.com"]
      },
      Message: {
         Body: {
            Text: {
               Data: "Bucket name: "+event.Records[0].s3.bucket.name+"  File name:"+event.Records[0].s3.object.key
            }
         },
         Subject: {
            Data: "S3 and AWS Lambda"
         }
      },
      Example: "coxxxxxx@gmail.com"
   };
   console.log('===SENDING EMAIL===');
   var email = ses.sendEmail(eParams, function(err, data) {
      if (err) console.log(err);
         else {
            console.log("===EMAIL SENT===");
            console.log("EMAIL CODE END");
            console.log('EMAIL: ', email);
            context.succeed(event);
            callback(null, "email is send");
         }
   });
};
The corresponding screenshot is as shown here −
Step 19
Now, upload the file and check the mail id provided in AWS Lambda code −