 Data Structure
 Networking
 RDBMS
RDBMS Operating System
 Java
Java MS Excel
 iOS
iOS HTML
HTML CSS
CSS Android
 Python
 C Programming
 C++
C++ C#
C# MongoDB
 MySQL
MySQL Javascript
 PHP
PHP
- Selected Reading
- UPSC IAS Exams Notes
- Developer's Best Practices
- Questions and Answers
- Effective Resume Writing
- HR Interview Questions
- Computer Glossary
- Who is Who
Animated Floating Action Button in kivy
In kivy, one of the most popular UI components in modern mobile is the Floating action button(FAB), which is used to represent the primary action of the applications. Kivy is an open-source Python framework that is used fr creating cross-platform user inerfaces. In this article, we will discuss how to create an animated floating action button in Kivy.
What is a floating Action button in Kivy?
The floating action button is a circular button that is typically placed in the bottom-right corner of the Kivy screen. It is mainly used to represent the primary action of the application and provides a quick and easy way for users to perform that particular action. The floating action button(FAB) is an important UI (User interface) element in modern mobile applications and is used extensively in applications like Google Maps, WhatsApp, and Gmail.
How to create an animated floating action button in Kivy?
To create an animated floating action button in Kivy, we will be using a combination of Kivy Animation API and Kivy widgets. The animation API allows us to animate any Kivy widget by changing its properties over time. We will be using the Animation API to create a simple animation for the floating action button, which will make it float up and down on the screen. Below are the steps to create an animated floating action button ?
Step 1
Create a virtual environment ? You can name your virtual environment by anything you want in this article we will name it kivy_venv.
Step 2
Install kivy and kivy_garden ? Before we start animated floating action buttons in Kivy, we need to install the required libraries. We can install Kivy, and other dependencies using pip.
Step 3
Create a new file in any text editor you want we have used the Sublime text editor and save the file as main.py in the current directory. Import the important modules. Below are some modules that we will be importing into our program ?
Step 4
Creating the Floating action button ? The next step is to create a Floating action button. We will be using the Button widget in Kivy to create the floating action button. To make it circular, we will set the shape property of the Button widget to ?oval'.
Step 5
Creating the Animation ? After we have created the floating action button, the next step is to create the animation. We will be using the Animation API in Kivy to create a simple animation for the FAB.
Step 6
Adding a Floating action button to the screen ? The final step is to add the Floating action button to the screen. We will be using the BoxLayout widget in Kivy to create a simple layout and add the Floating action button to it.
Program (File: main.py)
Below is the program to create an animated action button in Kivy ?
from kivy.app import App
from kivy.uix.button import Button
from kivy.animation import Animation
from kivy.uix.boxlayout import BoxLayout

# Creating the Floating action button
class MyFloatingActionButton(Button):
   def __init__(self, **kwargs):
      super().__init__(**kwargs)
      self.size_hint = (None, None)
      self.size = (56, 56)
      self.pos_hint = {'center_x': 0.5, 'y': 0}
      self.shape = 'oval'
      self.animate()

#Creating the animation
   def animate(self):
      animation = Animation(y=100, t='out_quad') + Animation(y=0, t='in_quad')
      animation.repeat = True
      animation.start(self)

# Adding a Floating action button to the screen
class MyApp(App):
   def build(self):
      layout = BoxLayout()
      fab = MyFloatingActionButton(text='floating_button')
      layout.add_widget(fab)
      return layout

MyApp().run()
In the above program, we have initially defined a custom class MyFloatingActionButton that extends the Button widget in Kivy. The __init__ method of the class sets the size, shape, and position of the floating action button and calls the animate method to start the animation.
The animate method creates an Animation object that moves the floating action button up and down on the screen using the ?out_quad' and ?in_quad' easing functions. It sets the repeat property of the animation to True to make it repeat indefinitely and starts the animation on the floating animation button widget.
Finally, we started the animation by calling the start() method on the Animation object and passing in the floating action button as an argument.
The MyApp class defines the main application and creates a new instance of the MyFloatingActionButton class. It adds the floating action button widget to a BoxLayout and returns the layout as the root widget of the app.
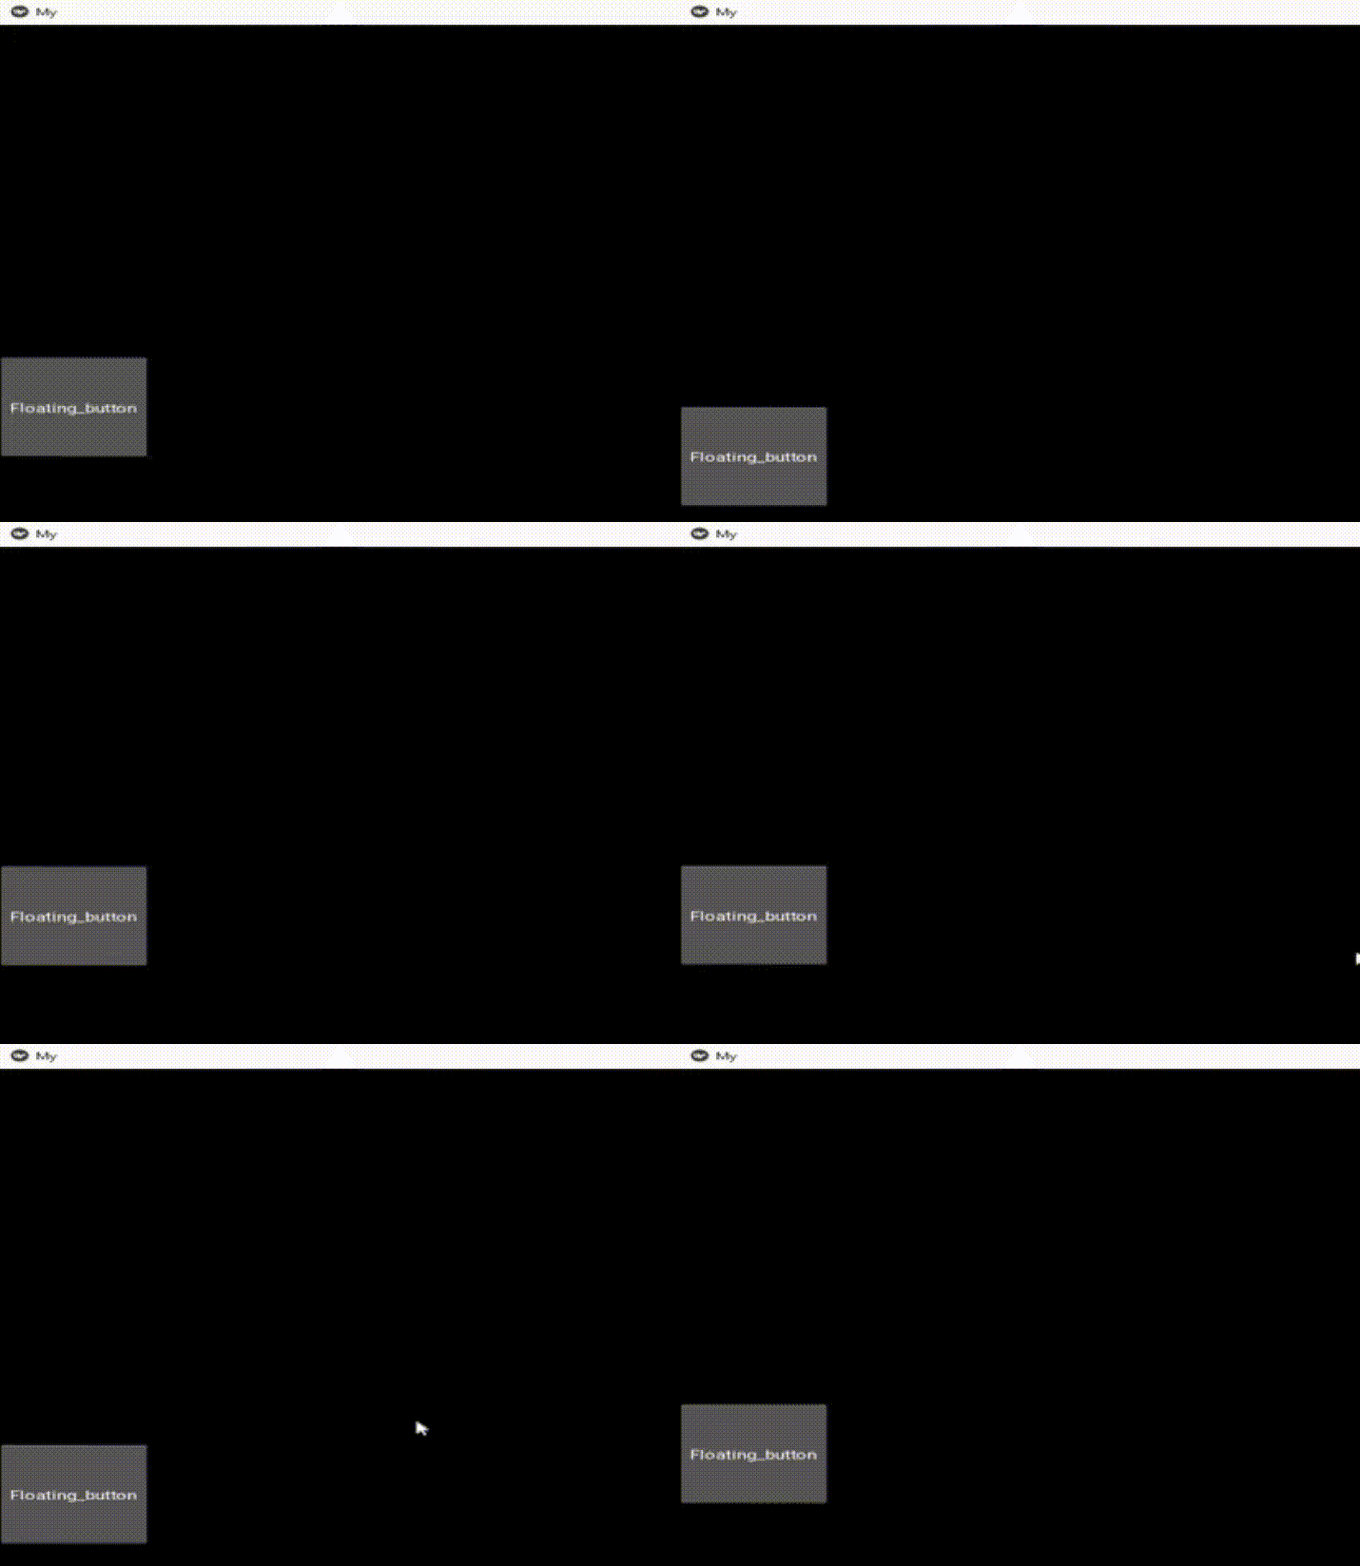
When the program is executed, it creates a new Kivy application and displays the animated floating action button on the screen. The floating animation button floats up and down continuously until the application is closed.
Output
Open the command prompt and type the below code in the command prompt ?
python main.py
After typing the above code in the command prompt, press enter and it will give the following output.

Conclusion
In conclusion, the animated floating action button in Kivy is a powerful tool for creating interactive and visually appealing user interfaces in Python. The use of animation adds a level of sophistication to the user interface and enhances the overall user experience. We have utilized the animated floating action buttons and other UI elements, by which we have created an engaging and intuitive application that meets the needs of the user.

