 Data Structure
 Networking
 RDBMS
RDBMS Operating System
 Java
Java MS Excel
 iOS
iOS HTML
HTML CSS
CSS Android
 Python
 C Programming
 C++
C++ C#
C# MongoDB
 MySQL
MySQL Javascript
 PHP
PHP
- Selected Reading
- UPSC IAS Exams Notes
- Developer's Best Practices
- Questions and Answers
- Effective Resume Writing
- HR Interview Questions
- Computer Glossary
- Who is Who
Absolute Layout in Android with Example
What is Absolute Layout in Android?
Absolute Layout is a View Group in Android which is used to align widgets within it by specifying x and y axis position to it. We can align the widgets within this view group by specifying x and y position to each widget we display within this view group. It becomes difficult to align the child widgets by specifying the x and y position. Along with that it becomes difficult to design the UI of the application for different screen sizes.
Important method of Absolute Layout child widgets ?
| Method | Method Description |
|---|---|
| layout_x | This method is use to set widget from left side of the screen by a specific value |
| layout_y | This method is use to set widget from top of the screen by a specific value |
Implementation of Absolute Layout in Android
We will be creating a simple application in which we will be displaying an Absolute Layout as our root layout. Inside this absolute layout we will be creating two text views for displaying our heading and subheading. We will be following a step by step guide to implement addition of two numbers in Android.
Step 1 : Creating a new project in Android Studio
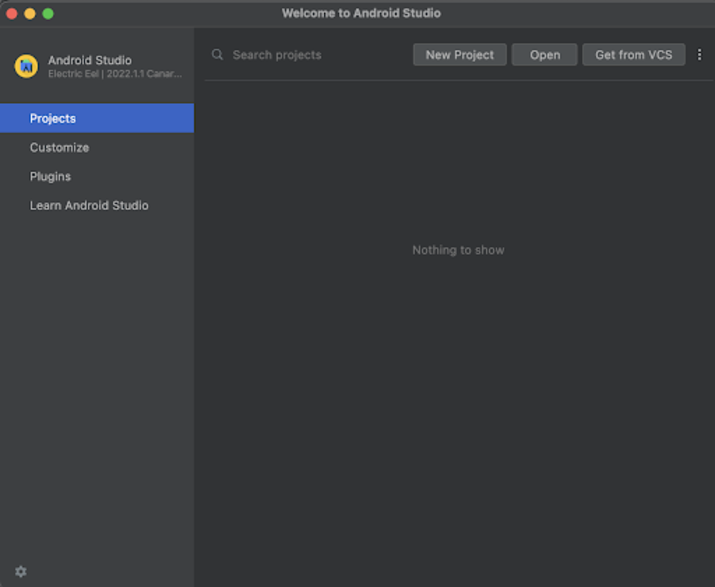
Navigate to Android studio as shown in below screen. In the below screen click on New Project to create a new Android Studio Project.

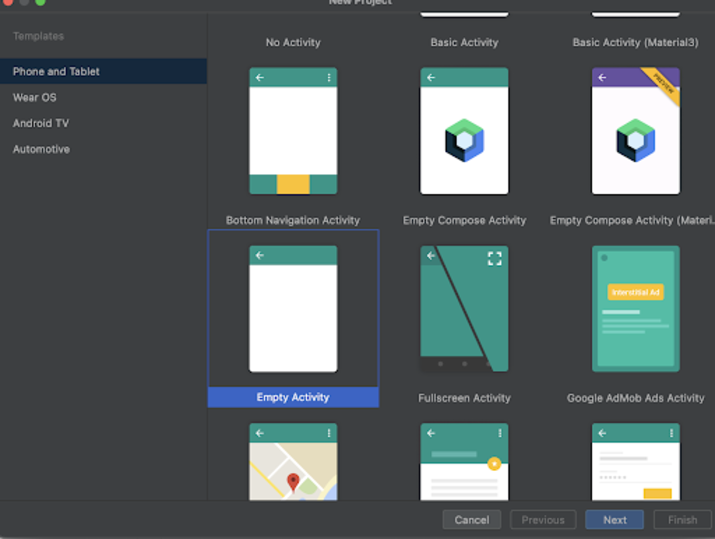
After clicking on New Project you will get to see the below screen.

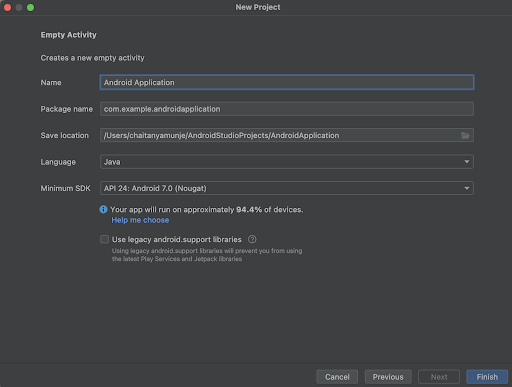
Inside this screen we have to simply select Empty Activity and click on Next. After clicking on next you will get to see the screen below.

Inside this screen we have to simply specify the project name. Then the package name will be generated automatically.
Note ? Make sure to select the Language as Java.
After specifying all the details click on Finish to create a new Android studio project.
Once our project has been created we will get to see 2 files which are open i.e activity_main.xml and MainActivity.java file.
Step 3 : Working with activity_main.xml
Navigate to activity_main.xml. If this file is not visible. To open this file. In the left pane navigate to app>res>layout>activity_main.xml to open this file. After opening this file. Add the below code to it. Comments are added in the code to get to know in detail.
<?xml version="1.0" encoding="utf-8"?>
<AbsoluteLayout xmlns:android="http://schemas.android.com/apk/res/android"
   xmlns:app="http://schemas.android.com/apk/res-auto"
   xmlns:tools="http://schemas.android.com/tools"
   android:layout_width="fill_parent"
   android:layout_height="fill_parent"
   android:orientation="vertical"
   tools:context=".MainActivity">

   <!--Creating a text view for heading on below line-->
   <TextView
      android:layout_width="wrap_content"
      android:layout_height="wrap_content"
      android:layout_x="90dp"
      android:layout_y="350dp"
      android:text="Absolute Layout in Android"
      android:textColor="@android:color/black"
      android:textSize="20sp"
      android:textStyle="bold" />

   <!-- creating a text view for sub heading on below line-->
   <TextView
      android:layout_width="wrap_content"
      android:layout_height="wrap_content"
      android:layout_x="150dp"
      android:layout_y="400dp"
      android:text="Hello World"
      android:textColor="@android:color/black"
      android:textSize="18sp"
      android:textStyle="bold" />
</AbsoluteLayout>
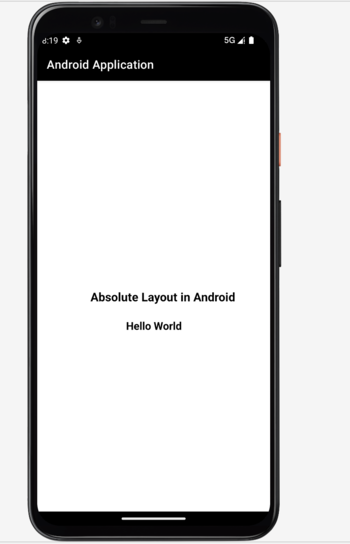
Explanation ? In the above code we are creating our root layout as Absolute Layout. Inside this layout we are creating two text views. Inside the first text view we are specifying width and height as wrap content. After that we are adding layout_x to align this widget from x axis to 90 dp. SImilarly we are specifying layout_y to align the widget from top to 350 dp. After that we are specifying the text which we have to display. Then we are adding text color to it as black. After that we are adding text size and text style as bold.
Similarly we are creating one more text view. Inside this text view we are specifying the layout_x as 150 dp to align the text view to 150 dp from the left side of the screen and specifying layout_y as 400 dp to align text view to 400 dp from top of screen.
After adding the above code now we have to simply click on the green icon in the top bar to run our application on a mobile device.
Note ? Make sure you are connected to your real device or emulator.

Conclusion
In the above tutorial we learn What is ListView and how we can use that listview to display the data from our array inside it. Along with that we have also taken a look on Adding on click listener for the item of our list view.

