 Data Structure
 Networking
 RDBMS
RDBMS Operating System
 Java
Java MS Excel
 iOS
iOS HTML
HTML CSS
CSS Android
 Python
 C Programming
 C++
C++ C#
C# MongoDB
 MySQL
MySQL Javascript
 PHP
PHP
- Selected Reading
- UPSC IAS Exams Notes
- Developer's Best Practices
- Questions and Answers
- Effective Resume Writing
- HR Interview Questions
- Computer Glossary
- Who is Who
A concise way to configure tkinter option menu
The OptionMenu widget is a drop-down menu that displays a list of options for the user to choose from. It's a commonly used widget in graphical user interface (GUI) programming for Python, and is often used in conjunction with other Tkinter widgets to create intuitive and interactive interfaces.
In this article, we'll explore a concise way to configure the Tkinter OptionMenu widget using Python. Specifically, we'll cover
The basic syntax of the OptionMenu widget
How to bind a command to the selection
A concise way to define options and their corresponding commands
By the end of this article, you'll have a solid understanding of how to use the OptionMenu widget in your Python applications.
Basic Syntax of the OptionMenu Widget
The basic syntax for creating an OptionMenu widget in Tkinter is as follows
OptionMenu(master, variable, *options)
master is the parent widget
variable is a StringVar object that holds the currently selected option
*options are the options to display in the menu, separated by commas
Example
For example, let's create a basic OptionMenu that allows the user to select their favorite color
from tkinter import *

root = Tk()
root.geometry("720x250")
root.title("Creating a basic OptionMenu Widget")

colors = ["Red", "Green", "Blue"]
selected_color = StringVar(value=colors[0])

color_menu = OptionMenu(root, selected_color, *colors)
color_menu.pack()

root.mainloop()
In this code, we define a list of colors and create a StringVar object called selected_color that holds the currently selected color (which is initially set to the first color in the list). We then create an OptionMenu called color_menu that displays the list of colors, using the selected_color variable to keep track of the current selection. Finally, we pack the OptionMenu onto the main window using the pack() method.
Output
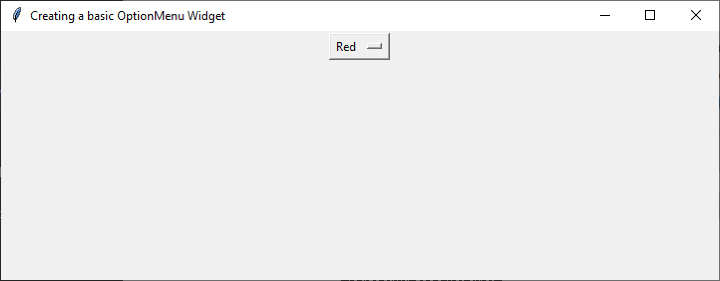
When we run this code, we see a drop-down menu that displays the list of colors

Binding a Command to the Selection
Often, we want to execute a function when the user selects an option from the OptionMenu. We can achieve this by binding a command to the OptionMenu using the command parameter in the constructor.
Example
For example, let's create an OptionMenu that displays a list of animals, and prints the selected animal to the console when the user selects it
from tkinter import *

root = Tk()
root.geometry("720x250")
root.title("Creating a basic OptionMenu Widget with Binding a Command to the Selection")

def show_selection(option):
   print(f"Selected option: {option.get()}")

options = ["Cat", "Fish", "Dog"]
selected_option = StringVar(value=options[0])

option_menu = OptionMenu(root, selected_option, *options, command=lambda option: show_selection(selected_option))
option_menu.pack()

root.mainloop()
Output
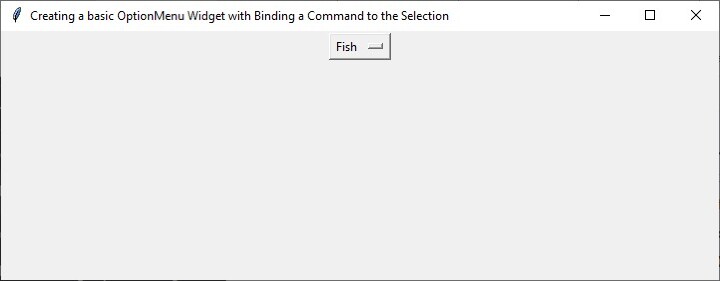
When we run this code, we see the drop-down menu of animals

And when we select an animal, we see the corresponding message printed to the console
Selected option: Fish
A Concise Way to Define Options and Commands
In many cases, we may have a large number of options to display in an OptionMenu, along with corresponding commands to execute when each option is selected. In such cases, it can be cumbersome to define each option and command individually in the constructor.
Instead, we can use a dictionary to define the options and corresponding commands, and then use a loop to create the OptionMenu dynamically. Here's an example that demonstrates this approach
Example
from tkinter import *

root = Tk()
root.geometry("720x250")
root.title("A Concise Way to Define Options and Commands in tkinter Option menu Widget")

def show_selection(option):
   print(f"Selected option: {option.get()}")

options = ["Option1", "Option2", "Option3", "Option4", "Option5"]
selected_option = StringVar(value=options[0])

option_menu = OptionMenu(root, selected_option, *options, command=lambda option: show_selection(selected_option))
option_menu.pack()

root.mainloop()
In this code, we define a dictionary called options that maps each option label to a corresponding lambda function that executes the desired command. We also define a selected_option variable that holds the currently selected option, which is initially set to the first option in the dictionary.
We then create an OptionMenu called option_menu that displays the list of options, using the selected_option variable to keep track of the current selection. We pack the OptionMenu onto the main window using the pack() method.
Finally, we loop through the options dictionary using the items() method, and use the add_command() method on the OptionMenu's "menu" attribute to dynamically create each option and bind its corresponding command. This approach allows us to define a large number of options and commands in a concise and readable way.
Output
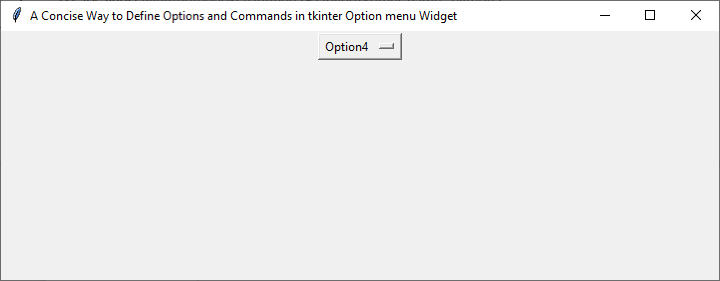
When we run this code, we see the drop-down menu of options

And when we select an option, we see the corresponding message printed to the console
Selected option: Option4
Conclusion
In this article, we've explored a concise way to configure the Tkinter OptionMenu widget using Python. We've covered the basic syntax of the OptionMenu widget, how to set the initial selected option, how to bind a command to the selection, and a concise way to define options and their corresponding commands using a dictionary and loop. By using these techniques, you can create intuitive and interactive GUIs in Python that allow users to select from a list of options with ease.

