- Robot Framework Tutorial
- Robot Framework - Home
- Robot Framework - Overview
- Environment Setup
- Unix and Linux Installation
- Introduction to Ride
- First Test Case Using Ride
- Writing and Executing Test Cases
- Keyword and Data Driven Test Cases
- Working With Browsers Using Selenium Library
- Working With Textbox
- Working With Radio Button
- Working With Checkbox
- Working With Dropdown
- Working With Keywords
- Working With Variables
- Working With Command Line
- Working With Setup And Teardown
- Working with Built-In Library
- Working With External Database libraries
- Testing Login Page Using Robot Framework
- Robot Framework Useful Resources
- Robot Framework - Quick Guide
- Robot Framework - Useful Resources
- Robot Framework - Discussion
Writing and Executing Test Cases
In this chapter, we will learn how to write and execute test cases. We would cover the following areas in this chapter −
- Project Setup
- Importing Libraries
- Write test case in tabular format
- Using Tags for Executing Test Case
- Use Resource Files for Test Case
Project Setup
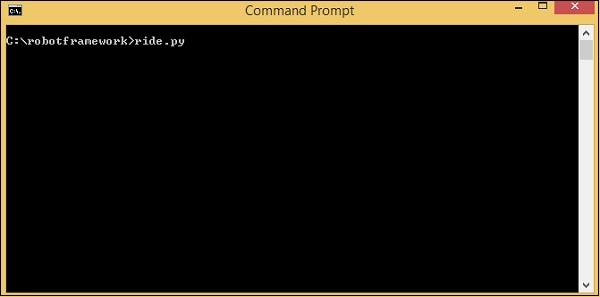
Run the command ride.py to start RIDE IDE.
Command
ride.py
Click on File -> New Project as shown below −
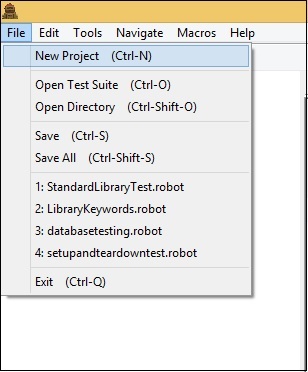
Upon clicking New Project, the screen will appear as shown below −
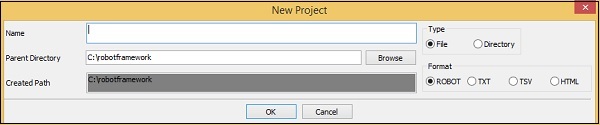
New Project shows the type as file or directory. By default, File is selected. We will click on Directory to create test suite, which can have many test suites in that directory. Each suite will have test−cases.
We will use the ROBOT format for now.
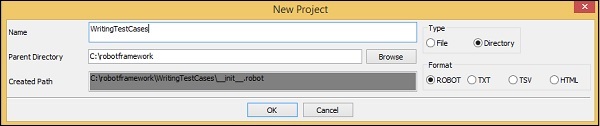
The Parent-Directory is the path where the WritingTestCases directory will be created. Click OK to save the test suite directory.
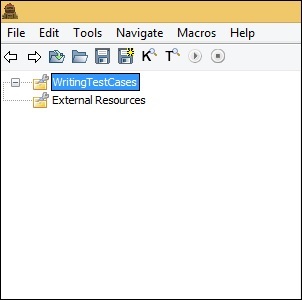
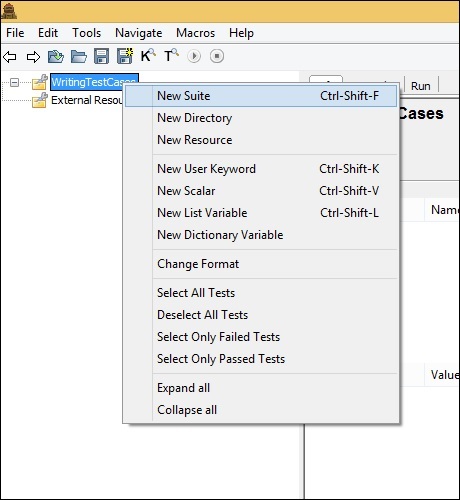
Right-click on the directory created and click on New Suite. You can also create sub directories with test suites in that.
For now, we will start with Test Suite creation as shown below −
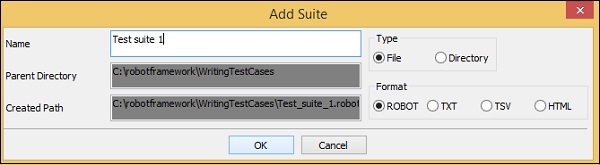
Click OK to save the Test suite.
Now you can add test case to the suite. Right-click on the Test suite created as shown below −
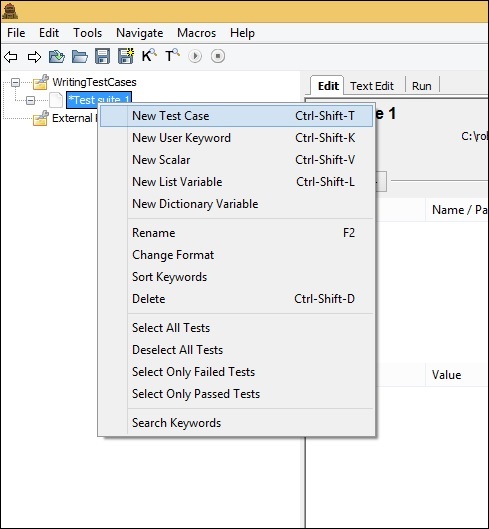
Click New Test Case. It will display the screen to add name of the test case as shown below −

Click OK to save the test case. We have the project setup ready.
Importing Libraries
Robot Framework has its own built-in library, which need not be imported. But we need to interact with the browsers, databases, etc. To interact, we need to import the libraries.
The list of external libraries supported by robot framework are listed on robot framework official site as shown below −
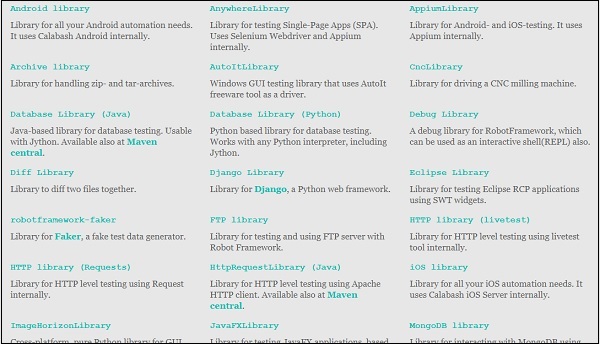
For working with browsers and web application, we are going to import Selenium Library. The installation is discussed in the chapter Working with Browsers using Selenium Library.
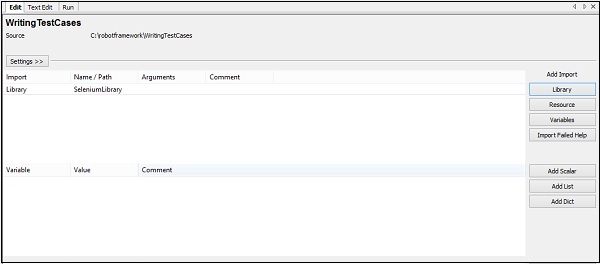
To import a library, we need to click main project. To the right, the setting will display the Add Import option as shown below −

Click Library and enter the name of the library as shown below −
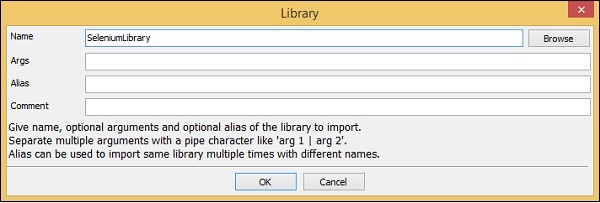
Click Ok to save the library.
The settings will be displayed in the settings as shown below −
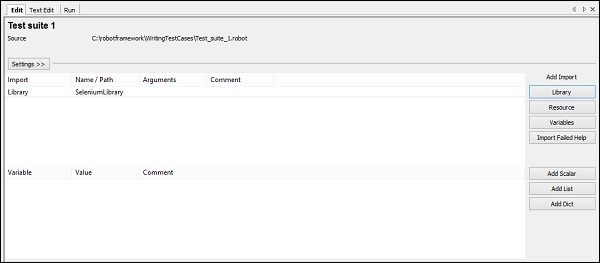
We need to repeat the same step and add library for the test suite created. Click on the test suite created and import the library as shown below −
When you click on the test case on the left side, it will display the tabular format where you can enter the keywords. Now, you can use the built-in keywords and the keywords available from the selenium library.
Write test case in tabular format
Here is a simple test case, which opens the URL in chrome browser.
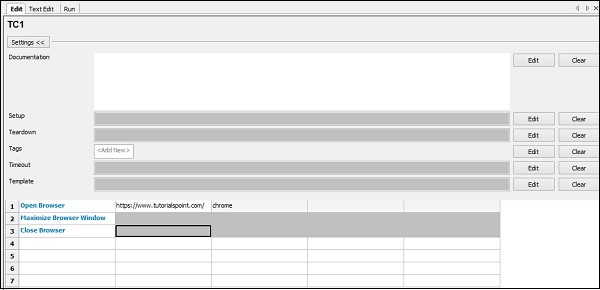
The following shows the details of the test cases −
*** Settings ***
Library SeleniumLibrary

*** Test Cases ***
TC1
   Open Browser https://www.tutorialspoint.com/ chrome
   Maximize Browser Window
   Close Browser
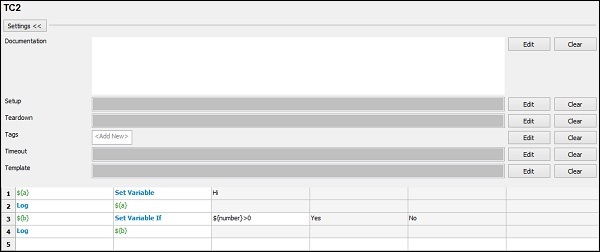
We will add one more test case: TC2 in the same project.
*** Settings ***
Library SeleniumLibrary

*** Variables ***
${number} 100

*** Test Cases ***
TC1
   Open Browser https://www.tutorialspoint.com/ chrome
   Maximize Browser Window
   Close Browser

TC2
   ${a} Set Variable Hi
   Log ${a}
   ${b} Set Variable If ${number}>0 Yes No
   Log ${b}
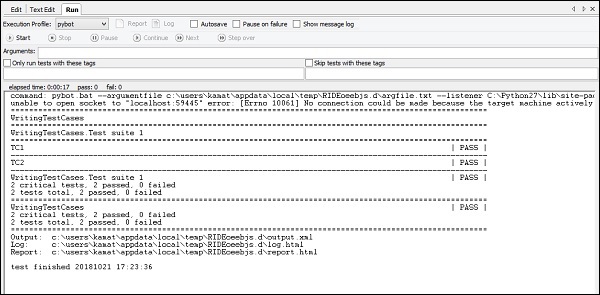
We can add multiple test cases under the test suite created. Click Run to execute the test cases. The execution will take place based on the number of test cases added −
Using Tags for Executing Test Case
In case you want to run only test case TC2, you can tag the same. Click on the test case and click Edit across Tags as shown below −
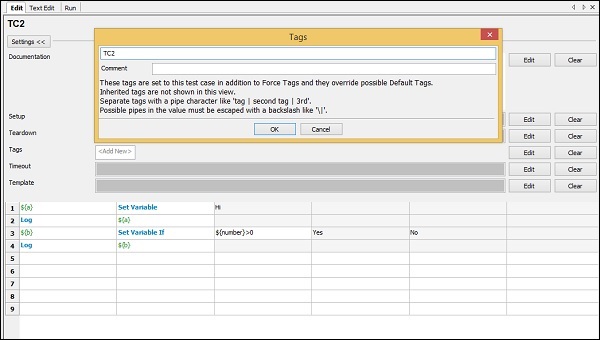
Click Ok to save the tag. Add the tag name in Run as shown below −

We have selected option -> Only run tests with these tags and added tag name in it. Now, it will run only those test cases that have tag names. You can give any name and group the test cases based on tag name and run the same. You can also use tag to skip the test case.
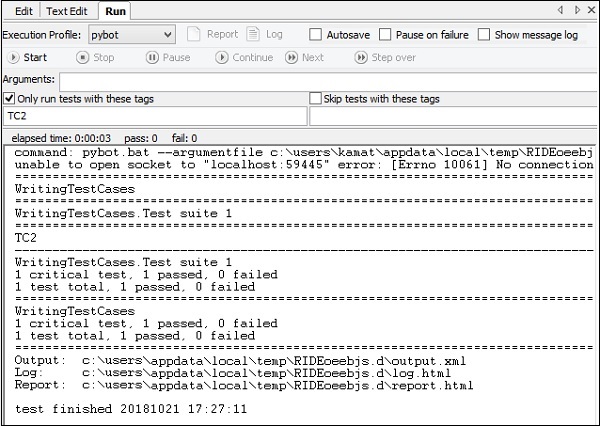
Now we can see only TC2 running when executed.
Use Resource Files for Test Case
Robot framework has option for resource, where you can import robot files to be used with the test cases.
Test case TC1 that we have created uses the following keywords −

We have used Keywords like −
- Open Browser
- Maximize Browser Window
- Close Browser
We will use a user-defined keyword for the above test case. The user-defined keyword will be available in the robot file which will be used as a resource.
We will create a file in the same directory and write our keyword as follows −
Please note details of keywords, i.e., how to create user-defined keywords are explained in Robot Framework − Working with Keywords chapter.
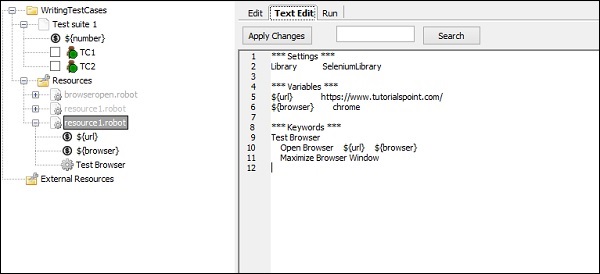
We have created a user−defined keyword called Test Browser as shown in the browseropen.robot file −
*** Settings ***
Library SeleniumLibrary

*** Variables ***
${url} https://www.tutorialspoint.com/
${browser} chrome

*** Keywords ***
Test Browser
   Open Browser ${url} ${browser}
   Maximize Browser Window
The file contains various options such as Settings, Variables, and Keywords. Please note, we cannot write test case inside the file to be used as resource. We will upload the above file as resource for the test suite as shown below.
Select the test suite. On the left side, click on resource option as shown below −
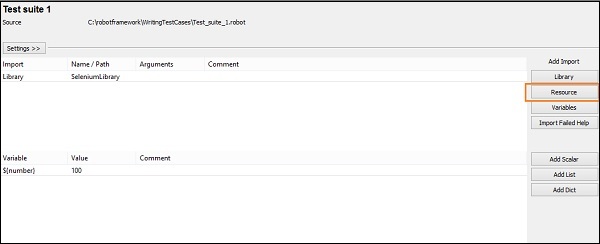
Click on Resource and it will ask the path to import robot file −
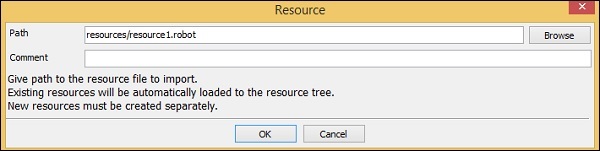
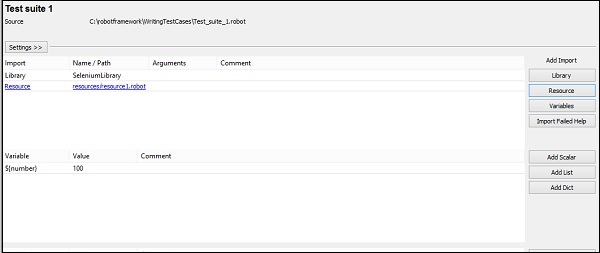
Mention the path where the file is stored as shown above and click OK to add resource. It will be displayed as shown below −
Now, we will change test case TC1 which has keywords as shown below −
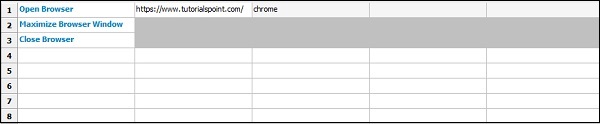
We will add the user-defined keyword to TC1 from the resource file, i.e., Test Browser keyword −

The resource file uploaded is as shown below −
The user-defined Keyword is used in test case TC1.
We will now execute the test case −
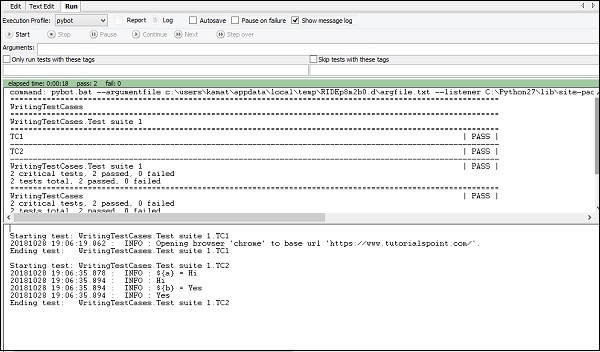
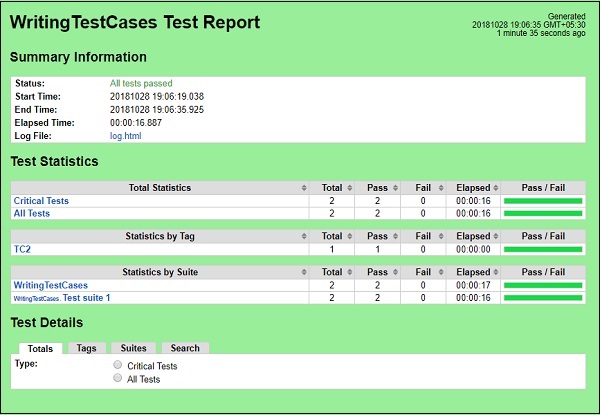
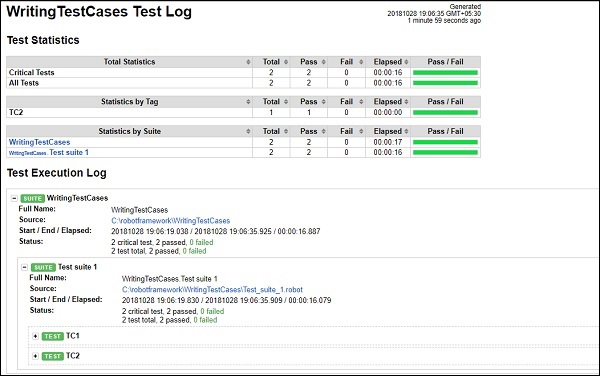
We have both test cases being passed. Let us now see the report and log details.
Report
Log
Conclusion
This chapter gives details on how to write test case, execute it, how to tag a test-case, use resources, etc.
To Continue Learning Please Login