- Robot Framework Tutorial
- Robot Framework - Home
- Robot Framework - Overview
- Environment Setup
- Unix and Linux Installation
- Introduction to Ride
- First Test Case Using Ride
- Writing and Executing Test Cases
- Keyword and Data Driven Test Cases
- Working With Browsers Using Selenium Library
- Working With Textbox
- Working With Radio Button
- Working With Checkbox
- Working With Dropdown
- Working With Keywords
- Working With Variables
- Working With Command Line
- Working With Setup And Teardown
- Working with Built-In Library
- Working With External Database libraries
- Testing Login Page Using Robot Framework
- Robot Framework Useful Resources
- Robot Framework - Quick Guide
- Robot Framework - Useful Resources
- Robot Framework - Discussion
Robot Framework - First Test Case Using Ride
We will explore RIDE and work on our first test case.
Open Ride from command prompt or you can create a shortcut of ride on your desktop.
From command line
ride.py
From Desktop
Go to the path where ride is installed; for windows, it is C:\Python27\Scripts.
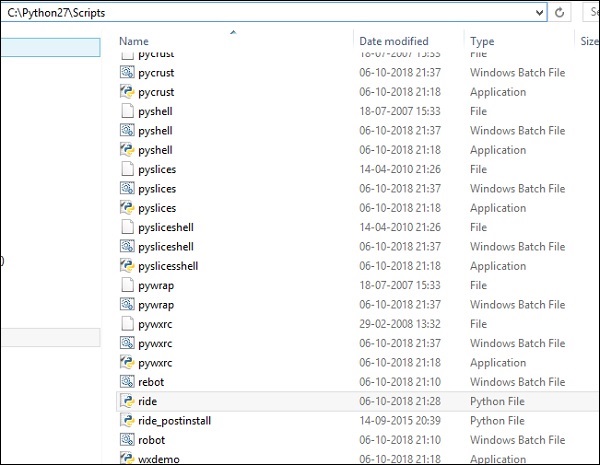
Right-click on ride.py and click Send To -> Desktop (create shortcut).
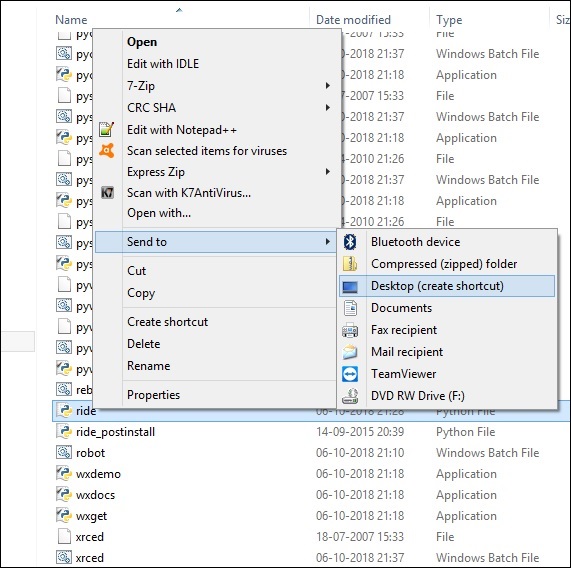
You will now see an icon of ride on your desktop. You can click on it to open the ride editor.
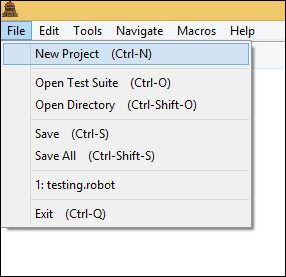
Let us start with our first test case in ride. Open the editor and click on File -> New Project.
Click on New Project and enter the name of the project.
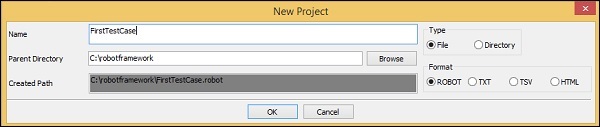
Parent Directory is the path where the project will be saved. You can change the path if required. I have created a folder called robotframework and will save all the files in that folder.
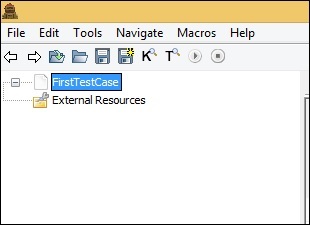
Project FirstTestCase is created.
To create test case, right-click on the project.
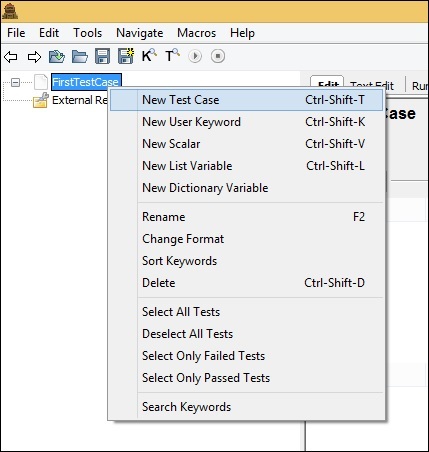
Click New Test Case.

Enter the name of the test case and click OK.
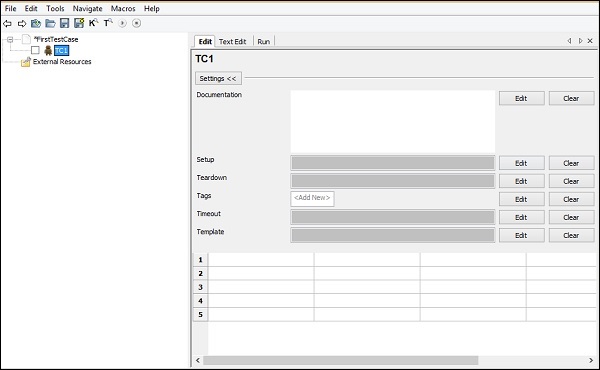
There are 3 tabs shown for the test case created − Edit, Text Edit and Run.
The Edit tab comes with two formats – Settings and Tabular. We will discuss the two formats in our subsequent sections.
The Settings Format
In Settings, we have documentation, setup, teardown, tags, timeout and template.
Documentation
You can add details about your test case so that it becomes easy for future reference.
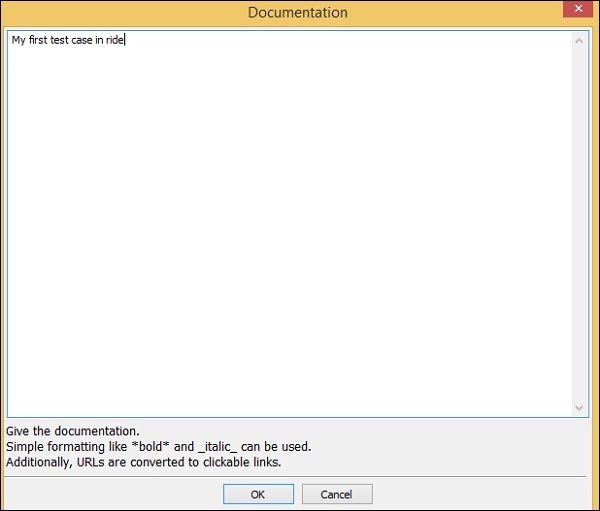
Click OK to save the documentation.
Setup and Teardown
If there is a setup assigned to a test case, it will be executed before the test case execution and the test setup that will be executed after the test case is done for teardown. We will get into the details of this in our subsequent chapters. We do not need it now for our first test case and can keep it empty.
Tags
This is used for tagging test cases – to include, exclude specific test cases. You can also specify if any of the test cases is critical.
Timeout
This is used to set a timeout on the test case. We will keep it empty for now.
Template
This will have the keywords to be used for the test case. It is mostly used for data driven test case. The high-level user-defined keyword is specified in the template and test cases are used to pass data to the keyword.
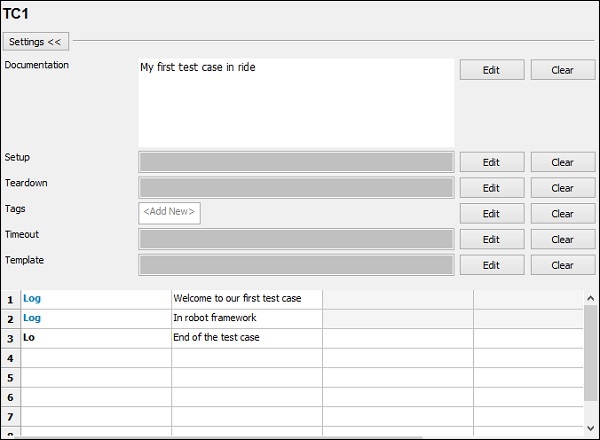
In the tabular format, we will write our first test case and execute the same to see the output.
In this test case, we are just going to add some logs and see the output of it. Consider the following screenshot to understand this −
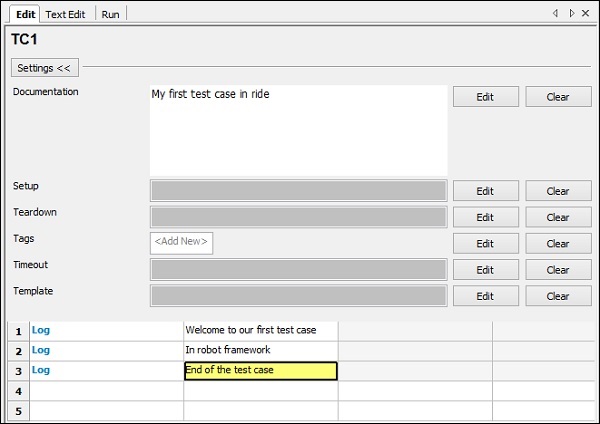
We have used the keyword Log to log messages as shown above.
Based on the keywords specified in Edit, we can get the code in Text Edit as shown below −
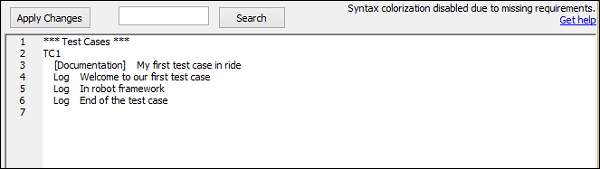
You may also write the test case in the Text Edit and the same will reflect in the tabular format. Now let us Run the test case and see the output.
To run the test case, we need to click on Start as shown below −
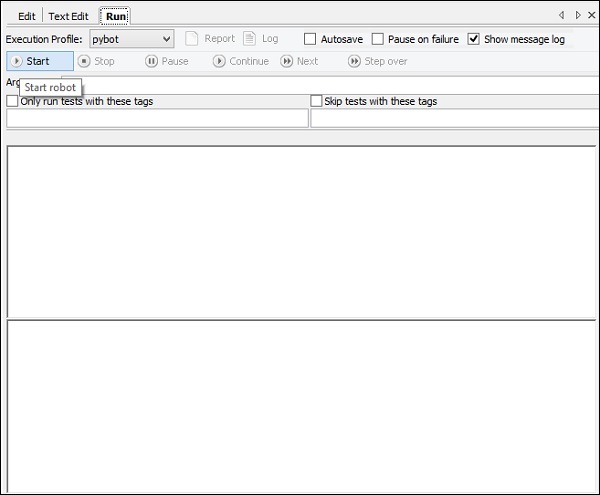
Click on start and here are is the output of the test case −
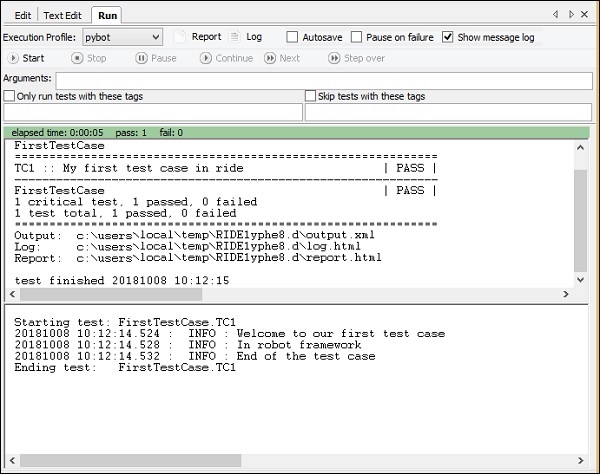
Our test case has executed successfully and the details are as shown above. It gives the status as PASS.
We can also see the details of the test case execution in Report and Log as highlighted below.

Click on Report and it opens the details in a new tab as follows
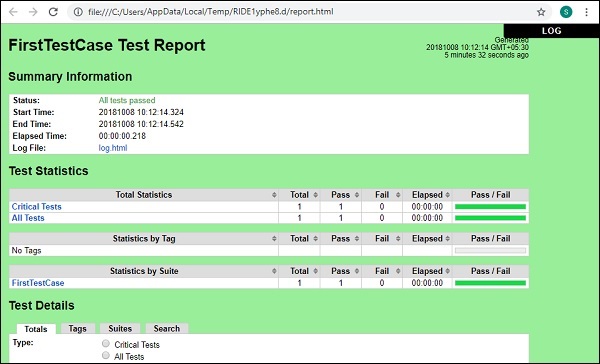
In Report, it gives the details like the start time, end time, path to the log file, status of the test case, etc.
Click on Log at the top right corner in report or from the Run screen.
Here are the details of the log file −

The Log file gives the details of the test execution and the details of keywords we gave for the test case.
In the report and the log file, we get green color for the status.
Let us now make some changes that will lead to the failure of the test case fail and see the output.
In the above test case, the Log keyword is wrong. We will run the test case and see the output −

We see that the test case has failed. I have highlighted the error that it tells about the test case.
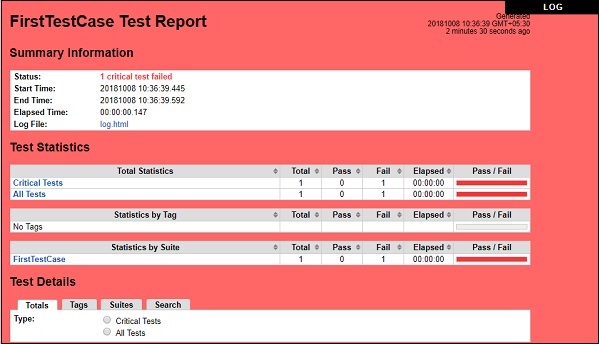
Now will see the report and log output.From Report −
From Log
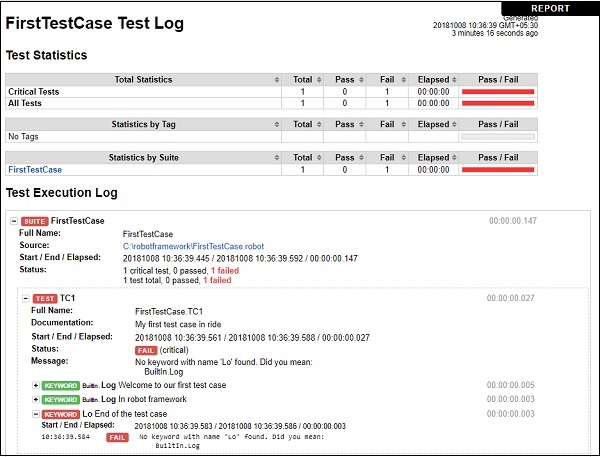
When the test case fails, the color is changed to Red as shown above.
Conclusion
In this chapter, we covered a simple test case and the results seen during execution are shown. The reports and logs show the details of test case execution.
To Continue Learning Please Login