- Jenkins Tutorial
- Jenkins - Home
- Jenkins - Overview
- Jenkins - Installation
- Jenkins - Tomcat Setup
- Jenkins - Git Setup
- Jenkins - Maven Setup
- Jenkins - Configuration
- Jenkins - Management
- Jenkins - Setup Build Jobs
- Jenkins - Unit Testing
- Jenkins - Automated Testing
- Jenkins - Notification
- Jenkins - Reporting
- Jenkins - Code Analysis
- Jenkins - Distributed Builds
- Jenkins - Automated Deployment
- Jenkins - Metrics and Trends
- Jenkins - Server Maintenance
- Jenkins - Continuous Deployment
- Jenkins - Managing Plugins
- Jenkins - Security
- Jenkins - Backup Plugin
- Jenkins - Remote Testing
- Jenkins Useful Resources
- Jenkins - Quick Guide
- Jenkins - Useful Resources
- Jenkins - Discussion
Jenkins - Distributed Builds
Sometimes many build machines are required if there are instances wherein there are a larger and heavier projects which get built on a regular basis. And running all of these builds on a central machine may not be the best option. In such a scenario, one can configure other Jenkins machines to be slave machines to take the load off the master Jenkins server.
Sometimes you might also need several different environments to test your builds. In this case using a slave to represent each of your required environments is almost a must.
A slave is a computer that is set up to offload build projects from the master and once setup this distribution of tasks is fairly automatic. The exact delegation behavior depends on the configuration of each project; some projects may choose to "stick" to a particular machine for a build, while others may choose to roam freely between slaves.
Since each slave runs a separate program called a "slave agent" there is no need to install the full Jenkins (package or compiled binaries) on a slave. There are various ways to start slave agents, but in the end the slave agent and Jenkins master needs to establish a bi-directional communication link (for example a TCP/IP socket.) in order to operate.
To set up slaves/nodes in Jenkins follow the steps given below.
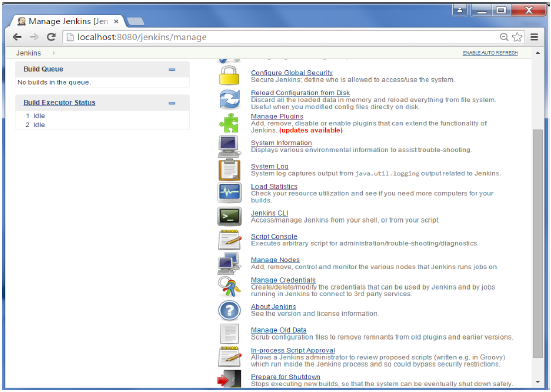
Step 1 − Go to the Manage Jenkins section and scroll down to the section of Manage Nodes.
Step 2 − Click on New Node
Step 3 − Give a name for the node, choose the Dumb slave option and click on Ok.

Step 4 − Enter the details of the node slave machine. In the below example, we are considering the slave machine to be a windows machine, hence the option of “Let Jenkins control this Windows slave as a Windows service” was chosen as the launch method. We also need to add the necessary details of the slave node such as the node name and the login credentials for the node machine. Click the Save button. The Labels for which the name is entered as “New_Slave” is what can be used to configure jobs to use this slave machine.

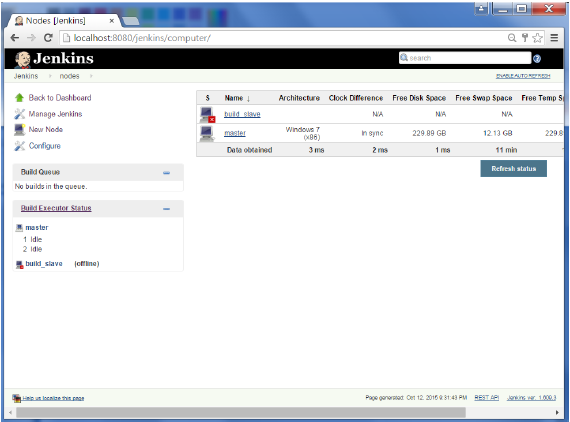
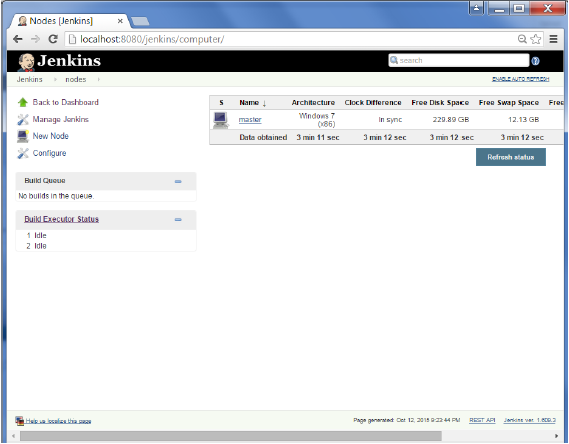
Once the above steps are completed, the new node machine will initially be in an offline state, but will come online if all the settings in the previous screen were entered correctly. One can at any time make the node slave machine as offline if required.