- Unity - Home
- Unity - Introduction
- Unity - Installation and Setting Up
- Unity - Creating Sprites
- Unity - Modifying Sprites
- Transforms and Object Parenting
- Unity - Internal Assets
- Unity - Saving and Loading Scenes
- Unity - Basic Movement Scripting
- Unity - Understanding Collisions
- Unity - Rigidbodies and Physics
- Unity - Custom Collision Boundaries
- Understanding Prefabs and Instantiation
- Unity - GameObject Destruction
- Unity - Coroutines
- Unity - The Console
- Unity - Introduction to Audio
- Unity - Starting with UI
- Unity - The Button
- Unity - Text Element
- Unity - The Slider
- Unity - Materials and Shaders
- Unity - The Particle System
- Unity - Using the Asset Store
Unity - Installation and Setting Up
To create content with Unity, the main requirement is to download the Unity engine and development environment. Along with the core engine, you may also download optional modules for deploying to various different platforms, as well as tools for integrating Unity scripting into Visual Studio.
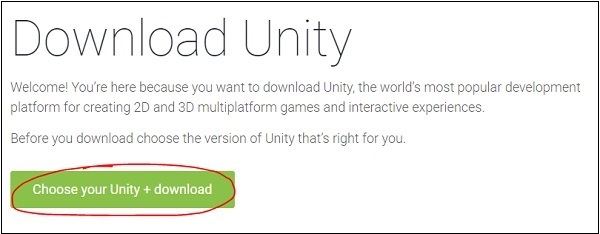
To install Unity, head to thisOnce there, click on −
Choose your Unity + Download.
On the next page, click on the Try Now button below Personal. This is the free version of Unity, which contains all the core features. As we begin this series, it is better to learn how to use the engine before considering a purchase to Plus or Pro.
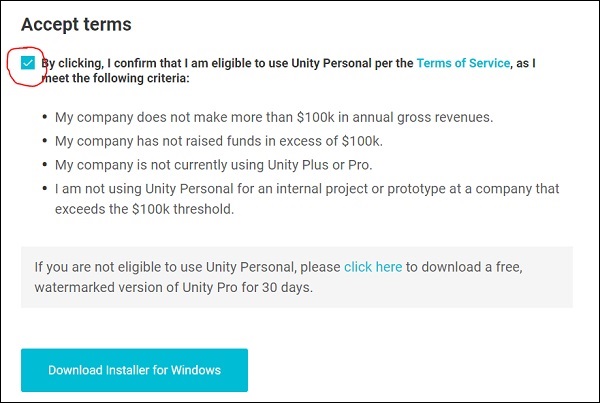
On the next page, scroll down and click to confirm that you or your company does not earn more than 100,000 USD in annual revenue. If you do, you are not allowed to try Unity Free, although you may sign up for a free 30-day trial of the Pro version.
Next, click on your desired platform for installing Unity. In this series, we will be dealing with the Windows version of the engine. It is also possible to install Unity on Ubuntu and some additional Linux systems see here for more information
It is also highly advised that you install the latest version of Visual Studio, which provides many useful tools over the standard MonoDevelop IDE that ship with Unity.
Once the installer is downloaded, go through it until you reach a menu for selecting what components you wish to install with Unity.
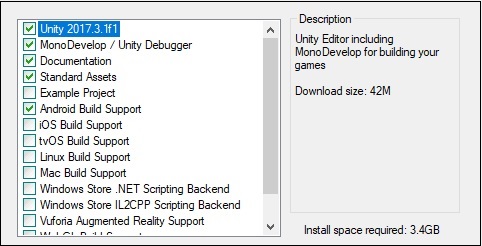
Here, select the components that you will need. For this series, we want to install the components you see in the image. This selection includes the engine itself, the documentation for the engine, an IDE; build tools for Android and a collection of assets that you can add in your project later on.
Click next, follow through the instructions and options, and let Unity download and install itself on your computer.
Open up Unity, and in the next lesson we will create our first project.
Creating your First Project
Unity is equally suited for both 2D and 3D games. All games made in Unity start out as Projects from the Startup Screen.
Open your newly installed copy of Unity; a screen will appear as shown below −
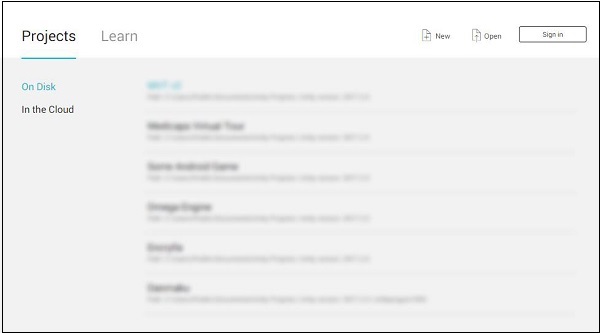
Your existing projects will show up in the blurred region as in the above image.

On the top-right corner of the window, you will see the New icon as shown above. Upon clicking the icon, you will come across the Project Setup screen.
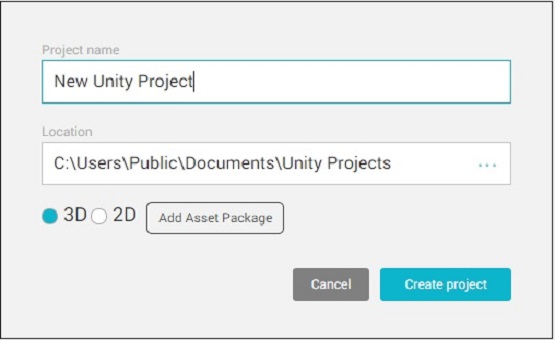
Here, you can give your project a name, set the location to where it is saved, set the type of project and add existing assets.
For now, let us name our first project Hello World! and set it to 2D mode.

Click Create Project and let Unity set up your projects core files. This may take time depending on your computer speed, pre-added assets and type of Project.
Knowing the Engine
Once your new project is created and Unity opens, the following screen appears −
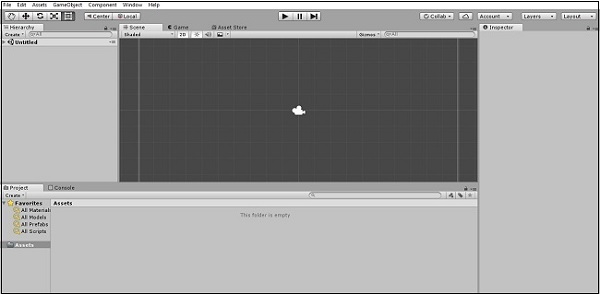
Let us have a quick run-through of what is visible in this window. For the time being, we are concerned with four main regions −
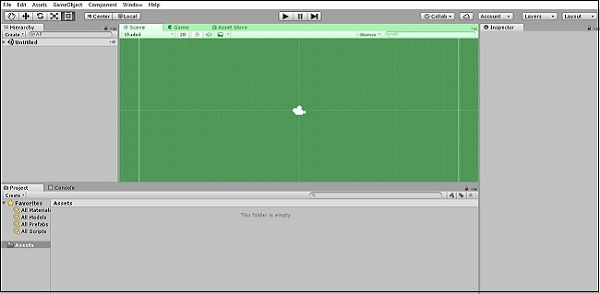
This window is where we will build our Scenes. Scenes are levels in which everything in your game takes place. If you click on the small Game tab, you can see a Preview window of how the game looks like to the player. For now, it should be a simple, blue background.
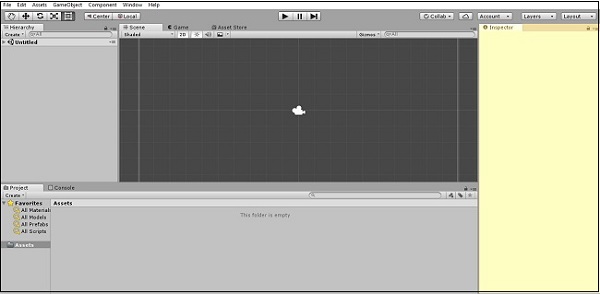
This region is the Inspector. It is empty for now, because we do not have any objects in our scene. We will see how the Inspector is used later on.
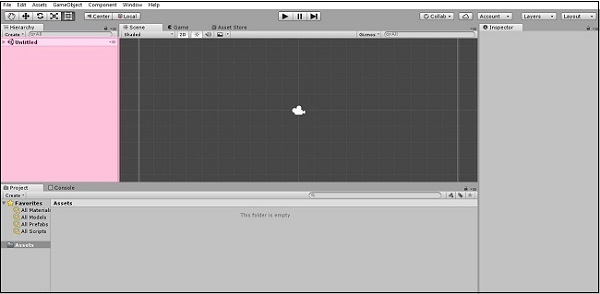
This window is the Scene Hierarchy. It is where all the objects in your currently open scene are listed, along with their parent-child hierarchy. We will add objects to this list shortly.

Finally, this region is the Project Assets window. All assets in your current project are stored and kept here. All externally imported assets such as textures, fonts and sound files are also kept here before they are used in a scene.
In the next lesson, we will discuss the workflow and working of a game in Unity.
How Unity Works?
In Unity, all gameplay takes place in scenes. Scenes are levels in which all aspects of your game such as game levels, the title screen, menus and cut scenes take place.
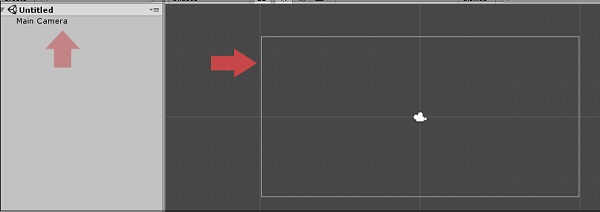
By default, a new Scene in Unity will have a Camera object in the scene called the Main Camera. It is possible to add multiple cameras to the scene, but we will only deal with the main camera for now.
The main camera renders everything that it sees or captures in a specific region called the viewport. Everything that comes into this region becomes visible for the player.
You can see this viewport as a grey rectangle by placing your mouse inside the scene view and scrolling down to zoom out the scene view. (You can also do so by holding Alt and dragging Right-click).
A scene itself is made out of objects, called GameObjects. GameObjects can be anything from the players model to the GUI on the screen, from buttons and enemies to invisible managers like sources of sound.
GameObjects have a set of components attached to them, which describe how they behave in the scene, as well as how they react to others in the scene.
In fact, we can explore that right now. Click on the Main Camera in the Scene Hierarchy and look at the Inspector. It will not be empty now; instead, it will have a series of modules in it.

The most important component for any GameObject is its Transform component. Any object that exists in a scene will have a transform, which defines its position, rotation and scale with respect to the game world, or its parent if any.
The additional components can be attached to an object by clicking on Add Component and selecting the desired component. In our subsequent lessons, we will also be attaching Scripts to GameObjects so that we can give them programmed behaviour.
Let us now consider a few examples of components −
Renderer − Responsible for rendering and making objects visible.
Collider − Define the physical collision boundaries for objects.
Rigidbody − Gives an object real-time physics properties such as weight and gravity.
Audio Source − Gives object properties to play and store sound.
Audio Listener − The component that actually hears audio and outputs it to the players speakers. By default, one exists in the main camera.
Animator − Gives an object access to the animation system.
Light − Makes the object behave as a light source, with a variety of different effects.
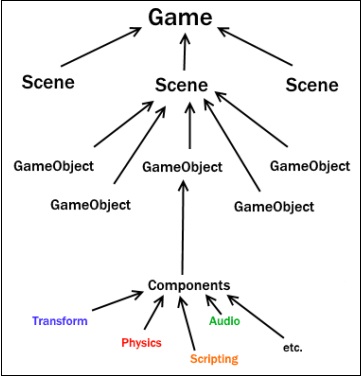
In this chart, we can see how Unity composes itself through GameObjects into scenes.
In the next lesson, we will create our first GameObject and dive into scripting.
