- Tesults - Home
- Tesults - Overview
- Tesults - Sign Up & Project Creation
- Tesults - Integrating Your Automated Tests
- Tesults - View Test Results
- Tesults - Team Members
- Tesults - Project Configuration
- Tesults - Actioning Tasks Based on Test Results
- Tesults - Notifications
- Tesults - Integrations with Other Services
- Tesults - Test Case Management with Lists
- Tesults - Test Runs for Manual Testing
- Tesults Useful Resources
- Tesults - Quick Guide
- Tesults - Useful Resources
- Tesults - Discussion
Tesults - Test Runs for Manual Testing
Test runs are used to conduct manual testing. Click runs from the menu to access test runs.
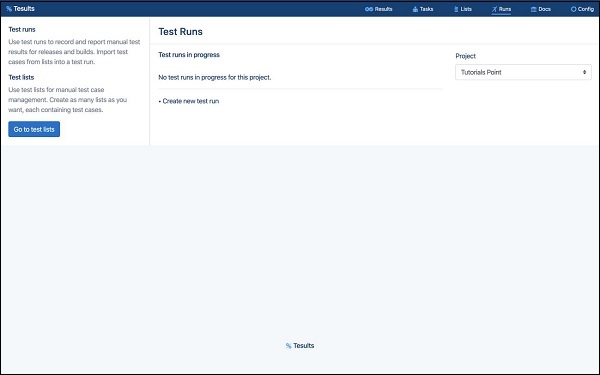
Create a test run
First thing to do is create a test run. Click Create new test run and then enter a name for your test run and confirm to create.
The name here is a temporary name. By default, Tesults sets it to the current date and time. The name is used to come back to a test run later on or share a test run with other team members to work on at the same time.
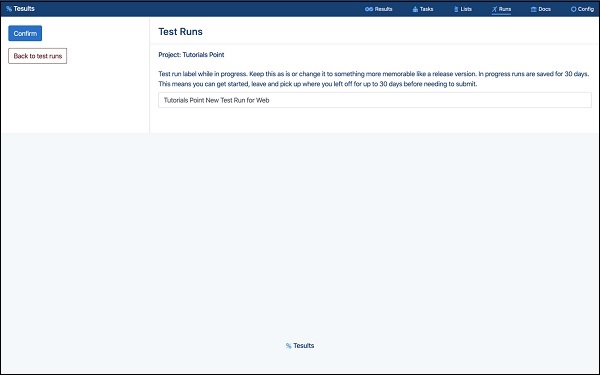
After confirming the new test run is created and it will be empty.
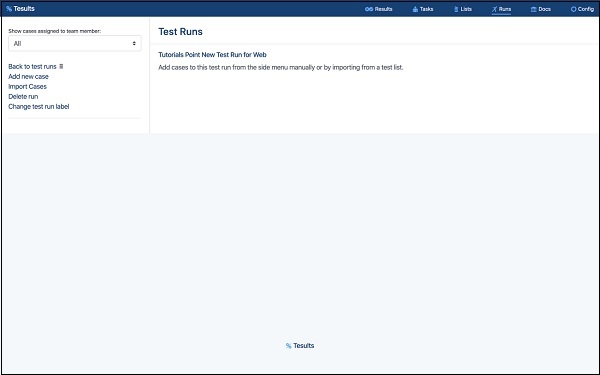
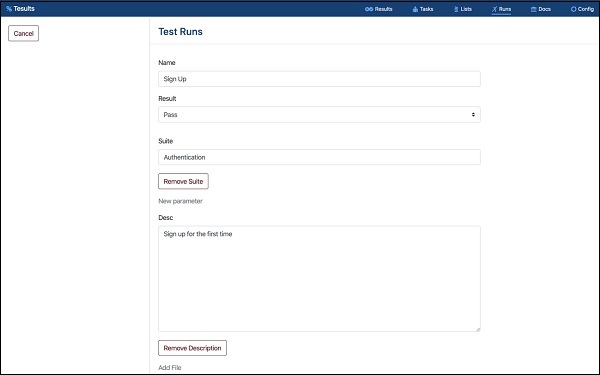
Adding test cases
To add a test case manually click add new case. Now, you can add test case details including −
- Name
- Result
- Suite
- Parameters
- Description
- Files (upload test case related files)
- Custom Fields
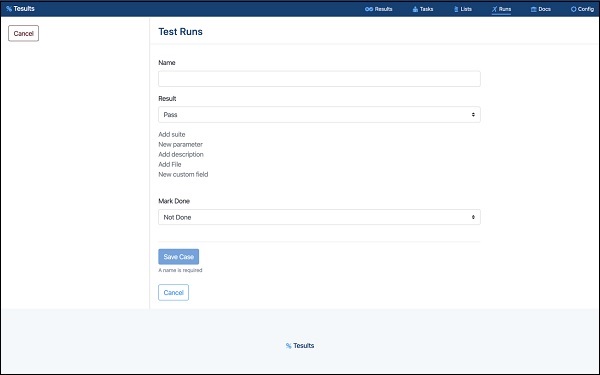
Save the case and you will see that it is added to the test run.
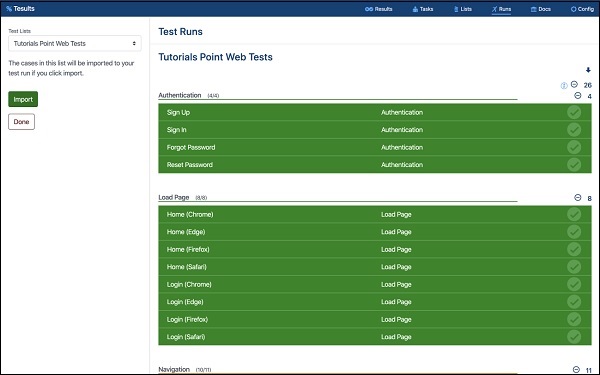
Importing test cases from a List
You can also add test cases from a test list (see previous section for creating test lists). This is the most efficient way to add test cases because for each new test run you can use your existing test cases.
Click Import Cases and then select a test list from the dropdown list and click Import.
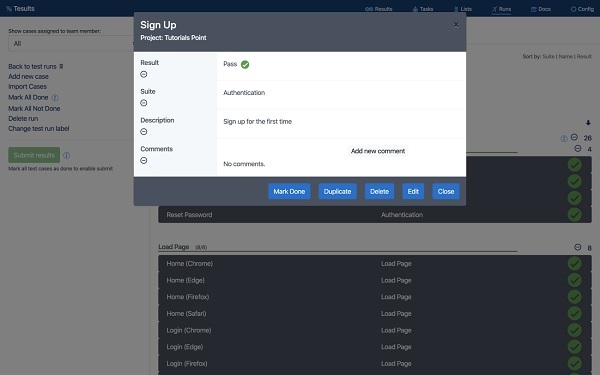
Editing test cases
To edit a test case, click it to open up test case details.
Click edit from the footer.
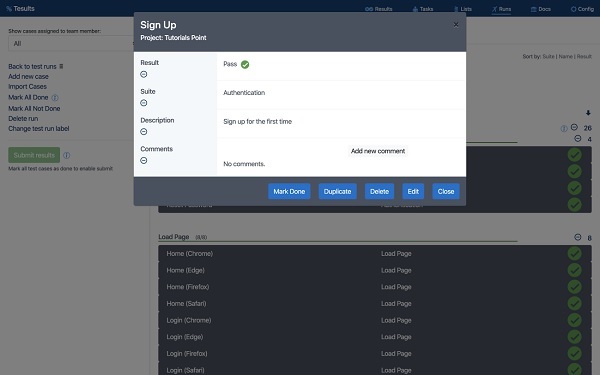
Deleting test cases
You can delete a test case in the same way. Select it and click delete from the footer.
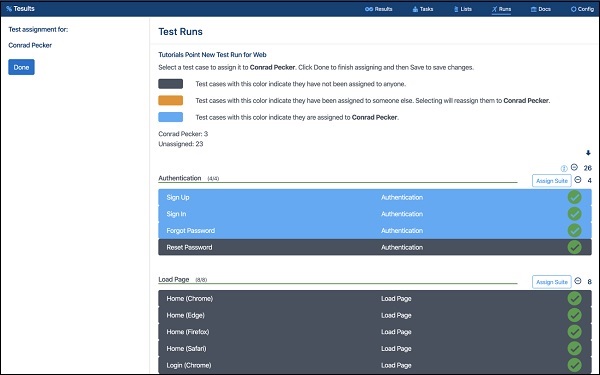
Assigning test cases to team members
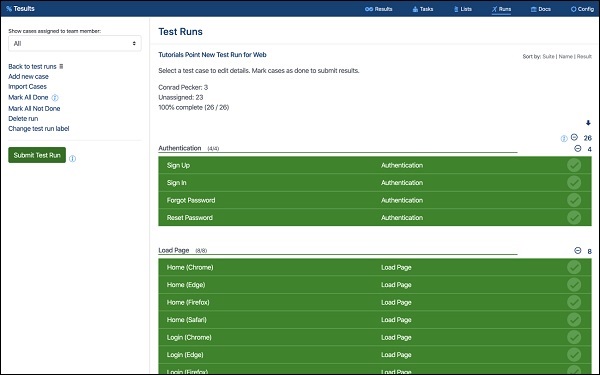
By default, test cases are unassigned and all test cases are shown from the list. Change test cases shown to a specific team member by changing the dropdown list from All to a team members name.
Once a team member is selected, including yourself, you can assign test cases to specific people. A new Assign button appears. Click it and the test run will change to display all test cases with indicators showing whether the test case is assigned to the currently selected person, or is unassigned or is assigned to someone else.
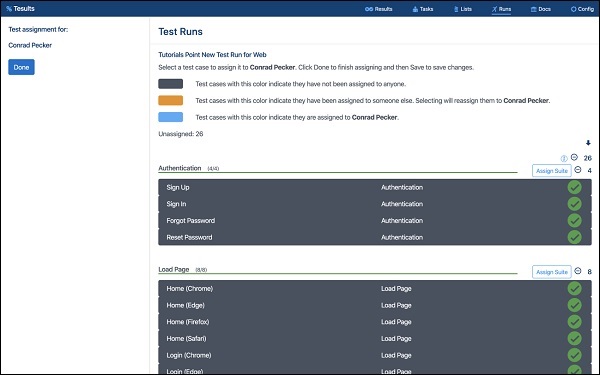
Now, you can click a test case to assign it to the currently selected team member, and click again to unassign. Click Done once you are finished.
Having All selected will continue to display all test cases, and selecting a team member will display what test cases are assigned to that individual.
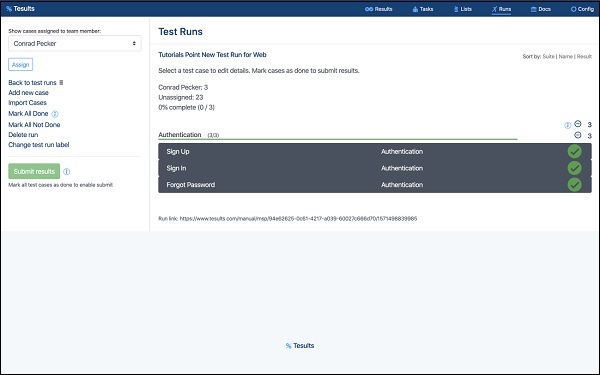
Marking test cases as done
By default, all test cases in the test run are marked as incomplete. This means that they need to be worked on. To indicate that test case has been completed, select the test case and from the footer click Mark Done.
At the top of the test, run the percentage of completed test cases is displayed along with the number that are assigned to team members.
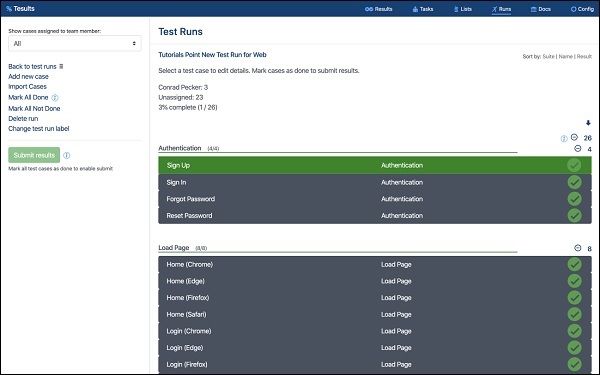
Marking test cases as done makes it easy to keep track of which test cases have been looked at and understand the progress of the run.
Submitting manual results
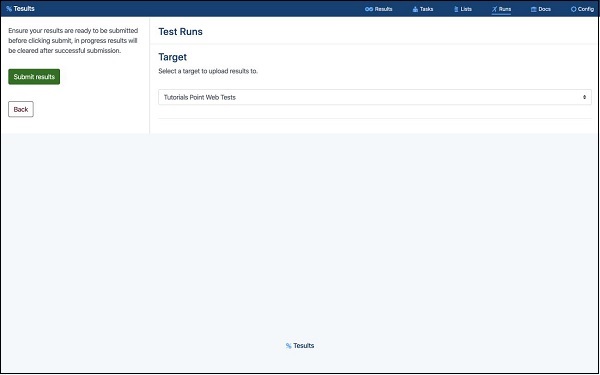
After all test cases in the run have been marked as complete, the Submit Test Run button is enabled and you can click it to submit results to one of your project targets.
Choose the appropriate target from the dropdown list and click Submit Results.
Since automated test runs may be by submitting results to particular targets, you may want to create separate targets for manual test runs, otherwise, historical data and comparisons will break and cause confusion.
It may be better in some cases not to submit results if the test run is for internal use with a test team and not for wider use. Simply view the test run within the team and then create a new test run to start a new one.
If you have created targets specifically for manual test runs, then submitting results is a good idea. After submitting you can click results from the menu bar to view results.
