- Rexx - Home
- Rexx - Overview
- Rexx - Environment
- Rexx - Installation
- Rexx - Installation of Plugin-Ins
- Rexx - Basic Syntax
- Rexx - Datatypes
- Rexx - Variables
- Rexx - Operators
- Rexx - Arrays
- Rexx - Loops
- Rexx - Decision Making
- Rexx - Numbers
- Rexx - Strings
- Rexx - Functions
- Rexx - Stacks
- Rexx - File I/O
- Rexx - Functions For Files
- Rexx - Subroutines
- Rexx - Built-In Functions
- Rexx - System Commands
- Rexx - XML
- Rexx - Regina
- Rexx - Parsing
- Rexx - Signals
- Rexx - Debugging
- Rexx - Error Handling
- Rexx - Object Oriented
- Rexx - Portability
- Rexx - Extended Functions
- Rexx - Instructions
- Rexx - Implementations
- Rexx - Netrexx
- Rexx - Brexx
- Rexx - Databases
- Handheld & Embedded
- Rexx - Performance
- Rexx - Best Programming Practices
- Rexx - Graphical User Interface
- Rexx - Reginald
- Rexx - Web Programming
Rexx - Graphical User Interface
In order to use the graphic user interfaces available in Rexx, one needs to use 2 packages, one is called ActiveTcl and the other is the Rexxtk package. Along with these 2 packages, one can design normal forms which can have buttons and other controls on the forms.
Environment Setup
The first thing to do is the environment setup. Lets go through the following steps to have the environment in place.
Step 1 − Download the Activetcl package from the following website − https://www.activestate.com/activetcl

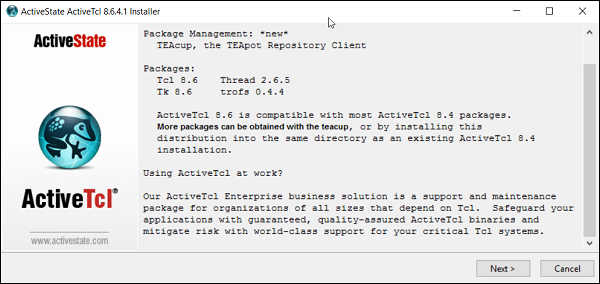
Step 2 − The next step is to start the installation of ActiveTCl. Click on the Next button on the screen to proceed.
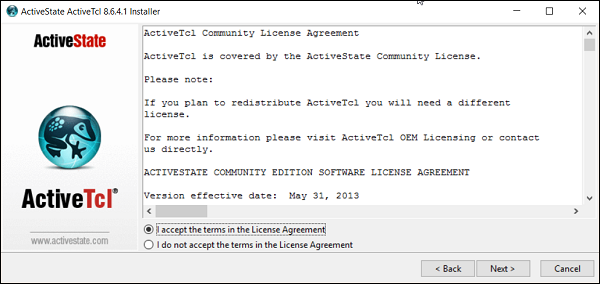
Step 3 − Accept the license Agreement and click on the Next button.
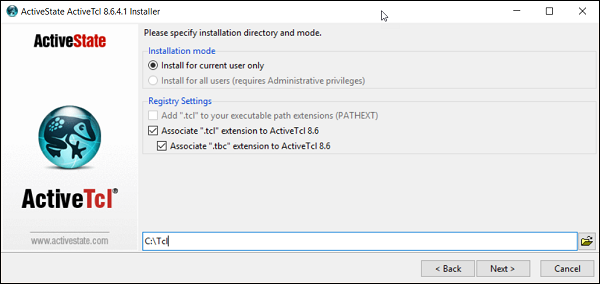
Step 4 − Choose a location for the installation and click on the next button.
Step 5 − Choose a location for the installation of the demos and click on the Next button.
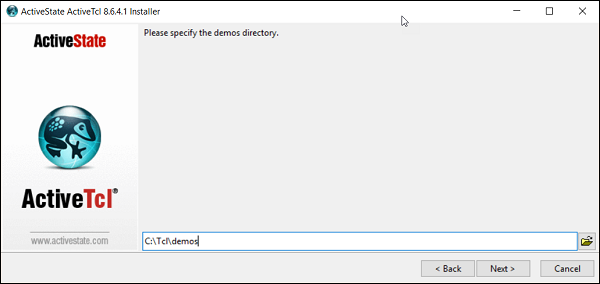
Step 6 − Click on the Next button to proceed with the installation.
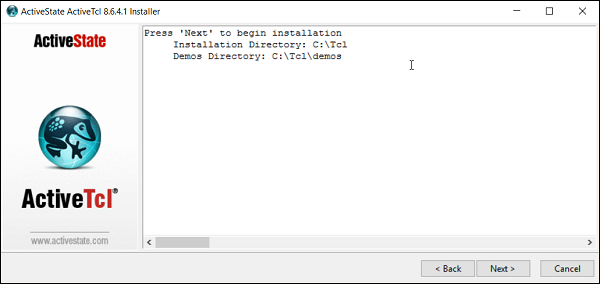
Step 7 − Click on the Finish button to complete the installation.
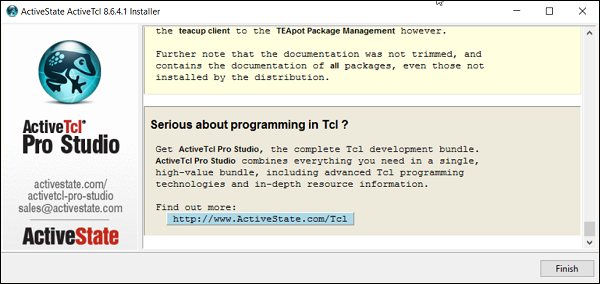
Step 8 − The next step is to download the Rexxtk software from the following link − https://sourceforge.net/projects/rexxtk/
Step 9 − Double click the installer file from the link in the previous step to start the installation. Click on the next button to proceed.
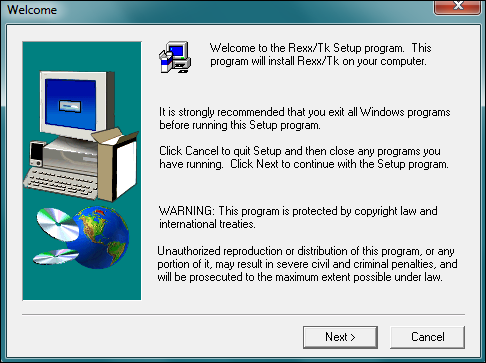
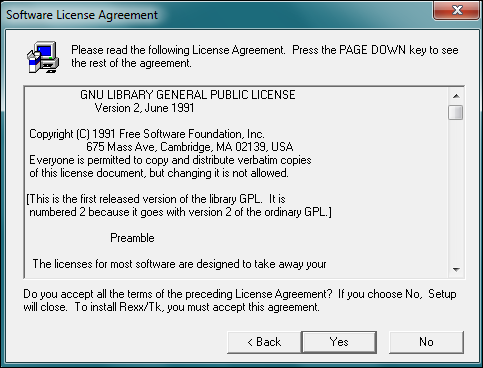
Step 10 − In the next screen, click on the Yes button to agree to the License Agreement.
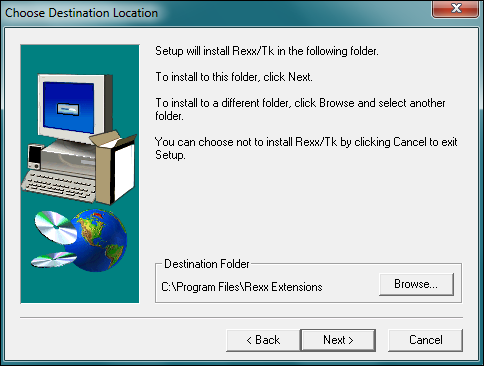
Step 11 − In the next screen, choose the location for the installation and click on the Next button.
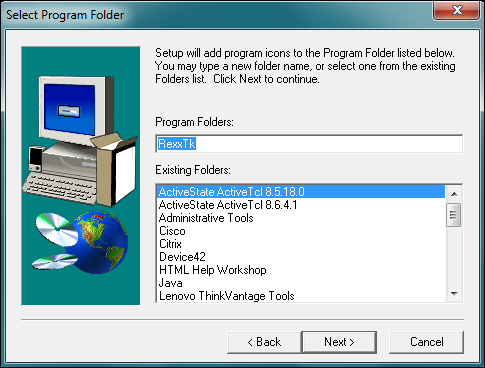
Step 12 − Choose the Program folder location and click on the next button.
Once the installation is complete, we can now start with programming the GUIs in Rexx.
Basic Program
Lets see how we can design a simple basic program with Rexx in a graphical user interface format.
Example
/* Main program */
call RxFuncAdd 'TkLoadFuncs','rexxtk','TkLoadFuncs'
call TkLoadFuncs
do forever
   interpret 'Call' TkWait()
end
call TkDropFuncs
exit 0
The following things need to be noted about the above program −
The Rexxtk library and all of its functions are loaded using the RxFuncAdd command.
The do forever loop will keep the window open and will wait for the user input.
Once the user input is detected, the program will exit.
When the above program is executed, you will get the following output.

Creating Menus
Menus are created with the help of the TkMenu and TkAdd functions. The syntax of these functions are given below.
Syntax
TkMenu(widgetname,options,0)
Parameters
Widgetname − A name to give to the menu.
Options can be anyone of the following −
selectcolor − if checkboxes or radio buttons are used as menu options, then this option specifies the color to choose when any menu option is selected.
tearoff − This option is used for adding sub menus to the main menu.
title − The string that needs to be used to give the window a title.
Return Value
A handle to the menu created.
Example
/* Main program */
call RxFuncAdd 'TkLoadFuncs','rexxtk','TkLoadFuncs'
call TkLoadFuncs

menubar = TkMenu('.m1')
filemenu = TkMenu('.m1.file','-tearoff', 0)
call TkAdd menubar, 'cascade', '-label', 'File', '-menu', filemenu
call TkAdd filemenu, 'command', '-label', 'Open...', '-rexx', 'getfile'
call TkConfig '.', '-menu', menubar

do forever
   interpret 'Call' TkWait()
end
call TkDropFuncs
exit 0
The following things need to be noted about the above program −
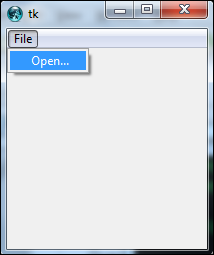
The menubar is created using the TkMenu function. The tearoff parameter means that we need to create sub menus which is going to be attached to the main menu.
We then add 2 menu options called File and Open using the TkAdd function.
When the above program is executed, you will get the following output.
