- React Native - Overview
- React Native - Environment Setup
- React Native - App
- React Native - State
- React Native - Props
- React Native - Styling
- React Native - Flexbox
- React Native - ListView
- React Native - Text Input
- React Native - ScrollView
- React Native - Images
- React Native - HTTP
- React Native - Buttons
- React Native - Animations
- React Native - Debugging
- React Native - Router
- React Native - Running IOS
- React Native - Running Android
- Components and APIs
- React Native - View
- React Native - WebView
- React Native - Modal
- React Native - ActivityIndicator
- React Native - Picker
- React Native - Status Bar
- React Native - Switch
- React Native - Text
- React Native - Alert
- React Native - Geolocation
- React Native - AsyncStorage
- React Native Useful Resources
- React Native - Quick Guide
- React Native - Useful Resources
- React Native - Discussion
Selected Reading
React Native - CameraRoll
In this chapter, we will show you how to use Camera.
Step 1 − Home
In this step, we will create the src/components/home/Home.js file.
src/components/home/Home.js
import React from 'react'
import CameraExample from './CameraExample.js'

const Home = () ⇒ {
   return (
      <CameraExample />
   )
}
export default Home
Step 2 - Install Camera
The Camera module we want to use in this example is external so we need to install it first. We can do it from the terminal.
npm i react-native-camera@0.6
Step 2 Permissions
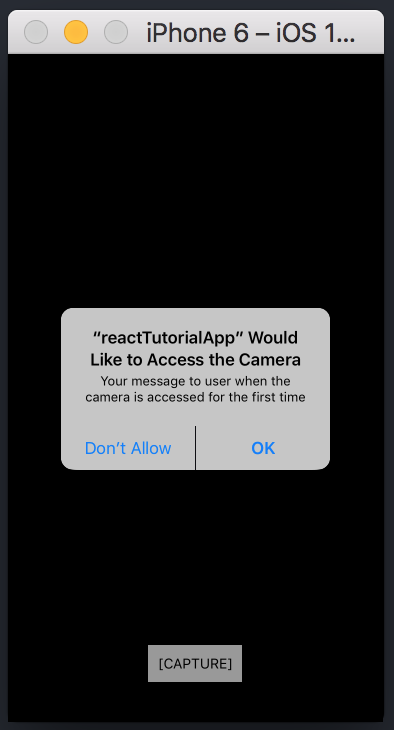
If you use IOS 10, you need to add permissions in ios/reactTutorialApp/Info.plist.
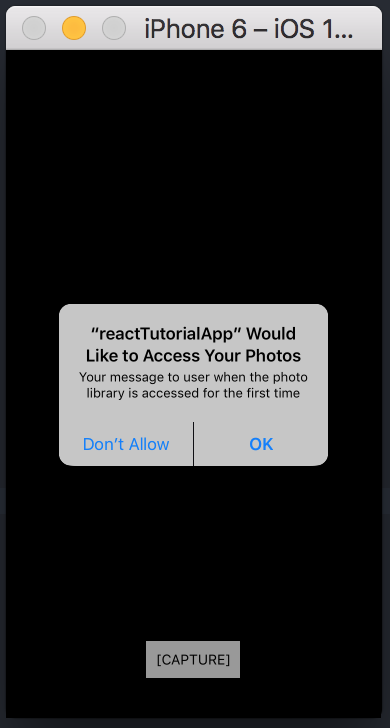
<key>NSCameraUsageDescription</key>
<string>Your message to user when the camera is accessed for the first time</string>

<key>NSPhotoLibraryUsageDescription</key>
<string>
   Your message to user when the photo library is accessed for the first time
</string>
Step 3 - Camera
takePicture method will return a promise and path of the picture.
src/components/home/AsyncStorageExample.js
import React, { Component } from 'react';

import {
   StyleSheet,
   Text,
   View
}
from 'react-native';
import Camera from 'react-native-camera';

class Inputs extends Component {
   takePicture = () ⇒ {
      const options = {};
      this.camera.capture({ metadata: options })
      .then((data) ⇒ console.log(data))
      .catch(err ⇒ console.error(err));
   }
   render() {
      return (
         <View style = {styles.container}>
            <Camera
               ref = {(cam) ⇒ {
                  this.camera = cam;
               }}
               style = {styles.preview}
               aspect = {Camera.constants.Aspect.fill}>
            </Camera>
            <Text style = {styles.capture} onPress = {this.takePicture}>CAPTURE</Text>
         </View>
      );
   }
}
export default Inputs

const styles = StyleSheet.create({
   container: {
      flex: 1,
   },
   preview: {
      flex: 1,
      justifyContent: 'flex-end',
      alignItems: 'center'
   },
   capture: {
      fontSize: 30,
      color: 'red',
      alignSelf: 'center',
   }
});
When the app is run, it seeks permission as shown in the following screenshot.
This is how the photo library permission will look like −
NOTE − To be able to test the Camera on IOS, you must use mobile device since it won't work on a simulator.

Advertisements