- React Native - Overview
- React Native - Environment Setup
- React Native - App
- React Native - State
- React Native - Props
- React Native - Styling
- React Native - Flexbox
- React Native - ListView
- React Native - Text Input
- React Native - ScrollView
- React Native - Images
- React Native - HTTP
- React Native - Buttons
- React Native - Animations
- React Native - Debugging
- React Native - Router
- React Native - Running IOS
- React Native - Running Android
- Components and APIs
- React Native - View
- React Native - WebView
- React Native - Modal
- React Native - ActivityIndicator
- React Native - Picker
- React Native - Status Bar
- React Native - Switch
- React Native - Text
- React Native - Alert
- React Native - Geolocation
- React Native - AsyncStorage
- React Native Useful Resources
- React Native - Quick Guide
- React Native - Useful Resources
- React Native - Discussion
Selected Reading
React Native - Switch
In this chapter, we will explain the Switch component in a couple of steps.
Step 1 Create File
We will use the HomeContainer component for logic, but we need to create the presentational component.
Let us now create a new file: src/components/home/SwitchExample.js.
Step 2 Logic
We are passing value from the state and functions for toggling switch items to SwitchExample component. Toggle functions will be used for updating the state.
src/component/home/Home.js
Example
import React, { Component } from 'react'
import {
   View
} from 'react-native'
import SwitchExample from './SwitchExample'

export default class HomeContainer extends Component {

   constructor() {
      super();
      this.state = {
         switch1Value: false,
            switch2Value: false,
      }
   }
   toggleSwitch1 = (value) => {
      this.setState({switch1Value: value})
      console.log('Switch 1 is: ' + value)
   }
   toggleSwitch2 = (value) => {
   this.setState({switch2Value: value})
   console.log('Switch 2 is: ' + value)
}
   render() {
      return (
         <View>
            <SwitchExample
               toggleSwitch1 = {this.toggleSwitch1}
               toggleSwitch2 = {this.toggleSwitch2}
               switch1Value = {this.state.switch1Value}
               switch2Value = {this.state.switch2Value}/>
         </View>
      );
   }
}
Step 3 Presentation
Switch component takes two props. The onValueChange prop will trigger our toggle functions after a user presses the switch. The value prop is bound to the state of the HomeContainer component.
Example
import React, { Component } from 'react'
import {
View,
Switch,
StyleSheet
} from 'react-native'
export default SwitchExample = (props) => {
return (
<View style = {styles.container}>
<Switch
onValueChange = {props.toggleSwitch1}
value = {props.switch1Value}/>
<Switch
onValueChange = {props.toggleSwitch2}
value = {props.switch2Value}/>
</View>
)
}
const styles = StyleSheet.create ({
container: {
flex: 1,
alignItems: 'center',
marginTop: 100
}
})
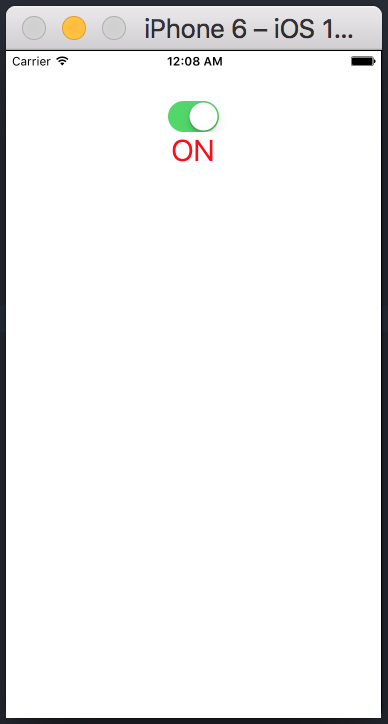
If we press the switch, the state will be updated. You can check values in the console.
Advertisements