
Article Categories
- All Categories
-
 Data Structure
-
 Networking
-
 RDBMS
RDBMS
-
 Operating System
-
 Java
Java
-
 MS Excel
-
 iOS
iOS
-
 HTML
HTML
-
 CSS
CSS
-
 Android
-
 Python
-
 C Programming
-
 C++
C++
-
 C#
C#
-
 MongoDB
-
 MySQL
MySQL
-
 Javascript
-
 PHP
PHP
Programmatically go back to the previous ViewController in Swift
This article explains how to go back from a view controller programmatically using Swift language. You will see an example of using the popViewController method to go back to the previous controller.
What is ViewController in Swift?
In Swift, a UIViewController manages the interaction between the user interface and the logic data. It is responsible for handling user interactions with the user interface. The class is part of the UIKit framework and provides some functions and properties along with a life cycle. This class is the most common class used in iOS development.
To go back to a previous view controller, the navigation controller provides us with a method called the popViewController(animated: true) function. In Swift, you can call this method with the following ?
navigationController?.popViewController(animated: true)
In this function, enable or disable the animation while going back to the previous controller by passing a flag. It is in true condition by default and the controller is popped with animation.
In this example, we will create two view controllers to go back programmatically with the
Step 1 ? Set up the first view controller.
Step 2 ? Set up the second view controller.
Step 3 ? Write the code to go back to the previous controller.
Setup the first controller
In this first controller, we will add a button that, when clicked, will push a new controller to come back. Here's the code to set up the controller.
Example
import UIKit
class FirstViewController: UIViewController {
   private let clickButton = UIButton()
   override func viewDidLoad() {
      super.viewDidLoad()
      initialSetup()
   }
   private func initialSetup() {
      // basic setup
      view.backgroundColor = .white
      navigationItem.title = "First Controller"

      // button customization
      clickButton.backgroundColor = .darkGray
      clickButton.setTitle("Go to next controller", for: .normal)
      clickButton.setTitleColor(.white, for: .normal)
      clickButton.layer.cornerRadius = 8
      clickButton.addTarget(self, action: #selector(handleClickButtonTapped), for: .touchUpInside)

      // adding constraints to button
      view.addSubview(clickButton)
      clickButton.translatesAutoresizingMaskIntoConstraints = false
      clickButton.heightAnchor.constraint(equalToConstant: 50).isActive = true
      clickButton.widthAnchor.constraint(equalToConstant: 250).isActive = true
      clickButton.centerXAnchor.constraint(equalTo: view.centerXAnchor).isActive = true
      clickButton.centerYAnchor.constraint(equalTo: view.centerYAnchor).isActive = true
   }
   @objc private func handleClickButtonTapped() {

   }
}
Output
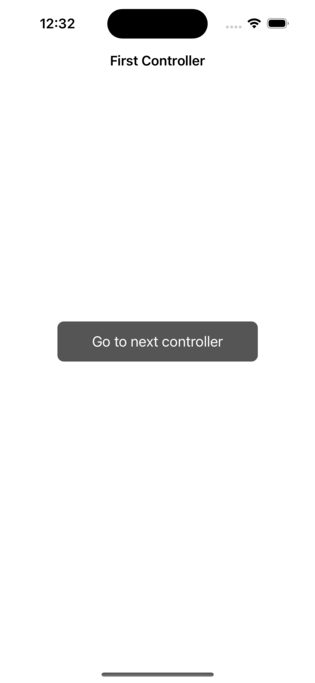
In the above code, the handleClickButtonTapped() function is not complete. We will write the code to push the second controller inside this method like the below ?
@objc private func handleClickButtonTapped() {
   let secondController = SecondViewController()
   self.navigationController?.pushViewController(secondController, animated: true)
}
Setup the second controller
In this step, we will set up the second controller to push it from the first controller. Also will add a button to go back on clicking it.
Example
import UIKit
class SecondViewController: UIViewController {
   private let backButton = UIButton()
   override func viewDidLoad() {
      super.viewDidLoad()
      initialSetup()
   }
   private func initialSetup() {
      // basic setup
      view.backgroundColor = .white
      navigationItem.title = "Second Controller"

      // button customization
      backButton.backgroundColor = .darkGray
      backButton.setTitle("Go Back", for: .normal)
      backButton.setTitleColor(.white, for: .normal)
      backButton.layer.cornerRadius = 8
      backButton.addTarget(self, action: #selector(handleBackButtonTapped), for: .touchUpInside)

      // adding constraint to button
      view.addSubview(backButton)
      backButton.translatesAutoresizingMaskIntoConstraints = false
      backButton.heightAnchor.constraint(equalToConstant: 50).isActive = true
      backButton.widthAnchor.constraint(equalToConstant: 200).isActive = true
      backButton.centerXAnchor.constraint(equalTo: view.centerXAnchor).isActive = true
      backButton.centerYAnchor.constraint(equalTo: view.centerYAnchor).isActive = true
   }
   @objc private func handleBackButtonTapped() {

   }
}
Output
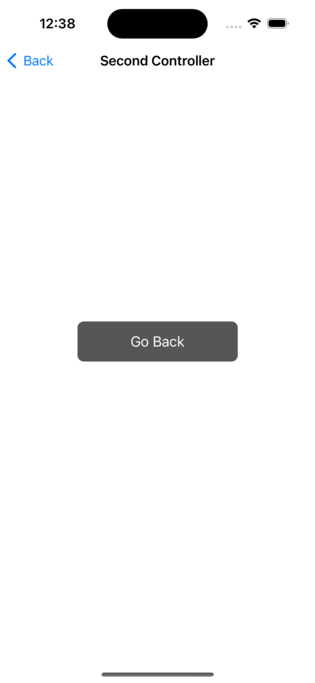
Go back to the first controller
In the above code, the handleBackButtonTapped() function is not complete. We will write the code to go back to the first controller inside this method like the below ?
@objc private func handleBackButtonTapped() {
   navigationController?.popViewController(animated: true)
}
Conclusion
In conclusion, you can use the popViewController(animated: true) function to navigate back programmatically. This function is provided by the UINavigationController class and is used to pop the top view controller from the navigation stack.
As a parameter animated, the function accepts a boolean value that is used to animate the pop transition. By default, this parameter is true and animates the transition animation.

6K+ Views
