- Mobile Testing - Home
- Mobile Testing - Overview
- Mobile Testing - Platforms
- Mobile Testing - Device Types
- Native Vs Hybrid Vs Mobileweb
- Mobile Testing - Device Vs Application
- Emulator Vs Simulator
- Mobile Testing - Application
- Mobile Testing - UI
- Mobile Testing - Planning & Tools
- Hardware Perspective
- Mobile Device Testing - Types
- Mobile Testing - Framework Overview
- Mobile Testing - Android Frameworks
- Mobile Testing - IOS Frameworks
- Robotium Framework
- Selendroid Framework
- Mobile Testing - Appium Framework
- Mobile Testing - Zucchini Framework
Mobile Testing - Robotium Framework
Robotium is an open-source test framework for writing automatic gray-box testing cases for Android applications. With the support of Robotium, test case developers can write function, system and acceptance test scenarios, spanning multiple Android activities.
Robotium can be used both for testing applications where the source code is available and applications where only the APK file is available.
Benefits of Robotium
Easy to write, shorter code. Minimal time needed to write solid test cases.
You can develop powerful test cases, with minimal knowledge of the application under test.
The framework handles multiple Android activities automatically. Readability of test cases is greatly improved, compared to standard instrumentation tests.
Automatic timing and delays.
Automatically follows current Activity.
Automatically finds Views.
Automatically makes its own decisions (ex: When to scroll, etc.)
No modification to Android platform.
Test execution is fast.
Test cases are more robust due to the run-time binding to GUI components.
Integrates smoothly with Maven or Ant.
Drawbacks of Robotium
Robotium cannot handle Flash or Web components.
It handles only one application at a time.
It cannot simulate clicking on soft keyboard using Robotium (need to use enterText() to enter text into an EditText field)
Robotium cannot interact with Status Bar Notifications − that is, pull down the Notification area and click on a specified Notification.
Can be a bit slow, especially running on older devices.
How to Use Robotium
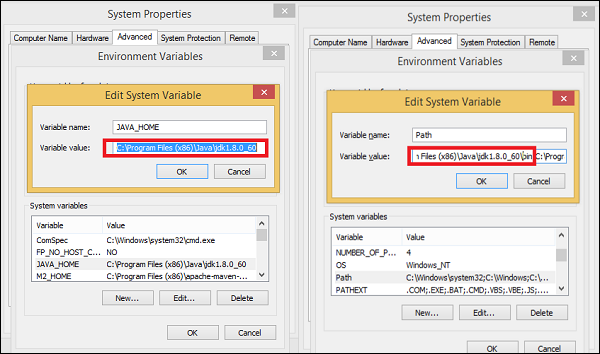
Step 1 − The prerequisites to use Robotium is Java SDK (minimum 1.6). If you dont have Java installed on your system, then follow the steps given below.
Download JDK and JRE from Oracle Technology Network
Accept license agreement.
Install JDK and JRE.
Set environment variable as shown in the screenshot below.
Step 2 − Download Android Studio from Android Studio
- Double click the exe and run the installer.
- Continue with all default options.
- Set the ANDROID_HOME.
Step 3 − Install Android images and tools.
- Click on SDK Manager −
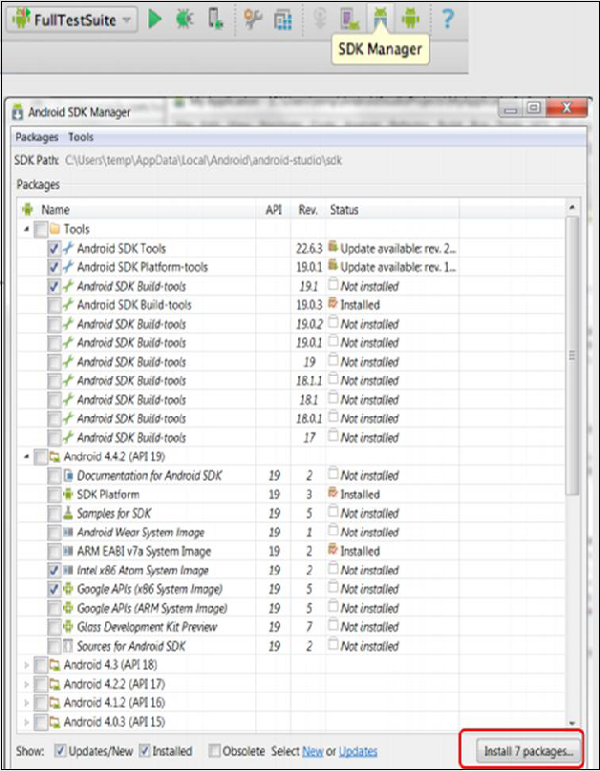
Select the necessary package. For example, if we are building an App for Android 4.4.2, then make sure the following packages are checked under the Tools section −
- Android SDK Tools rev 22.6.3
- Android Platform-tools rev 19.0.1
- Android SDK Build-tools rev 19.1
Step 4 − Create Android Virtual Devices.
- Open Android Studio and click AVD Manager in the toolbar. AVDs allow us to test and run our Android apps.
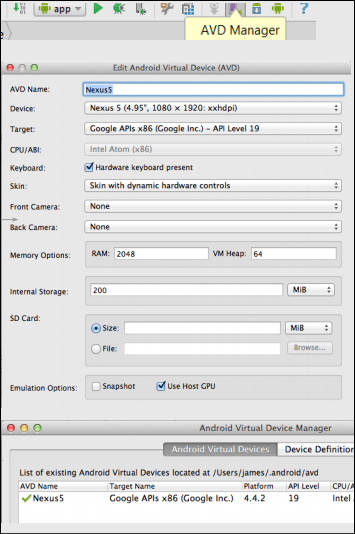
Use the following settings for a Nexus5 AVD −
- Device − Nexus 5 (4.95, 1080 x 1920; xxhdpi)
- Target − Google APIs x86 (Google Inc.) - API Level 19
- (Make sure you select the target with Google APIs in the name.)
- CPU − Intel Atom (x86)
- Check the box for Use Host GPU
- Click OK
You should now see the AVD you created in the AVD Manager, where you can start it, delete it, or create another one!
Step 5 − Robotium Jar file Download Robotium Jar file from RobotiumTech
Test an App with Robotium
To test an App with Robotium, follow the steps given below −
Step 1 − Create a test Project in the Android Studio named as RobotiumTest.
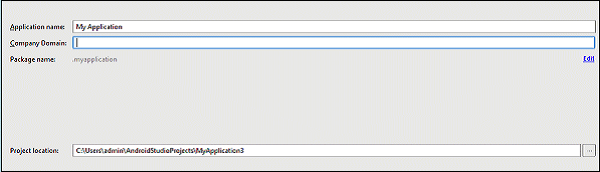
Choose all the default options until you reach to the main page.
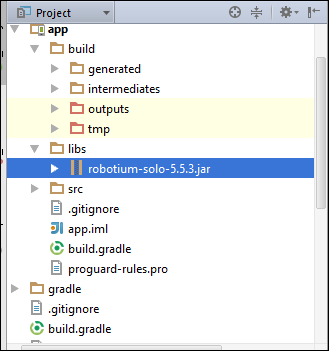
Step 2 − Copy the Robotium jar file into the Lib folder of the project.
Step 3 − Add the dependency in build.gradle file under src folder.
androidTestCompile 'com.jayway.android.robotium:robotium-solo-5.5.3'
Step 4 − Sync the Gradle.

Step 5 − Create the Test class as follows −
package com.example;

import com.robotium.solo.Solo;
import android.test.ActivityInstrumentationTestCase2;
import android.widget.EditText;
import android.widget.TextView;

public class MyTestClass extends ActivityInstrumentationTestCase2<TestActivity>{

   private Solo solo;

   public MyTestClass() {
      super(TestActivity.class);
   }

   public void setUp() throws Exception {
      solo = new Solo(getInstrumentation(), getActivity());
   }

   public void testCase() throws Exception {
      String vResult="TestExample";
      EditText vEditText = (EditText) solo.getView(R.id.edit1);
      solo.clearEditText(vEditText);
      solo.enterText(vEditText,"TestExample");
      solo.clickOnButton("Submit");
      assertTrue(solo.searchText(vResult));
      TextView textField = (TextView) solo.getView(R.id.txt1);
      //Assert to verify result with visible value
      assertEquals(vResult, textField.getText().toString());
   }

   @Override
   public void tearDown() throws Exception {
      solo.finishOpenedActivities();
   }
}
Step 6 − Save all changes. Make sure no errors are present.
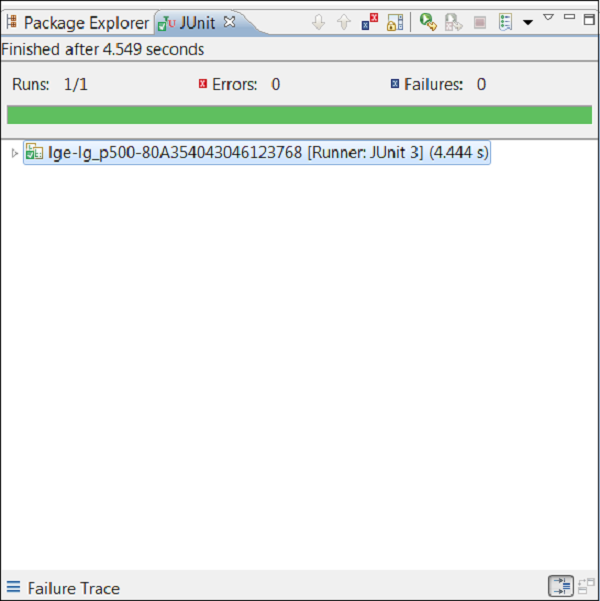
Step 7 − Now, run the test case. If the test case is successful, you should see the following output!