 Data Structure
 Networking
 RDBMS
RDBMS Operating System
 Java
Java MS Excel
 iOS
iOS HTML
HTML CSS
CSS Android
 Python
 C Programming
 C++
C++ C#
C# MongoDB
 MySQL
MySQL Javascript
 PHP
PHP
- Selected Reading
- UPSC IAS Exams Notes
- Developer's Best Practices
- Questions and Answers
- Effective Resume Writing
- HR Interview Questions
- Computer Glossary
- Who is Who
Introduction to pyglet library for game development in Python
Pyglet is a powerful library for game development and multimedia applications in Python. It provides an easy-to-use interface for creating games, handling graphics, playing audio, and handling user input. It is built on top of the OpenGL library, which allows for high-performance graphics rendering.
The following steps to be followed while developing a game using the pyglet library.
Installation
We can install Pyglet using pip by running the following command in the python environment.
Example
pip install pyglet
Output
Collecting pyglet
  Downloading pyglet-2.0.7-py3-none-any.whl (841 kB)
     -------------------------------------- 841.0/841.0 kB 2.0 MB/s eta 0:00:00
Installing collected packages: pyglet
Successfully installed pyglet-2.0.7
Note: you may need to restart the kernel to use updated packages.
Window and Event Handling
To create a window and handle events, WE need to import the 'pyglet' module and create an instance of the 'pyglet.window.Window' class.
Example
In this example, we create a window with a resolution of 800x600 pixels. The on_draw() function is called whenever the window needs to be redrawn. Inside this function, we clear the window by calling window.clear(). Finally, we start the Pyglet event loop by calling pyglet.app.run().
import pyglet
window = pyglet.window.Window(800, 600)
@window.event
def on_draw():
   window.clear()
pyglet.app.run()
Output

Sprites and Graphics
Pyglet provides a 'pyglet.sprite.Sprite' class for handling sprites and graphics, which we can load images, create sprites, and draw them on the screen.
Example
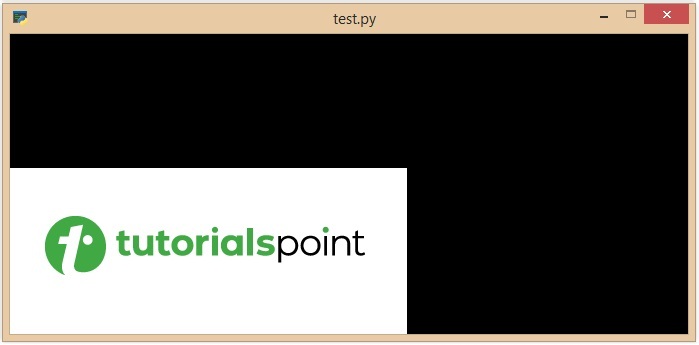
In this example, we load an image file using pyglet.resource.image() and create a sprite with that image. Inside the on_draw() function, we draw the sprite on the screen by calling sprite.draw().
import pyglet
window = pyglet.window.Window(800, 600)
image = pyglet.resource.image('image.png')
sprite = pyglet.sprite.Sprite(image)
@window.event
def on_draw():
   window.clear()
   sprite.draw()
pyglet.app.run()
Output

Handling User Input
Pyglet provides convenient ways to handle user input, such as keyboard and mouse events. We can define event handlers to respond to user actions.
Example
In this example, we define two event handlers namely, 'on_key_press()' and 'on_key_release()' and these functions are called when a key is pressed or released, respectively. The 'symbol' parameter represents the key that was pressed or released, and the 'modifiers' parameter represents any modifier keys such as Shift or Alt that were pressed simultaneously.
import pyglet
window = pyglet.window.Window(800, 600)
@window.event
def on_key_press(symbol, modifiers):
   print(f"Key {symbol} pressed")
@window.event
def on_key_release(symbol, modifiers):
   print(f"Key {symbol} released")
pyglet.app.run()
Output
Key 46 pressed
Key 108 pressed
Key 46 released
Key 108 released
Key 108 pressed
Key 108 released
Audio and Sound
Pyglet supports audio playback and sound effects and we can load audio files, create sound objects, and play them in our game.
Example
In this example, we load an audio file using 'pyglet.resource.media()' and create a sound object and then we are calling 'sound.play()' to play the sound.
import pyglet
sound = pyglet.resource.media('sound.wav', streaming=False)
sound.play()
pyglet.app.run()

