
Article Categories
- All Categories
-
 Data Structure
-
 Networking
-
 RDBMS
RDBMS
-
 Operating System
-
 Java
Java
-
 MS Excel
-
 iOS
iOS
-
 HTML
HTML
-
 CSS
CSS
-
 Android
-
 Python
-
 C Programming
-
 C++
C++
-
 C#
C#
-
 MongoDB
-
 MySQL
MySQL
-
 Javascript
-
 PHP
PHP
-
 Economics & Finance
How to quickly check if a sheet is empty in Excel?
In Excel, the most common ensuring fact is the accuracy and completeness of data. It is essential for effective data analysis and decision-making. One common task is to check whether a sheet is empty or contains any data before proceeding with further operations. By quickly determining if a sheet is empty, the user can save time and avoid errors when working with large datasets or collaborating on Excel workbooks.
This article will provide the user with simple yet powerful techniques to swiftly check if a sheet is empty in Excel, allowing the user to confidently proceed with user data manipulation or take necessary actions to populate the sheet. Whether the user is a beginner or an experienced Excel user, mastering this skill will bring numerous benefits, such as improving data integrity, preventing accidental overwriting of existing information, and enhancing overall efficiency in your spreadsheet workflows. Get ready to learn the methods that will empower users to identify empty sheets quickly and accurately in Excel.
Example 1: To check whether the sheet is empty or not in Excel user can use the VBA code
Step 1
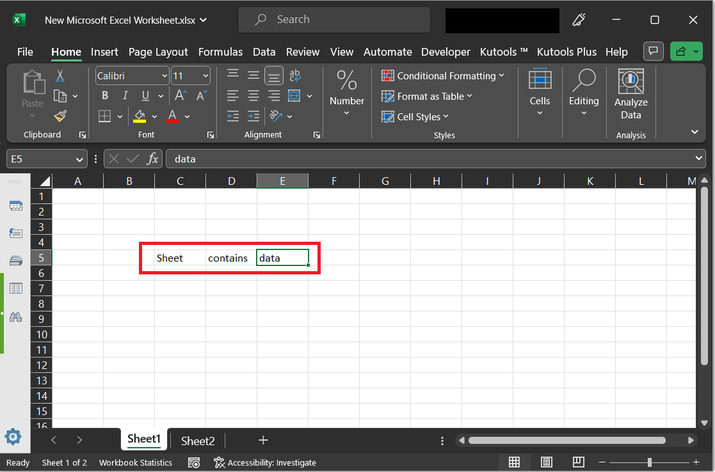
This article will use VBA code to understand if the sheet contains any data or not. For this example, will first test the code with a sheet that contains data and after that will replace the sheet with another one that does not contain data.
Step 2
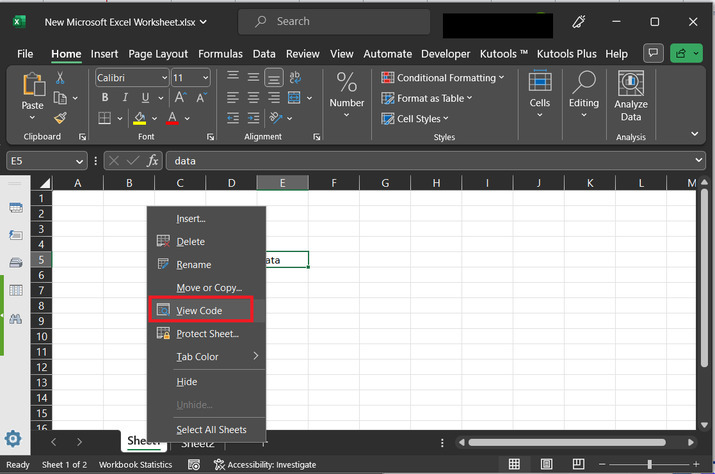
Go to the current sheet tab, provided at the bottom of the sheet. Use Right-click and click on the option "View Code". Consider the below-depicted image for reference.
Step 3
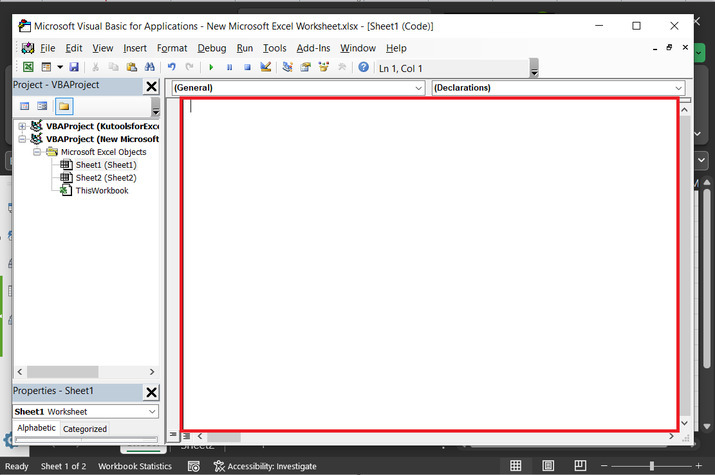
The above step will open a "Microsoft Visual Basic for Applications" dialog box. This is a blank area, displayed by Excel application software. It is the place where the user is supposed to write the required code, to perform a task.
Step 4
Copy the below-given code to the editor ?
Sub empty_sheet_chking()
   ' if expression to check that the sheet contain any data or not
   If WorksheetFunction.CountA(ActiveSheet.UsedRange) = 0 And ActiveSheet.Shapes.Count = 0 Then
      ' if sheet does not have any data
      MsgBox "Sheet is empty!!!!!", vbInformation, "Checking sheet is empty or not?"
    ' if not then execute
   Else
      ' display message box
      MsgBox "Sheet is not empty!!!!!!!!!!", vbInformation, "Checking sheet is empty or not?"
    ' end of if block
   End If
' end of sub module
End Sub
Step 5
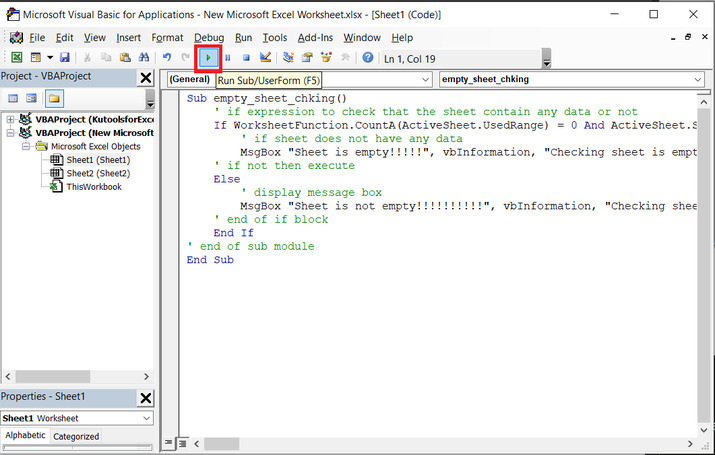
Click on the run button, provided at the menu bar, and click on it, as shown below ?
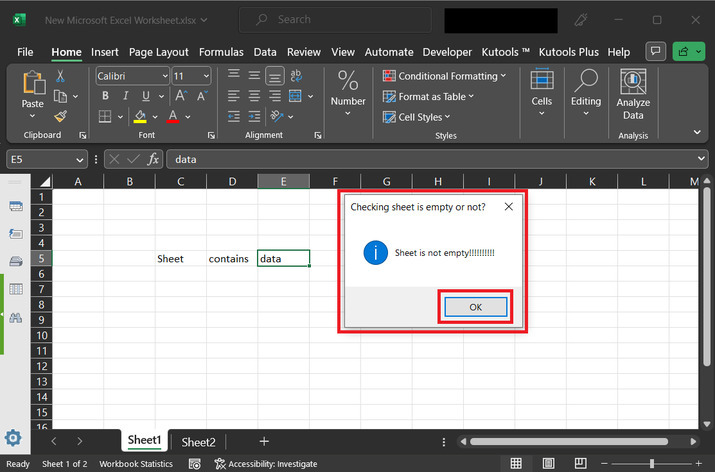
Step 6
After running the code a dialog box with heading "checking sheet is empty or not?" displayed, and the displayed message says that the sheet is not empty. This simply means that the sheet contains some valid data. After that click on the "OK" button.
Conclusion
In the example demonstrated in this article, the user can efficiently determine if a sheet contains any data before proceeding with further operations. This allows the user to confidently manipulate their data, avoid accidental overwriting of existing information, and maintain the accuracy and completeness of Excel workbooks. Whether the user is working on large datasets or collaborating with others, mastering the ability to check if a sheet is empty will streamline the user workflows and improve overall efficiency. So, take advantage of these methods and ensure the integrity of user data by quickly identifying empty sheets in Excel.

1K+ Views
