
Article Categories
- All Categories
-
 Data Structure
-
 Networking
-
 RDBMS
RDBMS
-
 Operating System
-
 Java
Java
-
 MS Excel
-
 iOS
iOS
-
 HTML
HTML
-
 CSS
CSS
-
 Android
-
 Python
-
 C Programming
-
 C++
C++
-
 C#
C#
-
 MongoDB
-
 MySQL
MySQL
-
 Javascript
-
 PHP
PHP
-
 Economics & Finance
How to play HTML5 video on fullscreen in android WebView?
Introduction
Many android applications use WebView with their applications to display the webpages to the user. This web page many times contains videos embedded within it. Such as many applications that open youtube inside the WebView to be displayed within their application. When the application user opens any video from that web page the full screen option to play the video is disabled. In this article we will take a look on How to enable that full screen inside our WebView so that we can play the HTML 5 video on full screen in WebView inside our android application.
Implementation
We will be creating a simple application in which we will be displaying a WebView. Inside that webview we will be loading Youtube and we will be adding a setting for our WebView so that users can play the videos in full screen as well.
Step 1 : Creating a new project in Android Studio.
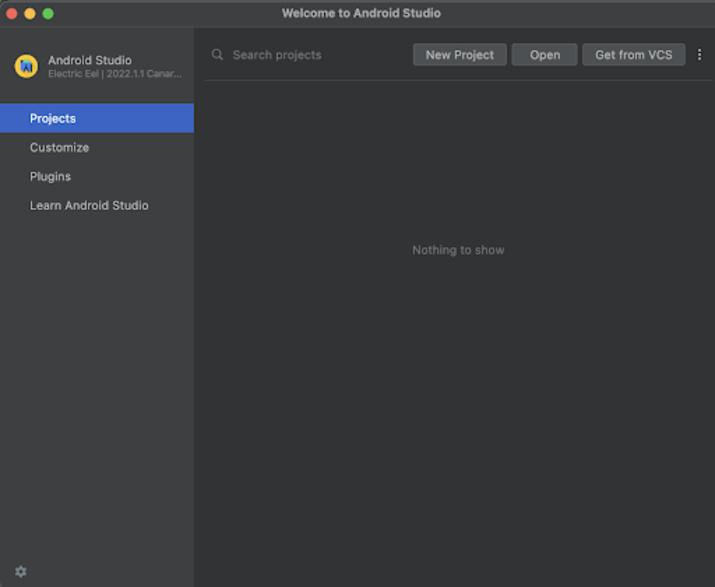
Navigate to Android studio as shown in below screen. In the below screen click on New Project to create a new Android Studio Project.
After clicking on New Project you will get to see the below screen.
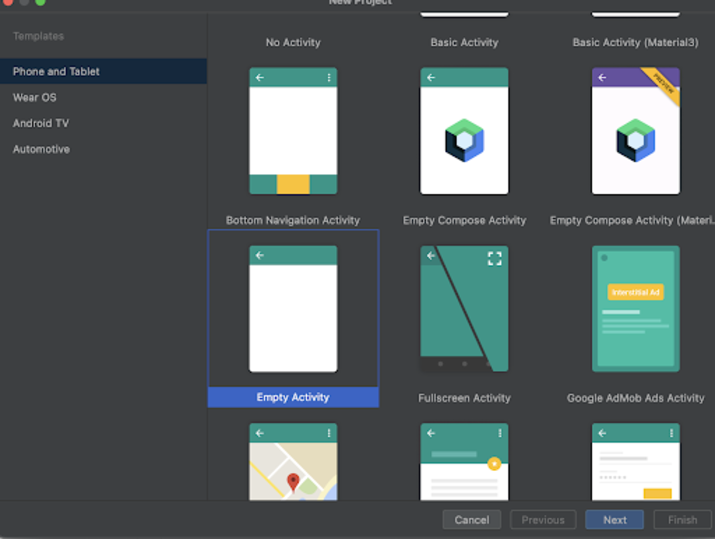
Inside this screen we have to simply select Empty Activity and click on Next. After clicking on next you will get to see the screen below.
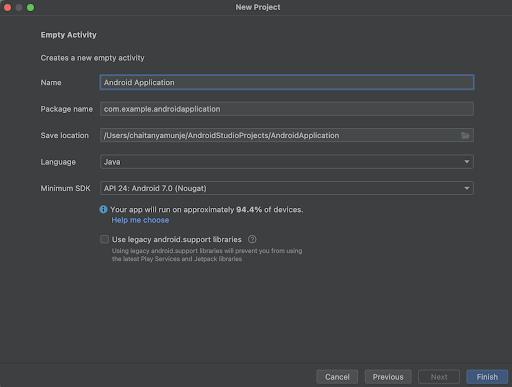
Inside this screen we have to simply specify the project name. Then the package name will be generated automatically.
Note ? Make sure to select the Language as Java.
After specifying all the details click on Finish to create a new Android studio project.
Once our project has been created we will get to see 2 files which are open i.e activity_main.xml and MainActivity.java file.
Step 2 : Working with activity_main.xml.
Navigate to activity_main.xml. If this file is not visible. To open this file. In the left pane navigate to app>res>layout>activity_main.xml to open this file. After opening this file. Add the below code to it. Comments are added in the code to get to know in detail.
Syntax
<?xml version="1.0" encoding="utf-8"?>
<RelativeLayout xmlns:android="http://schemas.android.com/apk/res/android"
   xmlns:app="http://schemas.android.com/apk/res-auto"
   xmlns:tools="http://schemas.android.com/tools"
   android:layout_width="fill_parent"
   android:layout_height="fill_parent"
   android:orientation="vertical"
   tools:context=".MainActivity">

   <!-- creating a webview for displaying our youtube web page-->
   <WebView
      android:id="@+id/webView"
      android:layout_width="match_parent"
      android:layout_height="match_parent" />
</RelativeLayout>
Explanation ? In the above code the root element is a Relative layout in android. This layout is a view group which is used to align all the elements within it relative to each other. We can relatively align all elements within Relative Layout with the help of ids or positions.
Inside this relative layout we are creating our webview inside which we will be displaying the YouTube web page.
At last we are adding a closing tag for our Relative Layout as the text view and button is enclosed in our relative layout.
Step 3 : Adding Internet permissions in AndroidManifest.xml file.
Navigate to app>manifests>AndroidManifest.xml file and add internet permissions to it in the manifest tag.
<span class="tag"><uses-permission</span><span class="pln"> </span><span class="atn">android:name</span><span class="pun">=</span><span class="atv">"android.permission.INTERNET"</span><span class="tag">/></span><span class="pln">
</span><span class="tag"><uses-permission</span><span class="pln"> </span><span class="atn">android:name</span><span class="pun">=</span><span class="atv">"android.permission.ACCESS_NETWORK_STATE"</span><span class="tag">/></span>
Explanation ? As we are loading web pages inside our WebView so for that we will require internet
permissions. Inside our AndroidManifest.xml we are specifying the permissions for using the Internet.
Step 4 : Working with MainActivity.java.
Navigate to MainActivity.java. If this file is not visible. To open this file. In the left pane navigate to app>java>your app?s package name>MainActivity.java to open this file. After opening this file. Add the below code to it. Comments are added in the code to get to know in detail.
package com.example.androidjavaapp;

import androidx.annotation.Nullable;
import androidx.appcompat.app.AppCompatActivity;
import android.graphics.Bitmap;
import android.graphics.BitmapFactory;
import android.os.Bundle;
import android.view.View;
import android.webkit.WebSettings;
import android.webkit.WebView;
import android.webkit.WebViewClient;
import android.widget.FrameLayout;

public class MainActivity extends AppCompatActivity {
   // on below line creating a variable for web view.
   private WebView webView;

   @Override
   protected void onCreate(Bundle savedInstanceState) {
      super.onCreate(savedInstanceState);
      setContentView(R.layout.activity_main);

      // on below line initializing web view with id.
      webView = findViewById(R.id.webView);

      // on below line setting web view client.
      webView.setWebViewClient(new WebClient());

      // on below line setting web chrome client for web view.
      webView.setWebChromeClient(new WebChromeClient());

      // on below line getting web settings.
      WebSettings webSettings = webView.getSettings();

      // on below line setting java script enabled to true.
      webSettings.setJavaScriptEnabled(true);

      // on below line setting file access to true.
      webSettings.setAllowFileAccess(true);

      // on below line setting url for the web page which we have to load in our web view.
      webView.loadUrl("https://www.youtube.com");
   }

   // on below line creating a class for web chrome client.
   class WebChromeClient extends android.webkit.WebChromeClient {
      // on below line creating variables.
      private View customView;
      private android.webkit.WebChromeClient.CustomViewCallback customViewCallback;
      private int originalOrientation;
      private int originalSystemVisibility;

      WebChromeClient() {
      }

      @Nullable
      @Override
      public Bitmap getDefaultVideoPoster() {

         // on below line returning our resource from bitmap factory.
         if (customView == null) {
            return null;
         }
         return BitmapFactory.decodeResource(getApplicationContext().getResources(), 2130837573);
      }

      @Override
      public void onHideCustomView() {

         // on below line removing our custom view and setting it to null.
         ((FrameLayout) getWindow().getDecorView()).removeView(customView);
         this.customView = null;

         // on below line setting system ui visibility to original one and setting orientation for it.
         getWindow().getDecorView().setSystemUiVisibility(this.originalSystemVisibility);
         setRequestedOrientation(this.originalOrientation);

         // on below line setting custom view call back to null.
         this.customViewCallback.onCustomViewHidden();
         this.customViewCallback = null;
      }

      @Override
      public void onShowCustomView(View view, CustomViewCallback callback) {
         if (this.customView != null) {
            onHideCustomView();
            return;
         }
         // on below line initializing all variables.
         this.customView = view;
         this.originalSystemVisibility = getWindow().getDecorView().getSystemUiVisibility();
         this.originalOrientation = getRequestedOrientation();
         this.customViewCallback = callback;
         (FrameLayout) getWindow().getDecorView()).addView(this.customView, new FrameLayout.LayoutParams(-1, -1));
         getWindow().getDecorView().setSystemUiVisibility(3846);
      }
   }
   // on below line creating a class for Web Client.
   class WebClient extends WebViewClient {
      @Override
      public void onPageStarted(WebView view, String url, Bitmap favicon) {
         super.onPageStarted(view, url, favicon);
      }

      @Override
      public void onPageFinished(WebView view, String url) {
         super.onPageFinished(view, url);
      }
   }
}
Explanation ? In the above code for the MainActivity.java file. Firstly we are creating a variable for the web view.
Now we will get to see the onCreate method. This is the default method of every android application. This method is called when the application view is created. Inside this method we are setting the content view i.e the layout file named activity_main.xml to set the UI from that file.
After specifying the view we are initialising our WebView variable named as webView with its unique id which we have given in the activity_main.xml file.
After initialising our webView we are setting web view client, web chrome client for our web view. After that we are setting java script and file access for our web view. After that we are specifying the url for youtube as we have to load the youtube web page inside our WebView.
At last we are creating a class for our WebChrome Client and WebViewClient that we are using for our WebView.
After adding the above code now we have to simply click on the green icon in the top bar to run our application on a mobile device.
Note ? Make sure you are connected to your real device or emulator.
Output
Conclusion
In the above article, we have taken a look at How to play HTML5 videos on full screen in android WebView.

7K+ Views
