 Data Structure
 Networking
 RDBMS
RDBMS Operating System
 Java
Java MS Excel
 iOS
iOS HTML
HTML CSS
CSS Android
 Python
 C Programming
 C++
C++ C#
C# MongoDB
 MySQL
MySQL Javascript
 PHP
PHP
- Selected Reading
- UPSC IAS Exams Notes
- Developer's Best Practices
- Questions and Answers
- Effective Resume Writing
- HR Interview Questions
- Computer Glossary
- Who is Who
How to move your Game Character Around in Pygame?
Pygame is a powerful library that allows developers to create engaging 2D games using the Python programming language. One fundamental aspect of game development is character movement.
In this article, we will learn how to move your game character around in Pygame. This article is for everyone whether you're a beginner or an experienced developer, and will equip you with the knowledge and skills necessary to implement smooth and responsive character movement in your games.
Steps to move game characters around in Pygame
Below are the complete steps to move your game character around in Pygame:
Step 1: Setting up the Game Window and Initializing Pygame
To start, import the necessary modules by including the following line at the beginning of your code: import pygame. Then, initialize Pygame by calling pygame.init(). Next, set up the game window by defining the width and height using s_width and s_height variables. Create the game window using pygame.display.set_mode((s_width, s_height)), and set the desired title for the window using pygame.display.set_caption("Your Game Window Title").
Syntax
import pygame
pygame.init()
s_width, s_height = 800, 600
screen = pygame.display.set_mode((s_width, s_height))
pygame.display.set_caption("Your Game Window Title")
Step 2: Loading the Character Image and Defining the Character's Position
Load the image file for your game character using char_img = pygame.image.load("character.png"). Create a rectangle object to represent the character's dimensions by calling char_rect = char_img.get_rect(). To position the character in the center of the game window, set the center of the rectangle using char_rect.center = (s_width // 2, s_height // 2).
Syntax
char_img = pygame.image.load("character.png")
char_rect = char_img.get_rect()
char_rect.center = (s_width // 2, s_height // 2)
Step 3: Handling User Input for Character Movement
Inside the game loop, retrieve the list of currently pressed keys using keys = pygame.key.get_pressed(). Check the keys list to determine which keys are pressed. For example, to move the character left when the left arrow key is pressed, use the following condition: if keys[pygame.K_LEFT]: char_rect.x ?= movement_speed. Similarly, check for other arrow keys to handle character movement in different directions.
Syntax
keys = pygame.key.get_pressed()
if keys[pygame.K_LEFT]:
    char_rect.x -= movement_speed
if keys[pygame.K_RIGHT]:
    char_rect.x += movement_speed
if keys[pygame.K_UP]:
    char_rect.y -= movement_speed
if keys[pygame.K_DOWN]:
    char_rect.y += movement_speed
Step 4: Updating the Screen
After handling the user input, it's essential to update the screen to reflect the changes. Begin by clearing the screen using screen.fill((255, 255, 255)) to fill it with a white background. Next, blit the character image onto the screen at its current position using screen.blit(char_img, char_rect). Finally, update the entire display with the changes made using pygame.display.flip().
Syntax
screen.fill((255, 255, 255))
screen.blit(char_img, char_rect)
pygame.display.flip()
Step 5: Handling Events and Controlling the Game Loop
To ensure that the game window stays open until the user decides to close it, include event handling within the game loop. Iterate through the list of events using for event in pygame.event.get(). Check if the event type is pygame.QUIT, indicating that the user wants to close the window. If this condition is met, set running = False to exit the game loop and quit the game.
Syntax
screen.fill((255, 255, 255))
screen.blit(char_img, char_rect)
pygame.display.flip()
Step 6: Adding a Clock and Setting the Desired Frame Rate
To control the frame rate of your game, create a clock object using clock = pygame.time.Clock(). Specify the desired frame rate by setting FPS to a suitable value. Inside the game loop, call clock.tick(FPS) to regulate the frame rate.
Syntax
screen.fill((255, 255, 255))
screen.blit(char_img, char_rect)
pygame.display.flip()
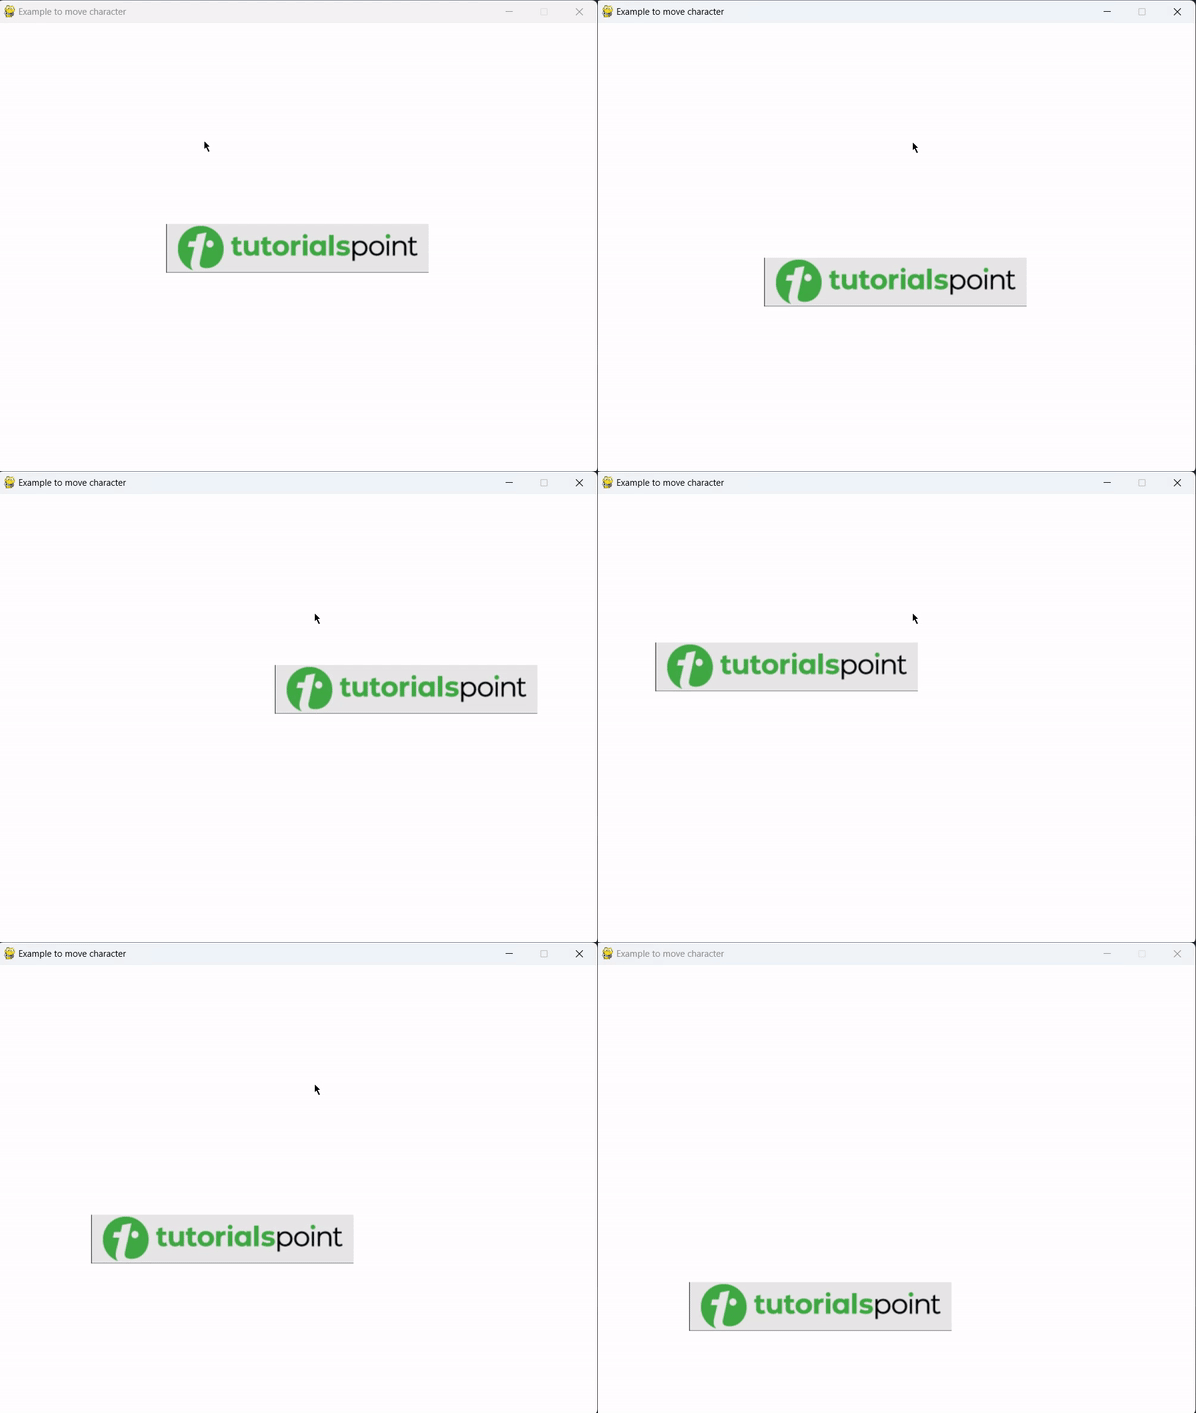
Example 1: Basic Character movement using pygame
#import the pygame and keyboard
import pygame
import keyboard

# Initialize Pygame
pygame.init()

# Set up the game window
s_width, s_height = 800, 600
screen = pygame.display.set_mode((s_width, s_height))
pygame.display.set_caption("Example to move character")

# Load the character image
char_img = pygame.image.load("tplogo.png")
char_rect = char_img.get_rect()
char_rect.center = (s_width // 2, s_height // 2)

# Set up the clock
clock = pygame.time.Clock()
FPS = 60

# Set the game loop
running = True
while running:
    dt = clock.tick(FPS) / 1000.0

    for event in pygame.event.get():
        if event.type == pygame.QUIT:
            running = False

    if keyboard.is_pressed('left'):
        char_rect.x -= 5
    if keyboard.is_pressed('right'):
        char_rect.x += 5
    if keyboard.is_pressed('up'):
        char_rect.y -= 5
    if keyboard.is_pressed('down'):
        char_rect.y += 5

    # Update the screen
    screen.fill((255, 255, 255))
    screen.blit(char_img, char_rect)
    pygame.display.flip()

# Quit the game
pygame.quit()
Output

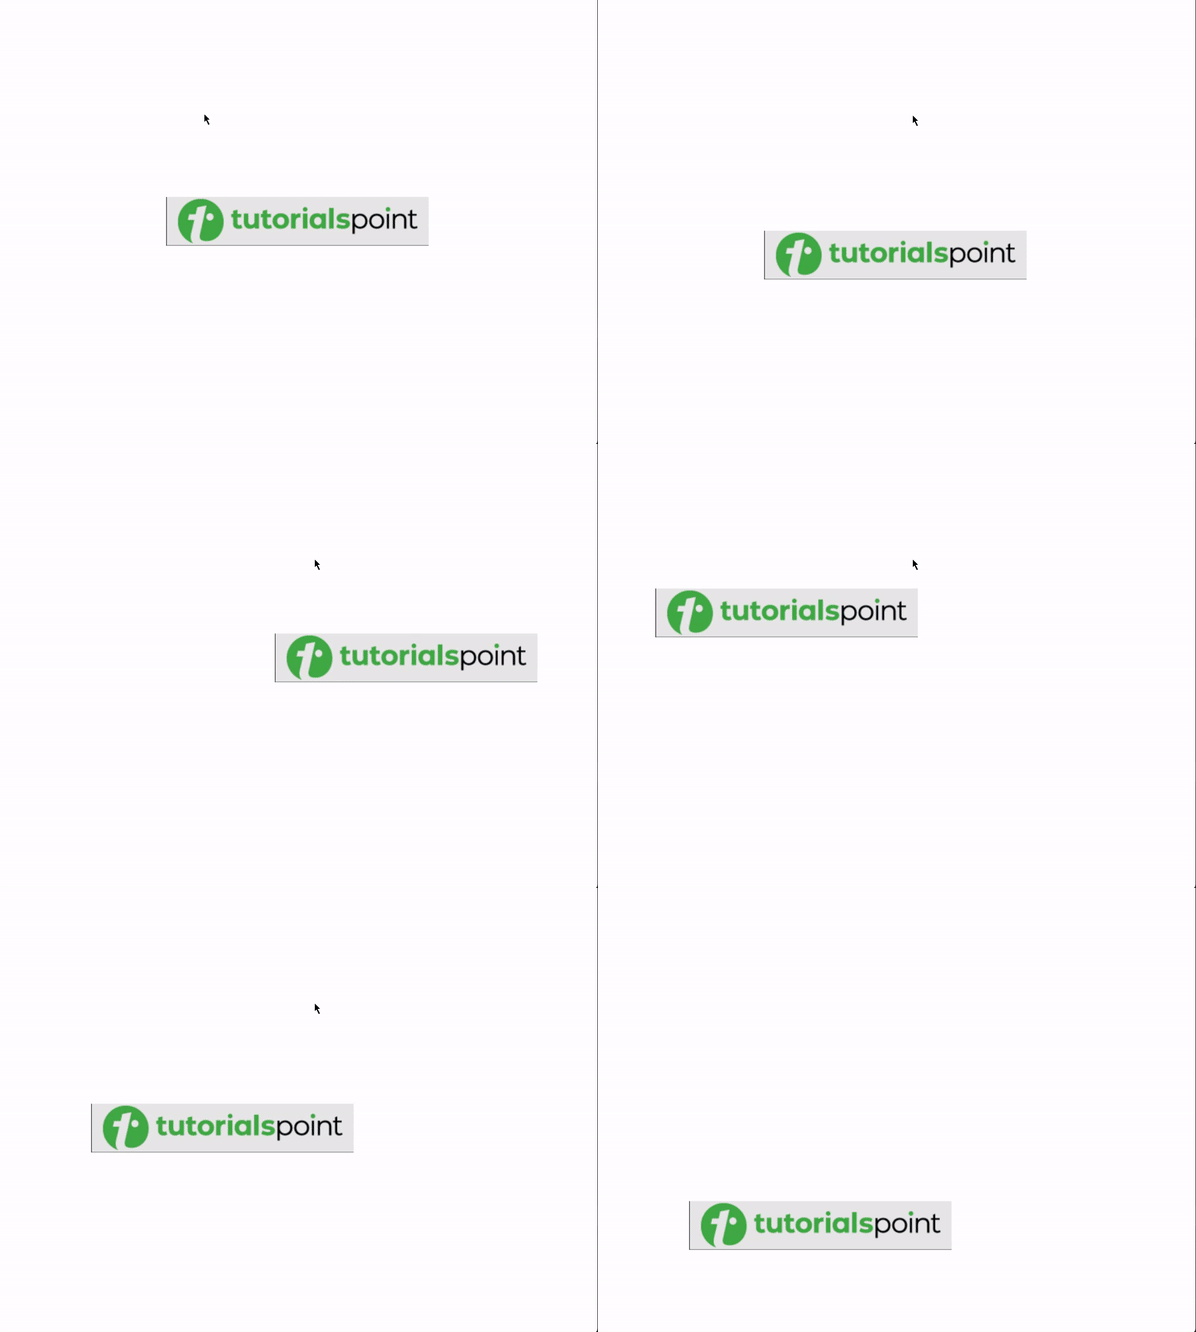
Example 2: Grid-based movement using pygame
image
char_img = pygame.image.load("tplogo.png")
char_rect = char_img.get_rect()
char_rect.center = (s_width // 2, s_height // 2)

# Set up the clock
clock = pygame.time.Clock()
FPS = 60

# Define grid size and movement speed
grid_size = 100
movement_speed = 5

# Set the game loop
running = True
while running:
    dt = clock.tick(FPS) / 1000.0

    for event in pygame.event.get():
        if event.type == pygame.QUIT:
            running = False

    if keyboard.is_pressed('left'):
        char_rect.x -= movement_speed * dt
    if keyboard.is_pressed('right'):
        char_rect.x += movement_speed * dt
    if keyboard.is_pressed('up'):
        char_rect.y -= movement_speed * dt
    if keyboard.is_pressed('down'):
        char_rect.y += movement_speed * dt

    # Snap the character to the nearest grid position
    char_rect.x = round(char_rect.x / grid_size) * grid_size
    char_rect.y = round(char_rect.y / grid_size) * grid_size

    # Update the screen
    screen.fill((255, 255, 255))
    screen.blit(char_img, char_rect)
    pygame.display.flip()

# Quit the game
pygame.quit()
Output

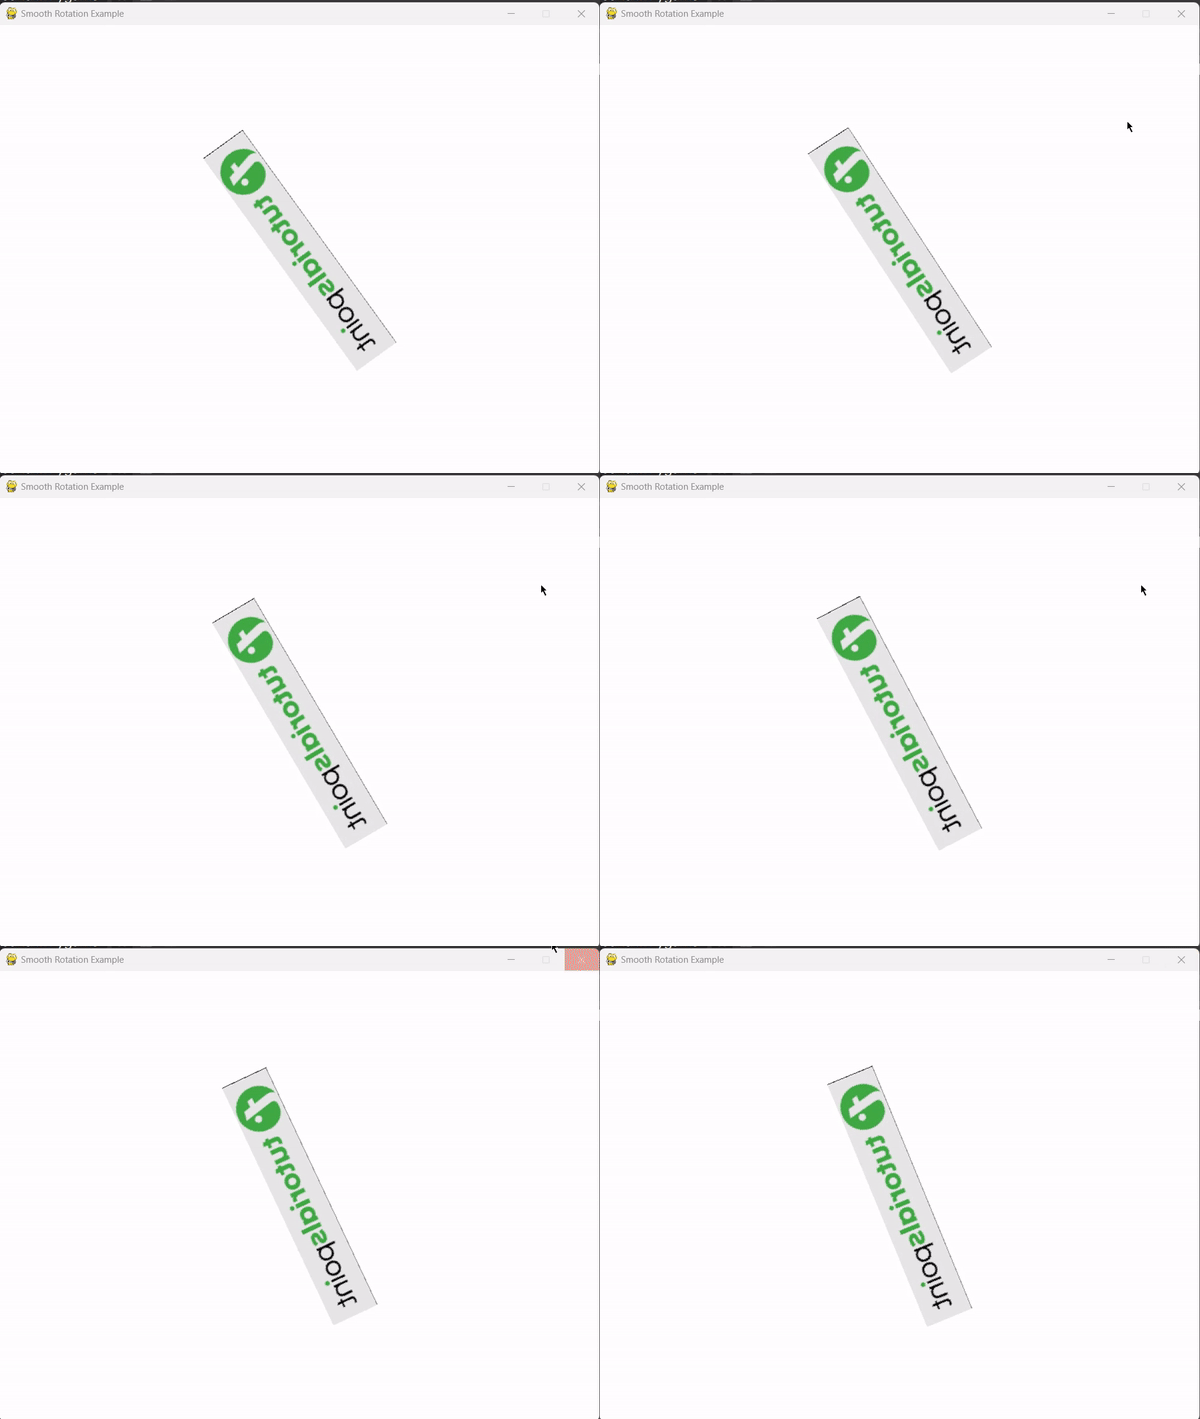
Example 3: Smooth rotation and character flip
In this example, the character image (tplogo.png) is initially loaded and centered on the game window. The image is then smoothly rotated by incrementing the rotation angle based on the rotation speed. To achieve the horizontal flip effect, the rotated image is flipped using the pygame.transform.flip() function with True as the first argument to flip horizontally.
import pygame

# Initialize Pygame
pygame.init()
# Set up the game window
s_width, s_height = 800, 600
screen = pygame.display.set_mode((s_width, s_height))
pygame.display.set_caption("Smooth Rotation Example")

# Load the character image
char_img = pygame.image.load("tplogo.png")
char_rect = char_img.get_rect()
char_rect.center = (s_width // 2, s_height // 2)

# Set up the clock
clock = pygame.time.Clock()
FPS = 60

# Define rotation angle and speed
rotation_angle = 0
rotation_speed = 2

# Set the game loop
running = True
while running:
    dt = clock.tick(FPS) / 1000.0

    for event in pygame.event.get():
        if event.type == pygame.QUIT:
            running = False

    # Rotate the image
    rotation_angle += rotation_speed * dt
    rotated_image = pygame.transform.rotate(char_img, rotation_angle)

    # Flip the image horizontally
    flipped_image = pygame.transform.flip(rotated_image, True, False)

    # Update the screen
    screen.fill((255, 255, 255))
    screen.blit(flipped_image, flipped_image.get_rect(center=char_rect.center))
    pygame.display.flip()

# Quit the game
pygame.quit()
Output

Conclusion
By following the steps given in the article, you can successfully move your game character to Pygame. Implementing the game window, character image, user input, event handling, and clock control will ensure smooth character movement in your game.

