
Article Categories
- All Categories
-
 Data Structure
-
 Networking
-
 RDBMS
RDBMS
-
 Operating System
-
 Java
Java
-
 MS Excel
-
 iOS
iOS
-
 HTML
HTML
-
 CSS
CSS
-
 Android
-
 Python
-
 C Programming
-
 C++
C++
-
 C#
C#
-
 MongoDB
-
 MySQL
MySQL
-
 Javascript
-
 PHP
PHP
-
 Economics & Finance
How to Create/Start a new Project in Android Studio
Introduction
Android is a famous mobile operating system which is being used by more than 70 % of mobile devices across the world. As the demand of android operating system. The number of mobile applications developed in android is also increasing day by day. Hence it will be beneficial to learn android app development in such a demanding market. For building your own android application the first step to start is to create a new project in android studio which is recommended as an official IDE for android development. In this article we will take a look on How to create/start a new Android studio project by following a step by step guide.
Step by Step Guide
Step 1 : Creating a new project in Android Studio
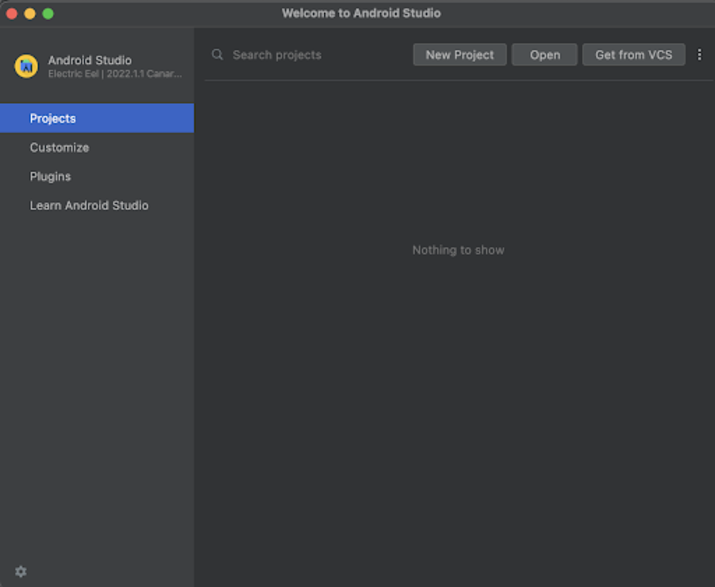
Navigate to Android studio as shown in below screen. In the below screen click on New Project to create a new Android Studio Project.
After clicking on New Project you will get to see the below screen.
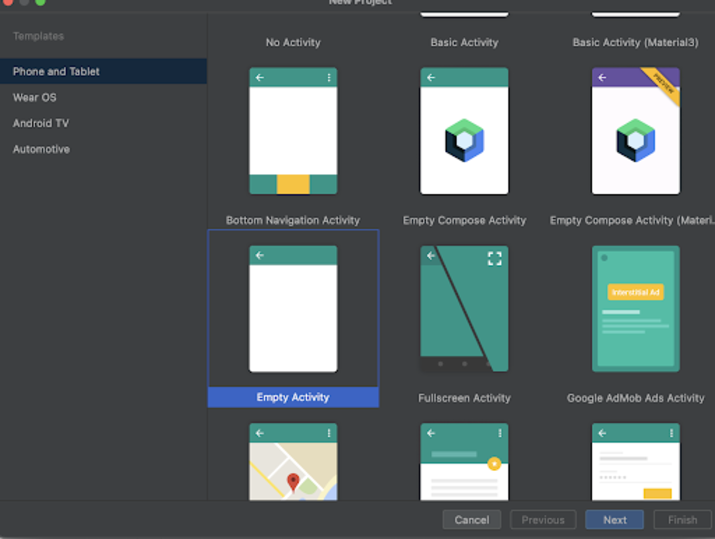
Inside the above screen we can select any type of activity which we have to display for our application. We can select any activity depending upon our use case in our application. For this application we are selecting it as Empty Activity.
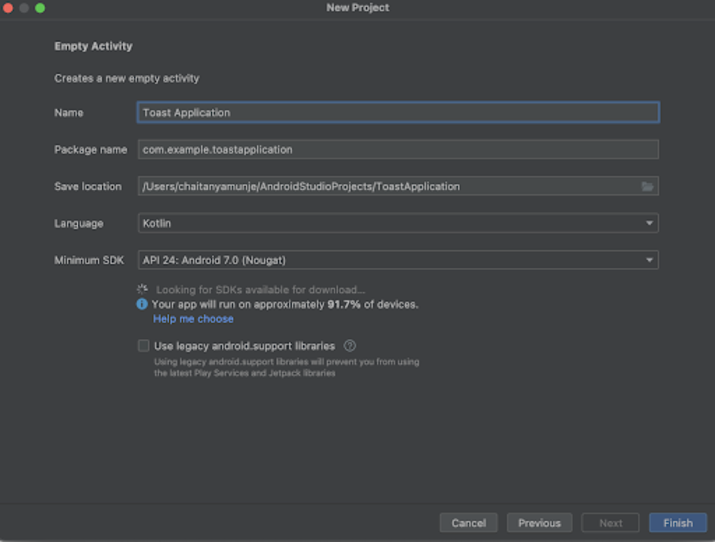
Inside this screen we have to simply specify the project name. Then the package name will be generated automatically.
The package name is the unique identifier for any android application. This package name will be used to uniquely identify your application on the Google Play Store.
We can select any language for building our project. There are two options available to select for Kotlin or Java. In this tutorial we will be creating a Kotlin Project.
Then we have to select the minimum SDK version on which our application will be supported. In this application we are setting it as API 24 : Android 7.0 (Nougat). Below we are also getting suggestions that this Android version is having support for approximately 91.7 % of android devices available in the market.
After that if you want to use legacy support libraries within your android project then check the box. In this project we will not be using it. So we have kept it as it is.
After specifying all the above details simply click on Finish to create a new project.
Once our project has been created we will get to see 2 files which are open i.e activity_main.xml and MainActivity.kt file.
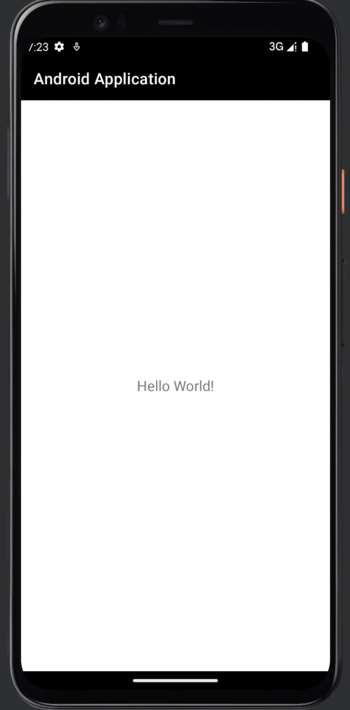
Now we can simply click on the green icon in the top bar to run our application on a mobile device.
Note ? Make sure you are connected to your real device or emulator.
Conclusion
In the above tutorial we learn How to Create/Start a new Project in Android Studio with different programming languages in it.

1K+ Views
