 Data Structure
 Networking
 RDBMS
RDBMS Operating System
 Java
Java MS Excel
 iOS
iOS HTML
HTML CSS
CSS Android
 Python
 C Programming
 C++
C++ C#
C# MongoDB
 MySQL
MySQL Javascript
 PHP
PHP
- Selected Reading
- UPSC IAS Exams Notes
- Developer's Best Practices
- Questions and Answers
- Effective Resume Writing
- HR Interview Questions
- Computer Glossary
- Who is Who
How to Create Checkbox in Kivymd-Python?
Checkboxes are a type of graphical user interface (GUI) element. It enables users to select 1 or more options from a given set of choices. They are often represented in the form of small square boxes which can be either checked(selected) or unchecked(deselected). Checkboxes are normally in square shape and are on almost all forms on the internet depending upon the use case scenarios.
The KivyMD framework of python is built on top of the Kivy library that allows developers to build cross-platform applications along with GUI's. KivyMD consists of a large set of Material Design widgets which can be integrated along with current day applications for mobiles as well as desktops.
In this article, we are going to see how we can create a checkbox in KivyMD in Python. There are namely 2 ways to do so and we will see each one of them.
The MDCheckbox widget in KivyMD provides a large number of customization options ranging from the ability to change the colour of the checkbox to specify the size and position of it. The ?on_active' event is of great use to check if the checkbox is checked or unchecked and enables us to perform any actions in response to changes in the checked status.
Checkboxes are very easy to use and provide users with a quick way to make a selection and hence adding clarity. The fact that they are flexible and efficient is because they can be used in any situation including forms, surveys and questionnaires.
However, checkboxes can take up a lot of room on a form and might make the visual look cluttered in some cases. It is recommended to not add too many options to choose from as the user might get overwhelmed and would have a difficulty in making a decision. Checkboxes allow only a binary (yes/no) type of response which limits the amount of information being collected and would not be appropriate in certain cases.
Before going forward, it is necessary to install the certain libraries as they are not part of the standard library packages. They include kivy and kivymd and their install commands are as follows:
pip install kivy
pip install kivymd
Method 1: Using a Custom MyBoxLayout Class
Here we will create a MyBoxLayout which extends the BoxLayout class. We will also add a text field widget to indicate when the checkbox is selected and when it is not. To do so, we will make use of the ?on_active' property.
The MyBoxLayout class consists of an MDCheckbox widget and an MDLabel widget which is a text field to indicate the status of the checkbox. The BoxLayout is defined with a horizontal orientation.
Example
# Import necessary modules
from kivymd.app import MDApp
from kivymd.uix.selectioncontrol import MDCheckbox
from kivymd.uix.label import MDLabel
from kivy.uix.boxlayout import BoxLayout

class MyBoxLayout(BoxLayout):
   def __init__(self, **kwargs):
      super().__init__(**kwargs)
      self.orientation = 'horizontal'
      self.checkbox_box = BoxLayout()
      self.checkbox = MDCheckbox()
      self.checkbox_box.add_widget(self.checkbox)
      self.textbox = MDLabel()
	# Default state of checkbox is inactive/unselected
      self.textbox.text="Checkbox is inactive"
      self.checkbox_box.add_widget(self.textbox)
      self.add_widget(self.checkbox_box)

      self.checkbox.bind(active=self.on_checkbox_active)

   def on_checkbox_active(self, checkbox, value):

      if value:
         self.textbox.text = "Checkbox is active"
      else:
         self.textbox.text = "Checkbox is inactive"
# Create the app
class TutorialsPointApp(MDApp):
   def build(self):
      return MyBoxLayout()

if __name__ == '__main__':
   TutorialsPointApp().run()
Output
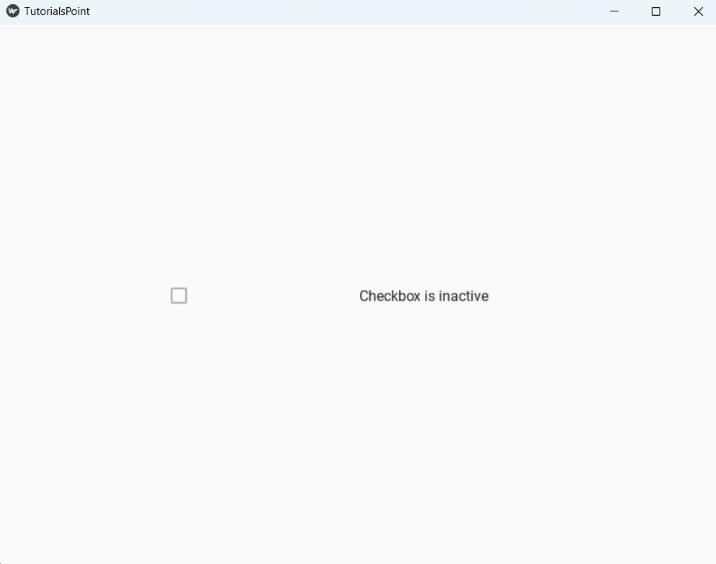
1. On start / when checkbox is unchecked

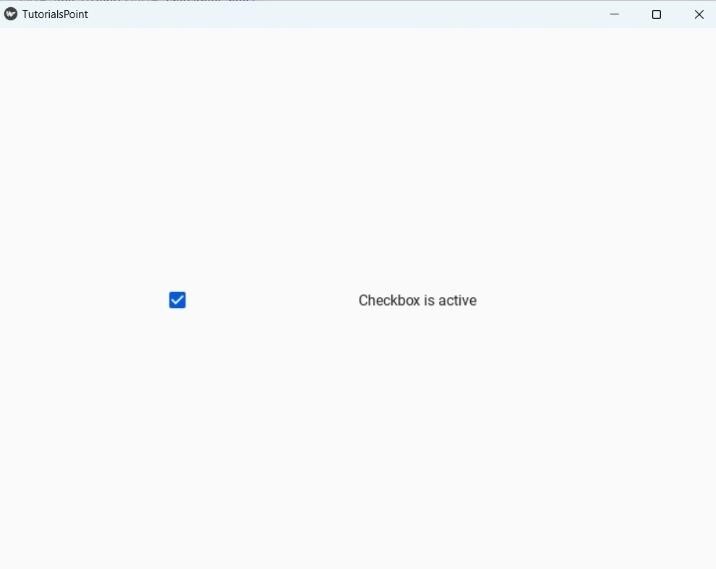
2. When checkbox is selected

Method 2: Using the KV Language
The KV language is a commonly used to design the layout and user interfaces in the Kivy framework. It is also known as a declarative language which simply means that you can define the structure of the UI and the behaviour of the widgets without having to write code to manually design them. The syntax is pretty similar to other markup languages like XML or HTML which are also used for similar purposes. With the help of KV language you can define layout, size, position, style, and behaviour of the widgets. The fact that KV language supports inheritance is of great advantage because we create a base widget and then create variants of it by simply changing some properties here and there.
Now this KV language can be written in the form of a string in the same code as shown below or in the form of an external file which would have to be imported. Either ways, the output or any features would have no change in them.
In order to compile the KV language we require the "Builder" to which we pass the string.
Like above, we will be printing the state of the checkbox in this code as well.
Example
from kivy.lang import Builder
from kivymd.app import MDApp
from kivy.properties import BooleanProperty

# Define KV language string
KV = '''
Screen:

   MDCheckbox:
      id: checkbox
      size_hint: None, None
      size: dp(48), dp(48)
      pos_hint: {'center_x': 0.5, 'center_y': 0.5}
      on_active: app.update_label(self.active)

   MDLabel:
      id: label
      text: 'Checkbox is inactive'
      halign: 'center'
      valign: 'center'
      pos_hint: {'center_x': 0.5, 'center_y': 0.3}
'''
class TutorialsPointApp(MDApp):
   checkbox_active = BooleanProperty(False)
   def build(self):
      # Load the KV language string
      self.root = Builder.load_string(KV)
      return self.root
   def update_label(self, active):
      # Update the label text based on the checkbox state
      self.root.ids.label.text = 'Checkbox is ' + ('active' if active else 'inactive')
if __name__ == '__main__':
   TutorialsPointApp().run()
Output
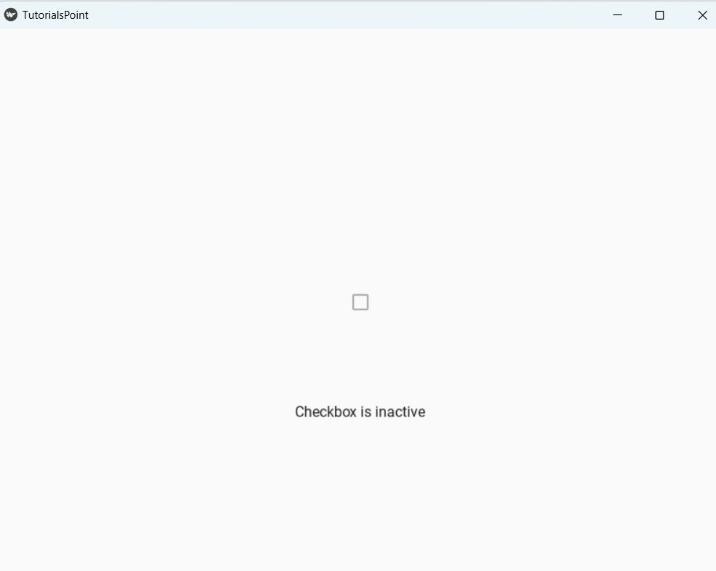
1. On start / when checkbox is unchecked

2. When checkbox is selected

Conclusion
The KivyMD library is of really great help for designing cross platform applications with widgets. The MDCheckbox widget allows us to add checkboxes to our UI and the active property can be easily used to see if the checkbox is selected or not. The appearance of the checkbox can be customized by making use of properties like active_color and secondary_color. A large number of functions and tasks can be integrated with the active property. We have shown 2 methods above for creating checkboxes wherein 1 requires a KV language and the other is directly with the help of code. The KV language is a simple markup language just like XML for android and HTML for websites. Checkboxes are used very commonly on forms like google forms and job applications and are mainly square in shape and allow 1 or more to be selected at the same time.
