- Consul - Home
- Consul - Introduction
- Consul - Architecture
- Consul - Installation
- Consul - Working with Microservices
- Consul - Bootstrapping & DNS
- Consul - Querying Nodes
- Consul - Failover Events
- Consul - Using UI
- Consul - Using Consul on AWS
Consul - Using Consul on AWS
In this chapter, we will learn how to use Consul on AWS (Amazon Web Services).
Features of AWS
Some features that are useful while using Consul in AWS are −
- Easy to maintain cluster states.
- Scalability and High Availability.
- Great User Interface for managing clusters across multiple datacenters.
- Easy to use Command Line Options.
If you are looking for a solution using which we can easily deploy Consul on AWS with Docker. Check out the following link − https://github.com/dwmkerr/terraform-consul-cluster.
AWS Deployment
For using AWS, we can start by creating a VPC for it. For deploying consul in AWS, we will use a quick start template as provided by the AWS Service. This template can be easily found at https://aws.amazon.com/quickstart/architecture/consul/.
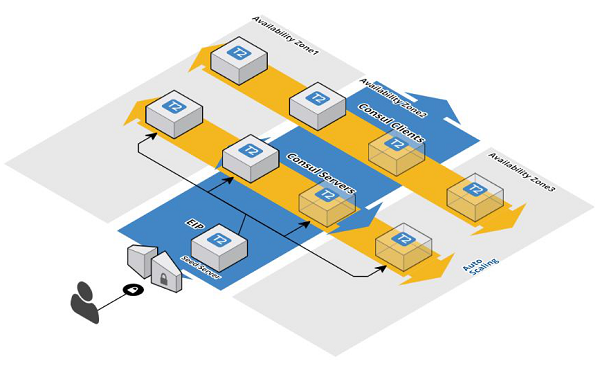
For this chapter, we assume that you already know the basics of AWS. The AWS CloudFormation template will create the following components −
A VPC with public and private subnets across three Availability Zones.
A Seed Consul server and a Seed client along with two Auto Scaling groups.
You can choose to create 3, 5, or 7 servers. The number of clients is set to three by default, but it is user-configurable.
Dnsmasq, which is installed and configured for Consul as part of the installation.
A Consul cluster using bootstrap_expect option.
Take a look at the following illustration to understand how the different components are interconnected.
Using the AWS
Please make sure you have already signed into your AWS infrastructure using the web console. Now, please put the following URL into the browser window. Once you type in the URL and press enter, the AWS website will open.
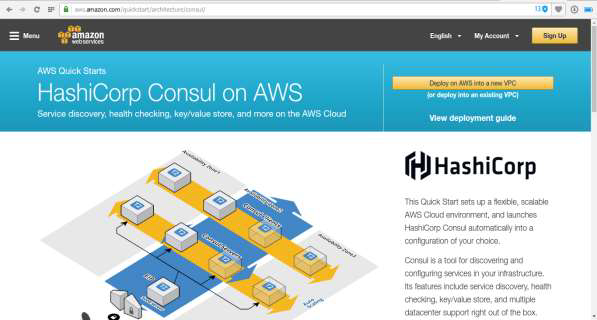
For this demo, we will choose to deploy it into a new VPC (Virtual Private Cloud). You can always check your VPC Management of AWS on the following link https://<awsregion>.console.aws.amazon.com/vpc/home. For the first time users, the by-default region is West Oregon in the USA. So, you can directly visit the URL at https://us-west- 2.console.aws.amazon.com/vpc/home.

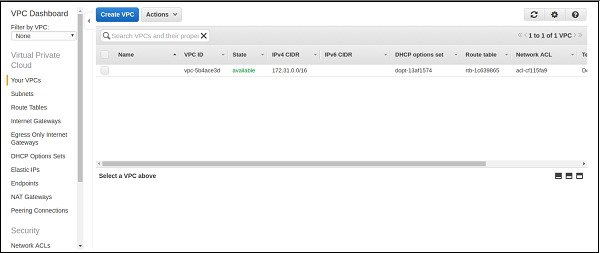
As you can see the VPC service of the AWS is operational and you have no VPC, i.e. already running/configured on your AWS account. Now please click on the Deploy option on AWS into a new VPC or Deploy into an existing VPC according to your choice. You can view the option on the website as shown in the following screenshot.

On clicking the above-described option, you can see that it opens up another window, which is similar to the one shown below.
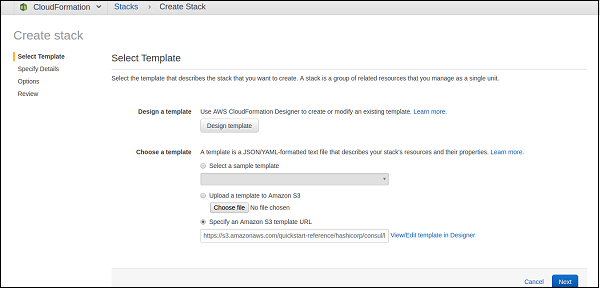
As you can see in the template, the URL is already chosen on your behalf by AWS. It also gives you the freedom to customize the cloud formation template as you like. You can customize it if you want and click on the Next Button to proceed.
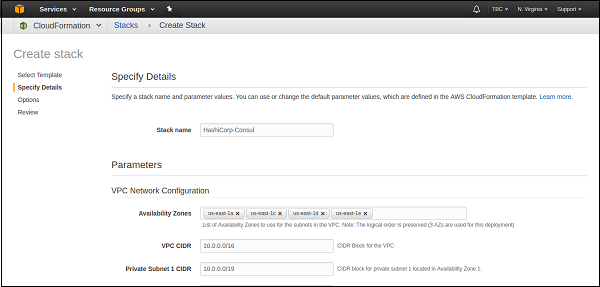
As you can see that, there are various different values and options that you can configure here. For some changes, you can rename it as per your choice in replacement of the name HashiCorp-Consul. Please feel free to change the other options according to your convenience.
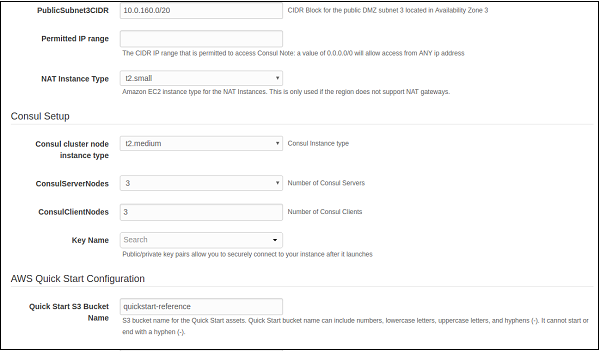
As you can see above, several options can be customized according to your choice. As you can see in the Consul Setup section, the default Consul Cluster instance type is t2.medium. You can change it to your choice of instance.
Note − Fill the Permitted Range as 0.0.0.0/0 for allowing any IP Address.
By default, the number of consul servers are three. You can change it to five for testing out more servers in the consul environment. Under the quick start configuration, you can see that a S3 bucket is also used and named to the quick start-reference by default. When you are done with the changes, click on the Next button at the bottom of the screen.
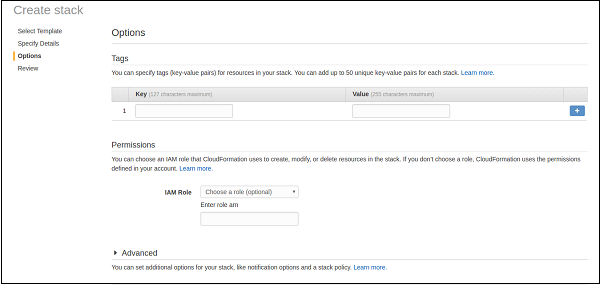
In the above screenshot, you can see that there is an option to use Tags for better identification and usage. Along with it, you are also given an option to choose the IAM Role for providing access to others to your VPC Stack. You can choose according to your choice of options.
For more advanced options, please select the advanced tab, where you can enable Amazon SNS for your VPC for its notifications. Please proceed to the Next option when you have completed the details.
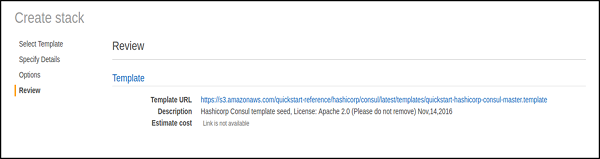
The above screen shows you reviewed details of the consul stack which you have chosen. You can review the selected options for the VPC stack and proceed to the bottom of the screen, check the box of the acknowledgement for creation of IAM Resources and proceed to click on the Create button to complete the formation of stack.
You can check the output under the CloudFormation Stack section of the AWS management console. As per the VPC output, you can also check it out at the VPC Section of the AWS Console as shown in the screenshot below.
If you are only testing out the Consul Template, please make sure that you delete the resources you have used. You can easily do that by deleting the CloudFormation Stack under the CloudFormation section and the VPC on the VPC Dashboard.
