- EmberJS Tutorial
- EmberJS - Home
- EmberJS - Overview
- EmberJS - Installation
- EmberJS - Core Concepts
- Creating and Running Application
- EmberJS - Object Model
- EmberJS - Router
- EmberJS - Templates
- EmberJS - Components
- EmberJS - Models
- EmberJS - Managing Dependencies
- EmberJS - Application Concerns
- EmberJS - Configuring Ember.js
- EmberJS - Ember Inspector
- EmberJS Useful Resources
- EmberJS - Quick Guide
- EmberJS - Useful Resources
- EmberJS - Discussion
EmberJS - Installing the Inspector
Ember inspector is a browser add-on, which is used to debug your Ember applications. Follow the steps given below to install it on Google Chrome, Firefox browsers −
Google Chrome
Install the Ember inspector on Google Chrome by visiting the Chrome Web Store page.
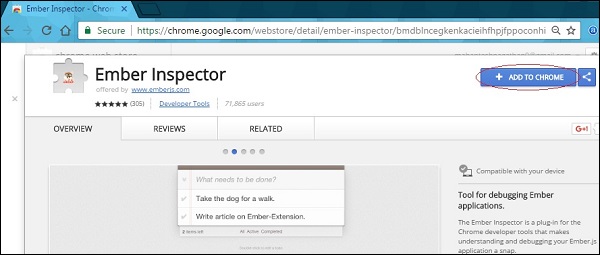
Click on the Add To Chrome option. After installing, open your Ember application, press F12 key and click on the Ember tab at the right-hand side.

If you want to use the Ember inspector with the file:// protocol, then go to chrome://extensions in Chrome and check the Allow access to file URLs option as shown below −

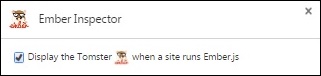
Next, click on the options and check the Display the Tomster option to show the Tomster icon in the URL bar.
Mozilla Firefox
To install the Ember inspector on Mozilla Firefox, go to the add-on page on the Mozilla Add-ons site.
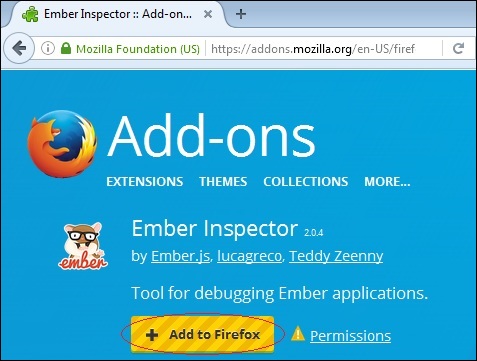
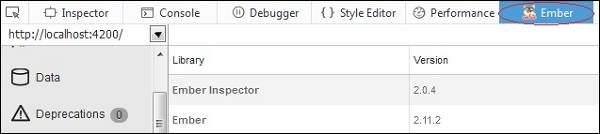
Click on the Add To Firefox option. After installing, open your Ember application, press F12 key and click on the Ember tab at the right-hand side.
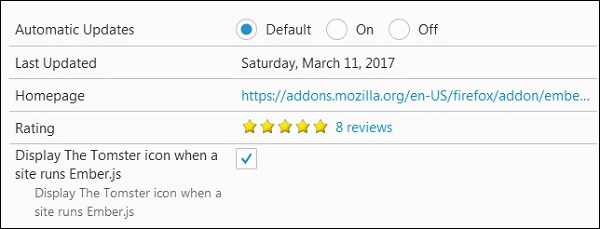
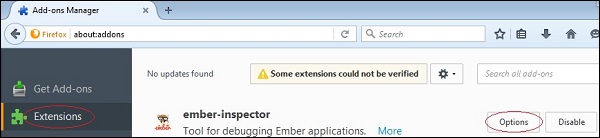
Next, you need to check the Display the Tomster icon when a site runs Ember.js option to show the Tomster icon in the URL bar. Type about:addons in the URL bar, go to the Extensions option and click on the options button −
Scroll down and check the Display the Tomster option −