- EmberJS Tutorial
- EmberJS - Home
- EmberJS - Overview
- EmberJS - Installation
- EmberJS - Core Concepts
- Creating and Running Application
- EmberJS - Object Model
- EmberJS - Router
- EmberJS - Templates
- EmberJS - Components
- EmberJS - Models
- EmberJS - Managing Dependencies
- EmberJS - Application Concerns
- EmberJS - Configuring Ember.js
- EmberJS - Ember Inspector
- EmberJS Useful Resources
- EmberJS - Quick Guide
- EmberJS - Useful Resources
- EmberJS - Discussion
EmberJS - Creating and Running Application
You can easily configure the Ember.js in your system. The installation of Ember.js is explained in the EmberJS Installation chapter.
Creating Application
Let us create one simple app using Ember.js. First create one folder where you create your applications. For instance, if you have created the "emberjs-app" folder, then navigate to this folder as −
$ cd ~/emberjs-app
Inside the "emberjs=app" folder, create a new project by using the new command −
$ ember new demo-app
When you create a project, new command provides the following directory structure with files and directories −
|-- app
|-- bower_components
|-- config
|-- dist
|-- node_modules
|-- public
|-- tests
|-- tmp
|-- vendor

bower.json
ember-cli-build.js
package.json
README.md
testem.js
app − It specifies the folders and files of models, routes, components, templates and styles.
bower_components / bower.json − It is used for managing the components such as HTML, CSS, JavaScript, image files etc and can be installed by using the npm. The bower_components directory contains all the Bower components and bower.json contains the list of dependencies which are installed by Ember, Ember CLI Shims and QUnit.
config − It contains the environment.js directory which is used for configuring the settings of an application.
dist − It includes the output files which are deployed when building the app.
node_modules / package.json − NPM is a node package manager for Node.js which is used for installing, sharing and managing the dependencies in the projects. The package.json file includes the current npm dependencies of an application and the listed packages get installed in the node_modules directory.
public − It includes assets like images, fonts, etc.
vendor − It is a directory in which the front-end dependencies such as JavaScript, CSS are not controlled by Bower go.
tests / testem.js − The automated tests are stored under the tests folder and the test runner testem of Ember CLI's is arranged in testem.js.
tmp − It contains the temporary files of Ember CLI.
ember-cli-build.js − It specifies how to build the app by using the Ember CLI.
Running Application
To run the application, navigate to the newly created project directory −
$ cd demo-app
We have created the new project and it is ready to run with the command given below −
$ ember server
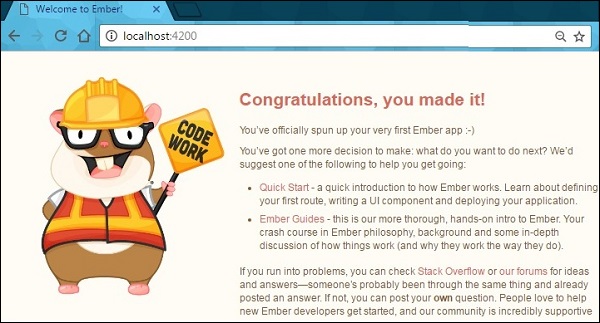
Now open the browser and navigate to http://localhost:4200/. You will get the Ember Welcome page as shown in the image below −