- DocumentDB Tutorial
- DocumentDB - Home
- DocumentDB - Introduction
- DocumentDB - Advantages
- DocumentDB - Environment Setup
- DocumentDB - Create Account
- DocumentDB - Connect Account
- DocumentDB - Create Database
- DocumentDB - List Databases
- DocumentDB - Drop Databases
- DocumentDB - Create Collection
- DocumentDB - Delete Collection
- DocumentDB - Insert Document
- DocumentDB - Query Document
- DocumentDB - Update Document
- DocumentDB - Delete Document
- DocumentDB - Data Modeling
- DocumentDB - Data Types
- DocumentDB - Limiting Records
- DocumentDB - Sorting Records
- DocumentDB - Indexing Records
- DocumentDB - Geospatial Data
- DocumentDB - Partitioning
- DocumentDB - Data Migration
- DocumentDB - Access Control
- DocumentDB - Visualize Data
- DocumentDB Useful Resources
- DocumentDB - Quick Guide
- DocumentDB - Useful Resources
- DocumentDB - Discussion
DocumentDB - CSV File
To import the CSV files, we need to follow the same steps as shown above. Let’s take a look at a simple example in which we will see how the Migration Tool can import CSV files.
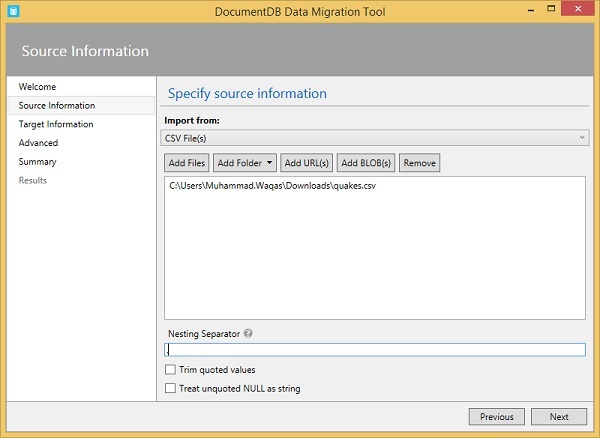
Step 1 − Let’s go the Migration tool and select Add Files option.
It will display the Open File dialog.
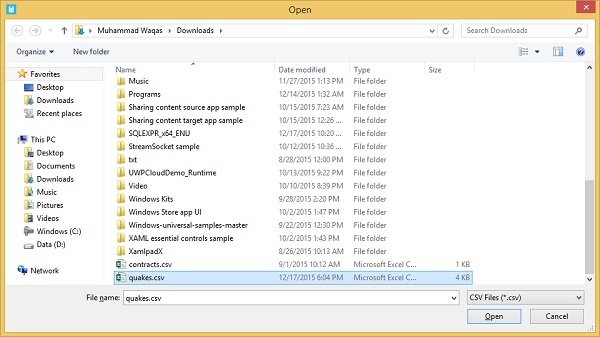
Step 2 − Select the CSV file(s) which you want to import and click ‘Open’ to continue.
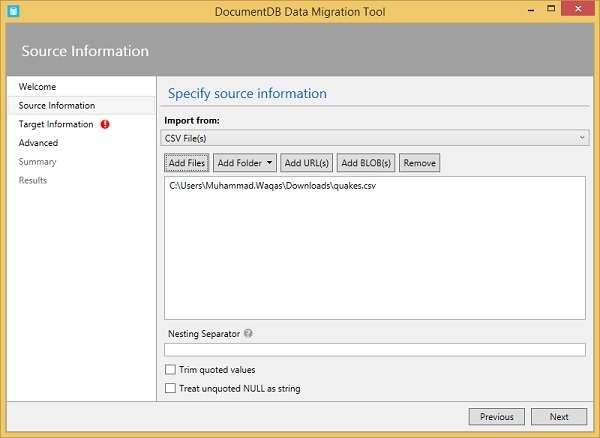
Step 3 − Click ‘Next’.
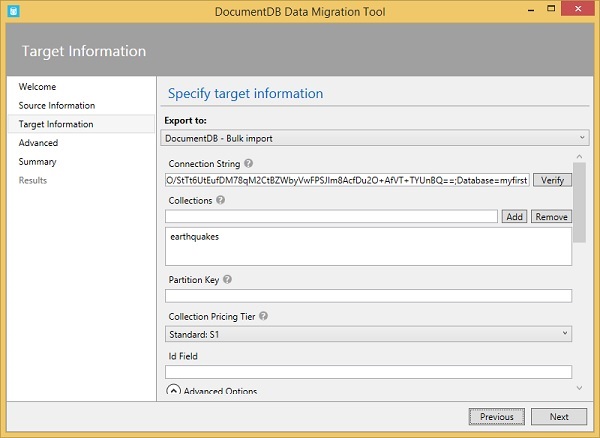
Step 4 − Specify the Connection String from your DocumentDB account which can be found from the Azure Portal.
Step 5 − Specify the Primary Connection String and don’t forget to add the database name at the end of connection string. Also specify the collections to which you want to add the JSON files.
Step 6 − Click the ‘Advanced’ options and scroll down the page.Then specify the indexing policy, let’s say Range indexing policy.

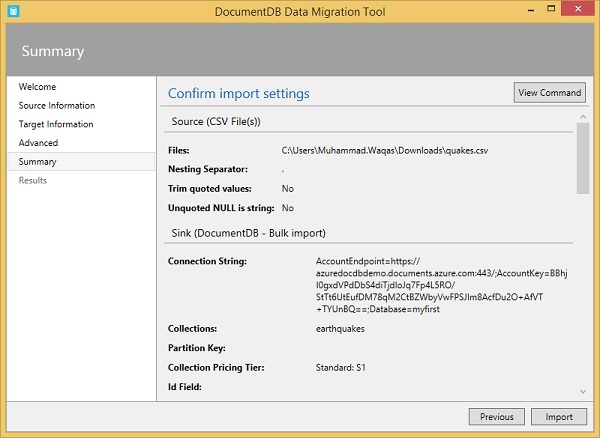
Step 7 − Click ‘Next’ to continue. Here you can see the summary.
Step 8 − Click ‘Import’ button.
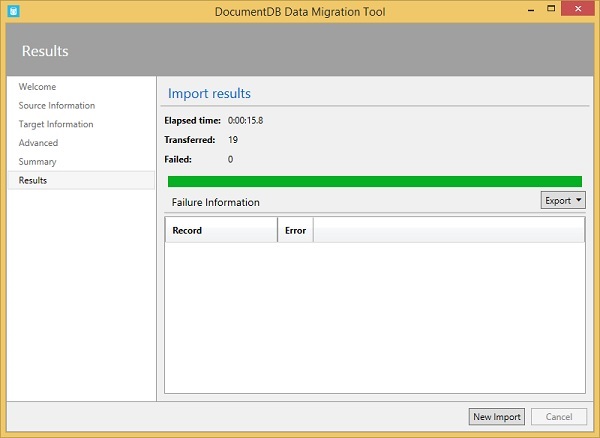
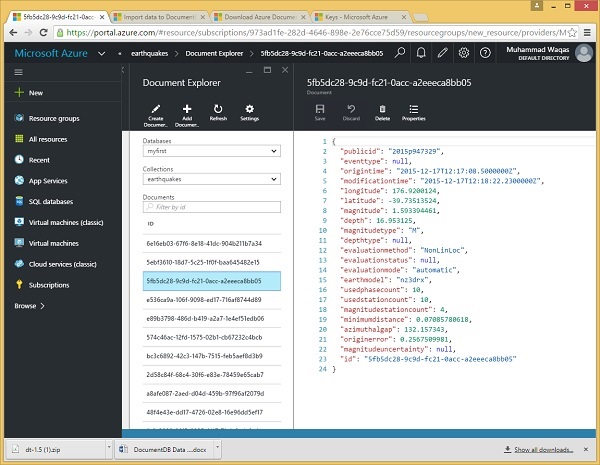
It will start importing the data. Once it is completed, you can see on Azure Portal that the three JSON files data are imported to DocumentDB account as shown in the following screenshot.
To Continue Learning Please Login