- WPF - Home
- WPF - Overview
- WPF - Environment Setup
- WPF - Hello World
- WPF - XAML Overview
- WPF - Elements Tree
- WPF - Dependency Properties
- WPF - Routed Events
- WPF - Controls
- WPF - Layouts
- WPF - Nesting Of Layout
- WPF - Input
- WPF - Command Line
- WPF - Data Binding
- WPF - Resources
- WPF - Templates
- WPF - Styles
- WPF - Triggers
- WPF - Debugging
- WPF - Custom Controls
- WPF - Exception Handling
- WPF - Localization
- WPF - Interaction
- WPF - 2D Graphics
- WPF - 3D Graphics
- WPF - Multimedia
WPF - Routed Events
A routed event is a type of event that can invoke handlers on multiple listeners in an element tree rather than just the object that raised the event. It is basically a CLR event that is supported by an instance of the Routed Event class. It is registered with the WPF event system. RoutedEvents have three main routing strategies which are as follows −
- Direct Event
- Bubbling Event
- Tunnel Event
Direct Event
A direct event is similar to events in Windows forms which are raised by the element in which the event is originated.
Unlike a standard CLR event, direct routed events support class handling and they can be used in Event Setters and Event Triggers within your style of your Custom Control.
A good example of a direct event would be the MouseEnter event.
Bubbling Event
A bubbling event begins with the element where the event is originated. Then it travels up the visual tree to the topmost element in the visual tree. So, in WPF, the topmost element is most likely a window.
Tunnel Event
Event handlers on the element tree root are invoked and then the event travels down the visual tree to all the children nodes until it reaches the element in which the event originated.
The difference between a bubbling and a tunneling event is that a tunneling event will always start with a preview.
In a WPF application, events are often implemented as a tunneling/bubbling pair. So, you'll have a preview MouseDown and then a MouseDown event.
Given below is a simple example of a Routed event in which a button and three text blocks are created with some properties and events.
<Window x:Class = "WPFRoutedEvents.MainWindow"
   xmlns = "http://schemas.microsoft.com/winfx/2006/xaml/presentation"
   xmlns:x = "http://schemas.microsoft.com/winfx/2006/xaml"
   Title = "MainWindow" Height = "450" Width = "604" ButtonBase.Click  = "Window_Click" >

   <Grid>
      <StackPanel Margin = "20" ButtonBase.Click = "StackPanel_Click">

         <StackPanel Margin = "10">
            <TextBlock Name = "txt1" FontSize = "18" Margin = "5" Text = "This is a TextBlock 1" />
            <TextBlock Name = "txt2" FontSize = "18" Margin = "5" Text = "This is a TextBlock 2" />
            <TextBlock Name = "txt3" FontSize = "18" Margin = "5" Text = "This is a TextBlock 3" />
         </StackPanel>

         <Button Margin = "10" Content = "Click me" Click = "Button_Click" Width = "80"/>
      </StackPanel>
   </Grid>

</Window>
Here is the C# code for the Click events implementation for Button, StackPanel, and Window.
using System.Windows;

namespace WPFRoutedEvents {
   /// <summary>
      /// Interaction logic for MainWindow.xaml
   /// </summary>

   public partial class MainWindow : Window {

      public MainWindow() {
         InitializeComponent();
      }

      private void Button_Click(object sender, RoutedEventArgs e) {
         txt1.Text = "Button is Clicked";
      }

      private void StackPanel_Click(object sender, RoutedEventArgs e) {
         txt2.Text = "Click event is bubbled to Stack Panel";
      }

      private void Window_Click(object sender, RoutedEventArgs e) {
         txt3.Text = "Click event is bubbled to Window";
      }

   }
}
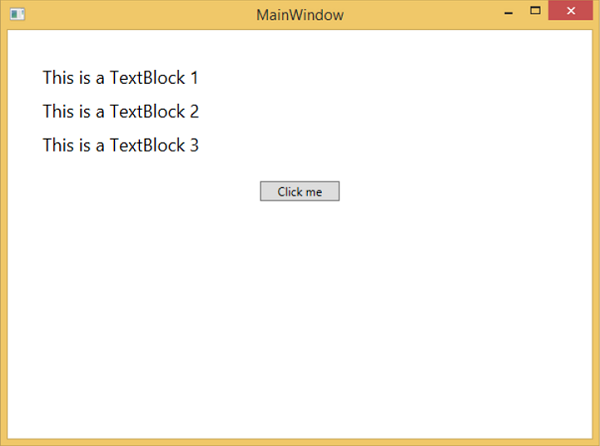
When you compile and execute the above code, it will produce the following window −
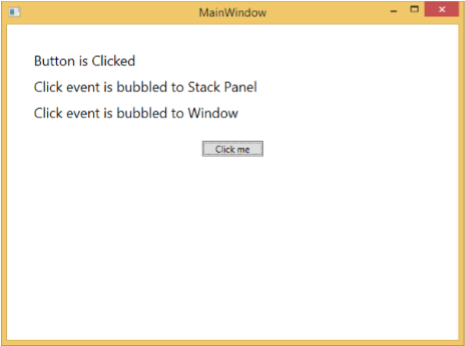
When you click on the button, the text blocks will get updated, as shown below.
If you want to stop the routed event at any particular level, then you will need to set the e.Handled = true;
Lets change the StackPanel_Click event as shown below −
private void StackPanel_Click(object sender, RoutedEventArgs e) {
   txt2.Text = "Click event is bubbled to Stack Panel";
   e.Handled = true;
}
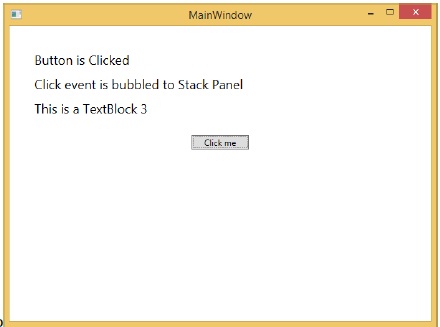
When you click on the button, you will observe that the click event will not be routed to the window and will stop at the stackpanel and the 3rd text block will not be updated.
Custom Routed Events
In .NET framework, custom routed event can also be defined. You need to follow the steps given below to define a custom routed event in C#.
Declare and register your routed event with system call RegisterRoutedEvent.
Specify the Routing Strategy, i.e. Bubble, Tunnel, or Direct.
Provide the event handler.
Lets take an example to understand more about custom routed events. Follow the steps given below −
Create a new WPF project with WPFCustomRoutedEvent
Right click on your solution and select Add > New Item...
The following dialog will open, now select Custom Control (WPF) and name it MyCustomControl.
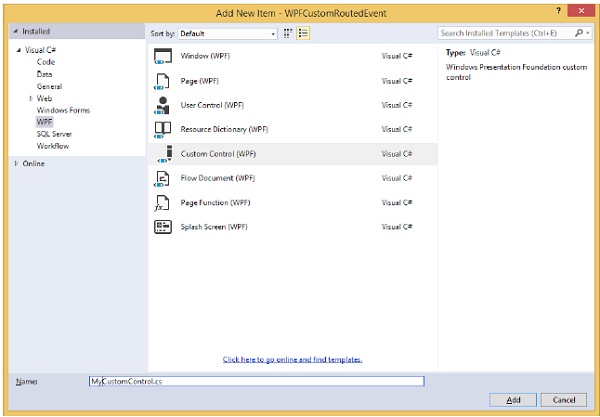
Click the Add button and you will see that two new files (Themes/Generic.xaml and MyCustomControl.cs) will be added in your solution.
The following XAML code sets the style for the custom control in Generic.xaml file.
<ResourceDictionary
   xmlns = "http://schemas.microsoft.com/winfx/2006/xaml/presentation"
   xmlns:x = "http://schemas.microsoft.com/winfx/2006/xaml"
   xmlns:local = "clr-namespace:WPFCustomRoutedEvent">

   <Style TargetType = "{x:Type local:MyCustomControl}">
      <Setter Property = "Margin" Value = "50"/>
      <Setter Property = "Template">
         <Setter.Value>
            <ControlTemplate TargetType = "{x:Type local:MyCustomControl}">

               <Border Background = "{TemplateBinding Background}"
                  BorderBrush = "{TemplateBinding BorderBrush}"
                  BorderThickness = "{TemplateBinding BorderThickness}">
                  <Button x:Name = "PART_Button" Content = "Click Me" />
               </Border>

            </ControlTemplate>
         </Setter.Value>
      </Setter>
   </Style>

</ResourceDictionary>
Given below is the C# code for the MyCustomControl class which inherits from the Control class in which a custom routed event Click is created for the custom control.
using System.Windows;
using System.Windows.Controls;

namespace WPFCustomRoutedEvent {

   public class MyCustomControl : Control {

      static MyCustomControl() {
         DefaultStyleKeyProperty.OverrideMetadata(typeof(MyCustomControl),
            new FrameworkPropertyMetadata(typeof(MyCustomControl)));
      }

      public override void OnApplyTemplate() {
         base.OnApplyTemplate();

         //demo purpose only, check for previous instances and remove the handler first
         var button  =  GetTemplateChild("PART_Button") as Button;
         if (button ! =  null)
         button.Click + =  Button_Click;
      }

      void Button_Click(object sender, RoutedEventArgs e) {
         RaiseClickEvent();
      }

      public static readonly RoutedEvent ClickEvent  =
         EventManager.RegisterRoutedEvent("Click", RoutingStrategy.Bubble,
         typeof(RoutedEventHandler), typeof(MyCustomControl));

      public event RoutedEventHandler Click {
         add { AddHandler(ClickEvent, value); }
         remove { RemoveHandler(ClickEvent, value); }
      }

      protected virtual void RaiseClickEvent() {
         RoutedEventArgs args = new RoutedEventArgs(MyCustomControl.ClickEvent);
         RaiseEvent(args);
      }

   }
}
Here is the custom routed event implementation in C# which will display a message box when the user clicks it.
using System.Windows;

namespace WPFCustomRoutedEvent {
   // <summary>
      // Interaction logic for MainWindow.xaml
   // </summary>

   public partial class MainWindow : Window {

      public MainWindow() {
         InitializeComponent();
      }

      private void MyCustomControl_Click(object sender, RoutedEventArgs e) {
         MessageBox.Show("It is the custom routed event of your custom control");
      }

   }
}
Here is the implementation in MainWindow.xaml to add the custom control with a routed event Click.
<Window x:Class = "WPFCustomRoutedEvent.MainWindow"
   xmlns = "http://schemas.microsoft.com/winfx/2006/xaml/presentation"
   xmlns:x = "http://schemas.microsoft.com/winfx/2006/xaml"
   xmlns:local = "clr-namespace:WPFCustomRoutedEvent"
   Title = "MainWindow" Height = "350" Width = "604">

   <Grid>
      <local:MyCustomControl Click = "MyCustomControl_Click" />
   </Grid>

</Window>
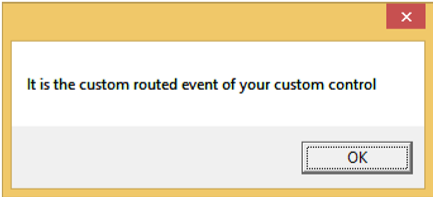
When the above code is compiled and executed, it will produce the following window which contains a custom control.
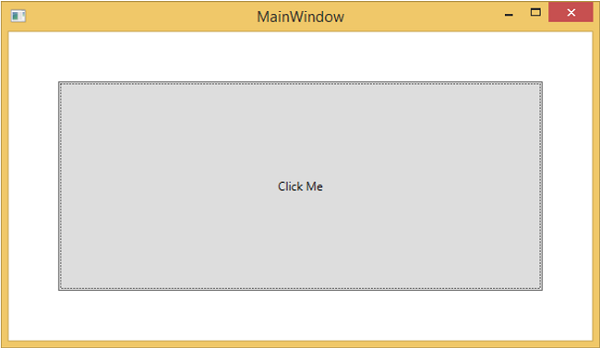
When you click on the custom control, it will produce the following message.