- WPF - Home
- WPF - Overview
- WPF - Environment Setup
- WPF - Hello World
- WPF - XAML Overview
- WPF - Elements Tree
- WPF - Dependency Properties
- WPF - Routed Events
- WPF - Controls
- WPF - Layouts
- WPF - Nesting Of Layout
- WPF - Input
- WPF - Command Line
- WPF - Data Binding
- WPF - Resources
- WPF - Templates
- WPF - Styles
- WPF - Triggers
- WPF - Debugging
- WPF - Custom Controls
- WPF - Exception Handling
- WPF - Localization
- WPF - Interaction
- WPF - 2D Graphics
- WPF - 3D Graphics
- WPF - Multimedia
WPF - Localization
Localization is the translation of application resources into localized versions for the specific cultures that the application supports.
When you develop your application and your application is available in only one language, then you are limiting the number of your customers and the size of your business. If you want to increase your customer base which will also increase your business, then your product must be available and reachable to a global audience. Cost-effective localization of your product is one of the best and most economical ways to reach out to more customers.
In WPF, localizable applications are very easy to create with resx file which is the simplest solution for localization. Lets take a simple example to understand how it works −
Create a new WPF project with the name WPFLocalization.
In your solution explorer, you will see the Resources.resx file under Properties folder.
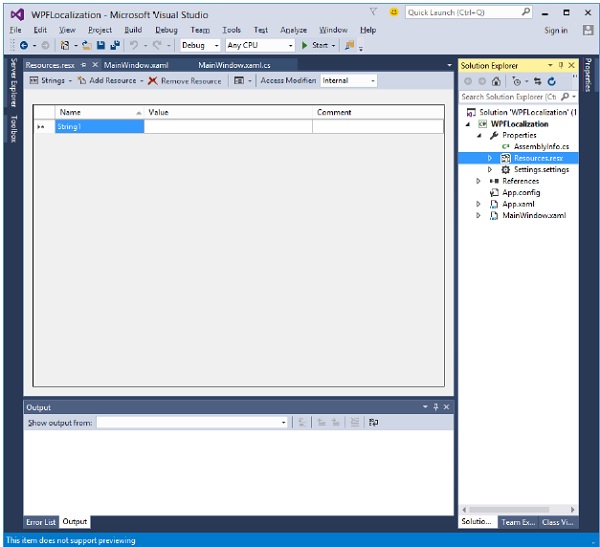
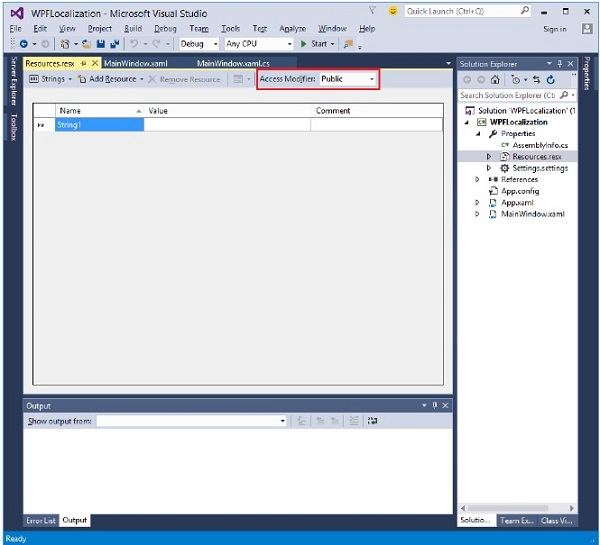
Change the access modifier from internal to public so that it can be accessible in XAML file.
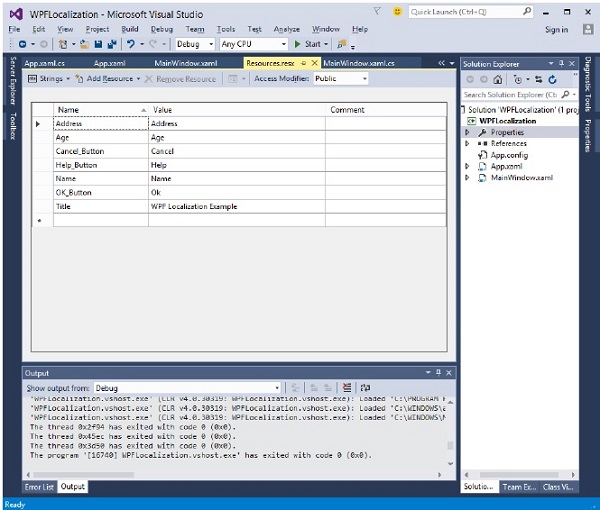
Now add the following strings name and values which we will be using in our application.
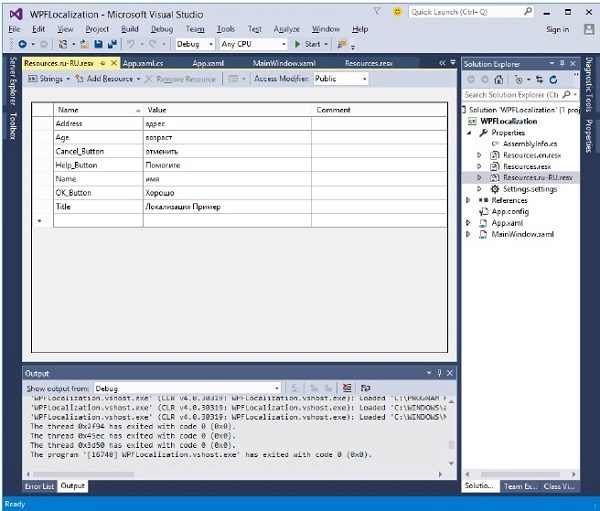
Make two copies of Resources.resx file with the names Resources.en.resx and Resources.ru-RU.resx. These are naming conventions specific to language and country/region name, and it can be found on National Language Support (NLS) API Reference ( https://msdn.microsoft.com/en-us/goglobal/bb896001.aspx ) page.
Change the values in Resources.ru-RU.resx to Russian words, as shown below.
Lets go to the design window and drag three textboxes, three labels, and three buttons.
In the XAML file, first add the namespace declaration to use localize resources xmlns:p = "clr-namespace:WPFLocalization.Properties"
Set the properties of all the controls as shown below. In this example, we will not use hardcoded strings for the content of labels, buttons, and Title of the window in XAML file. We will be using the strings which are defined in *.resx files. For example, for the Title of window, we use the Title string which is defined in *.resx file like this Title = "{x:Static p:Resources.Title}"
Here is the XAML file in which controls are created and initialized with different properties.
<Window x:Class = "WPFLocalization.MainWindow"
   xmlns = "http://schemas.microsoft.com/winfx/2006/xaml/presentation"
   xmlns:x = "http://schemas.microsoft.com/winfx/2006/xaml"
   xmlns:local = "clr-namespace:WPFLocalization"
   xmlns:p = "clr-namespace:WPFLocalization.Properties"
   Title = "{x:Static p:Resources.Title}" Height = "350" Width = "604">

   <Grid>
      <TextBox x:Name = "textBox" HorizontalAlignment = "Left" Height = "23"
         Margin = "128,45,0,0" TextWrapping = "Wrap" VerticalAlignment = "Top" Width = "304"/>

      <Label x:Name = "label" Content = "{x:Static p:Resources.Name}"
         HorizontalAlignment = "Left" Margin = "52,45,0,0" VerticalAlignment = "Top" Width = "86"/>

      <TextBox x:Name = "textBox1" HorizontalAlignment = "Left" Height = "23"
         Margin = "128,102,0,0" TextWrapping = "Wrap" VerticalAlignment = "Top" Width = "304"/>

      <Label x:Name = "label1" Content = "{x:Static p:Resources.Address}"
         HorizontalAlignment = "Left" Margin = "52,102,0,0" VerticalAlignment = "Top" Width = "86"/>

      <TextBox x:Name = "textBox2" HorizontalAlignment = "Left" Height = "23"
         Margin = "128,157,0,0" TextWrapping = "Wrap" VerticalAlignment = "Top" Width = "80"/>

      <Label x:Name = "label2" Content = "{x:Static p:Resources.Age}"
         HorizontalAlignment = "Left" Margin = "52,157,0,0" VerticalAlignment = "Top" Width = "86"/>

      <Button x:Name = "button" Content = "{x:Static p:Resources.OK_Button}"
         HorizontalAlignment = "Left" Margin = "163,241,0,0" VerticalAlignment = "Top" Width = "75"/>

      <Button x:Name = "button1" Content = "{x:Static p:Resources.Cancel_Button}"
         HorizontalAlignment = "Left" Margin = "282,241,0,0" VerticalAlignment = "Top" Width = "75"/>

      <Button x:Name = "button2" Content = "{x:Static p:Resources.Help_Button}"
         HorizontalAlignment = "Left" Margin = "392,241,0,0" VerticalAlignment = "Top" Width = "75"/>
   </Grid>

 </Window>
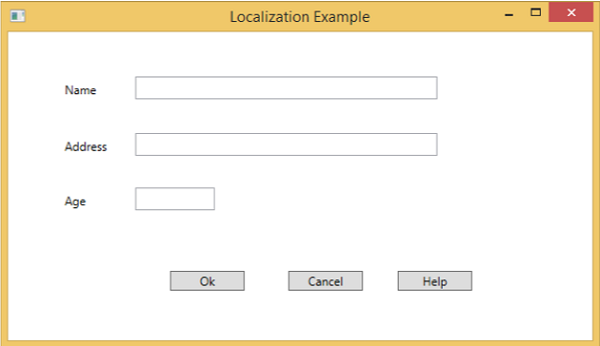
When the above code is compiled and executed you will see the following window which contains different controls.
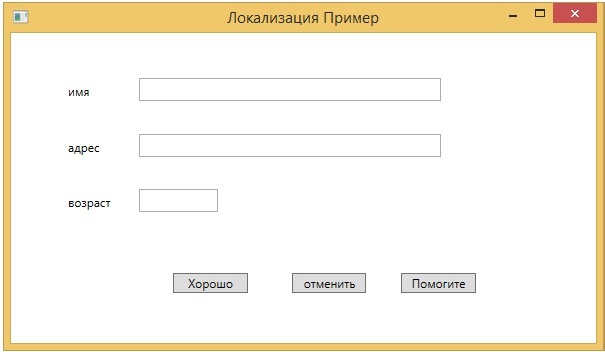
By default, the program uses the default Resources.resx. If you want to show the text in Russian language which are defined in Resources.ru-RU.resx file, then you will need to set the culture explicitly when the program starts in App.xaml file as shown below.
using System.Windows;

namespace WPFLocalization {
   /// <summary>
      /// Interaction logic for App.xaml
   /// </summary>

   public partial class App : Application {

      App() {
         System.Threading.Thread.CurrentThread.CurrentUICulture = new System.Globalization.CultureInfo("ru-RU");
         //System.Threading.Thread.CurrentThread.CurrentUICulture = new System.Globalization.CultureInfo("en");
      }
   }
}
When you run your application, you will see all the text in Russian language.
We recommend that you execute the above code and create resx files for other cultures as well.
