- Snowflake - Home
- Snowflake - Introduction
- Snowflake - Data Architecture
- Snowflake - Functional Architecture
- Snowflake - How to Access
- Snowflake - Editions
- Snowflake - Pricing Model
- Snowflake - Objects
- Snowflake - Table and View Types
- Snowflake - Login
- Snowflake - Warehouse
- Snowflake - Database
- Snowflake - Schema
- Snowflake - Table & Columns
- Snowflake - Load Data From Files
- Snowflake - Sample Useful Queries
- Snowflake - Monitor Usage and Storage
- Snowflake - Cache
- Unload Data from Snowflake to Local
- External Data Loading (from AWS S3)
- External Data Unloading (Into AWS S3)
- Snowflake Resources
- Snowflake - Quick Guide
- Snowflake - Useful Resources
- Snowflake - Discussion
Snowflake - How to Access
Snowflake is a licensed data platform. It uses the concept of credit to charge to clients. However, it provides 30-days free trial with $400 credits for learning purpose.
Use the following steps to get a free access to Snowflake for 30 days −
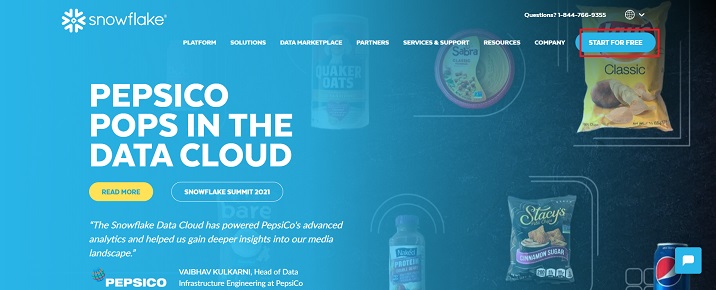
Open the URL "www.snowflake.com" and click "START FOR FREE" at the right corner of the page.
It navigates to the registration page where the user needs to provide details such as as First Name, Last Name, Email, Company, and Country. After filling the form, click the "CONTINUE" button.
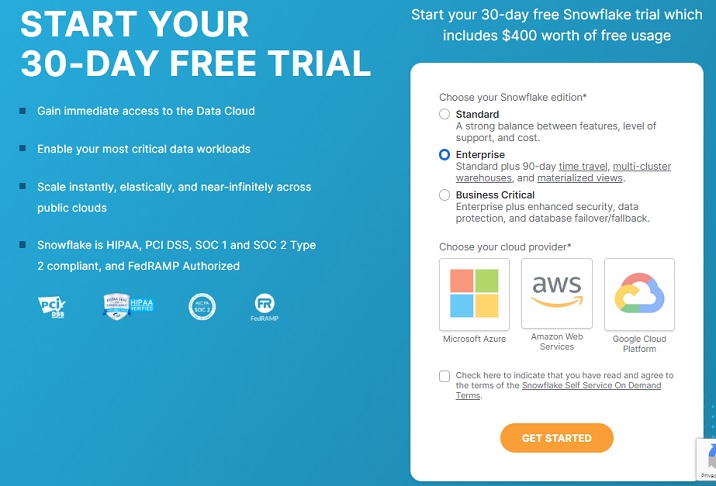
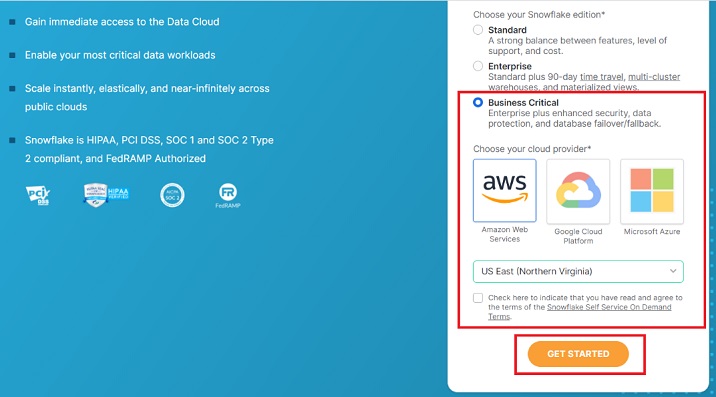
On the next screen, it asks to choose the Snowflake edition. Select the edition based on functionalities you want to perform. For this tutorial, standard version is sufficient but for data loading using AWS S3 we require business critical edition.
Select Business Critical and then click AWS. Select the region where your AWS is present.
Check the Terms & Condition box and click the Get Started button.
The following screenshot demonstrates the above steps −
You will get a message that Account creation is in progress and an email is sent to your address as below screen.
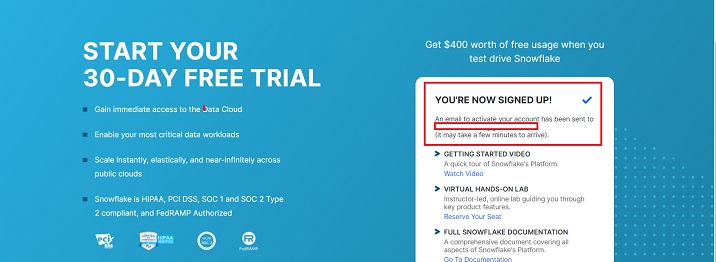
Check your email's inbox. Once you receive the email from Snowflake, usually within 2-3 mins, click the "Click to Activate" button.
It will navigate to Snowflake's page where user requires to set up username and password. This credential will be used to login into Snowflake.
An URL will be provided in your email something like: "https://ABC12345.us-east-1.snowflakecomputing.com/console/login". It is a user-specific URL to access Snowflake at cloud. Whenever you want to work in Snowflake, use the individual URL and login.
