- SAP BEx - Home
- SAP BEx - Overview
- SAP BEx - Architecture
- SAP BEx - Query Designer
- SAP BEx - Query Designer Features
- SAP BEx - Web
- SAP BEx - Web Integration
- SAP BEx - Analyzer
- SAP BEx - Analysis Functions
- SAP BEx - Objects
- SAP BEx - Accessibility Mode
- SAP BEx - Information Broadcasting
- SAP BEx - Integration With BO
SAP BEx - Analyzer
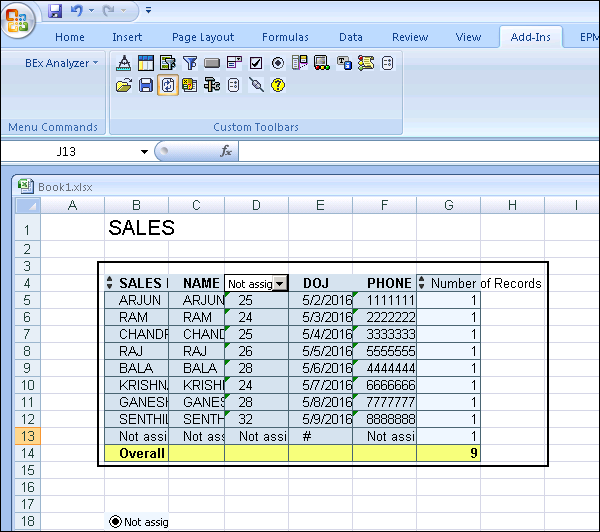
The BEx analyzer is an analysis based reporting and designing tool embedded with Microsoft Excel which can be used to the analyze data in the InfoProvider. You can also add different control types such as, Analysis Grids, Dropdown Boxes and Button in an Excel workbook.
The BEx Analyzer provides you two different function modes that can be used for executing OLAP Analysis or to develop interfaces for Query Applications.
Analysis Mode
This mode can be used for executing queries created in a query designer to perform OLAP analysis. You can also define new queries by launching the BEx Query Designer. You can also use planning functions and advanced planning functions written in VBA.
The workbooks created using the BEx analyzer can be saved on the server or you can also save it locally.
Design Mode
You can use the design mode to design the interface of your workbook where you can insert the Analysis Grid, Radio Buttons, Dropdown Boxes into a Microsoft Excel workbook. You can perform workbook formatting and customize the chart types in an excel workbook.
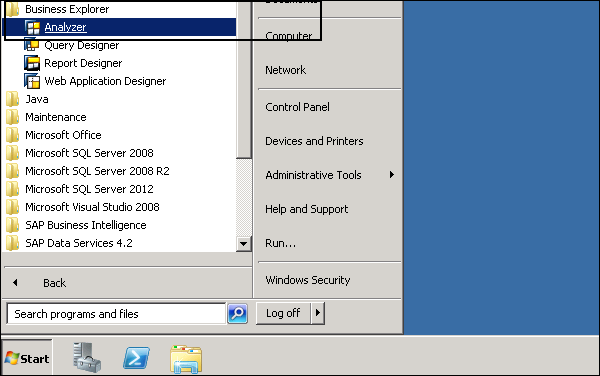
To access the BEx Analyzer, navigate to Program files → Business Explorer → Analyzer.
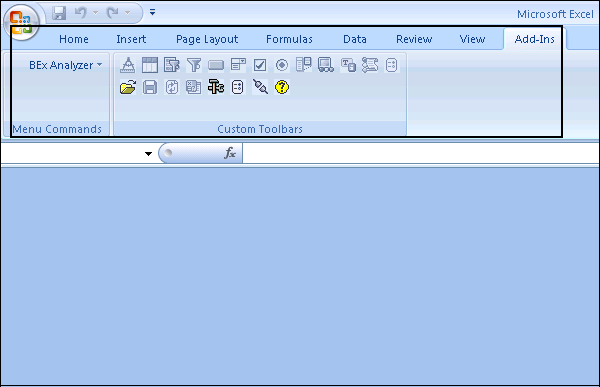
Business Explorer Analysis Mode in Analyzer
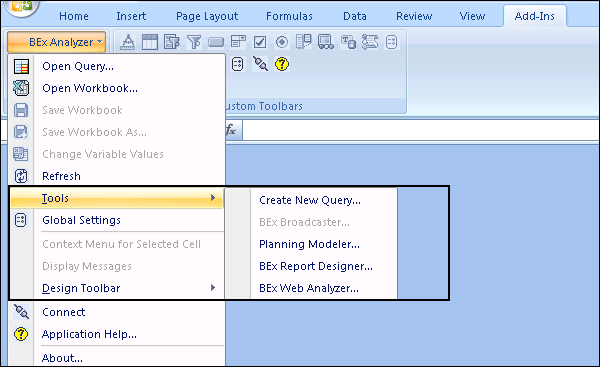
When BEx analyzer is started, the menu bar and the BEx Analyzer-tool bar is displayed. You can also access the BEx Report Designer and the Web analyzer from BEx analyzer → Tools option.
How to Open a Workbook and Query in the BEx Analyzer?
You can open a workbook or a query in the BEx Analyzer toolbar. To open a query, navigate to BEx Analyzer → Open Query.
To open a workbook, navigate to the BEx Analyzer → Open Workbook.

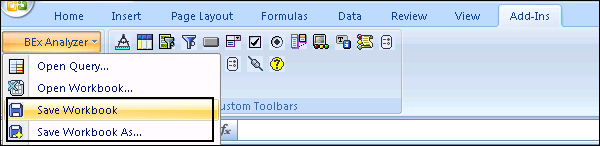
How to Save a Workbook?
To save a workbook in the BEx Analyzer, you need to navigate to Save → Save Workbook in the analysis toolbar or you can also click on the BEx Analyzer → Save Workbook in the menu.
You can also save a workbook with a new name. To do so, select Save → Save Workbook As in the analysis toolbar or you can also click on BEx Analyzer → Save Workbook As in the menu.
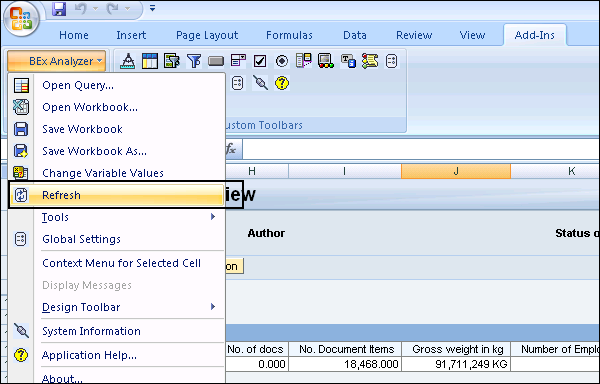
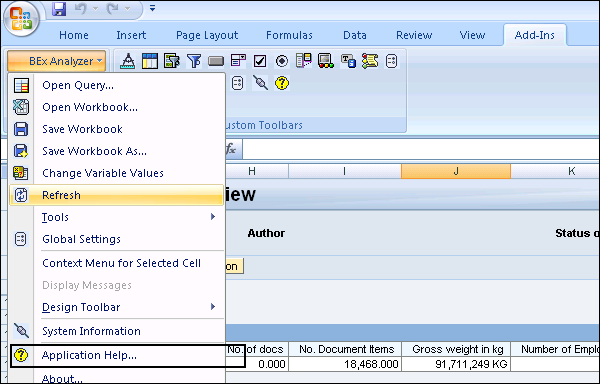
Refresh
You can also control the automatic refreshing of the workbook in the BEx Analyzer. For activating this, navigate to BEx Analyzer → Refresh.
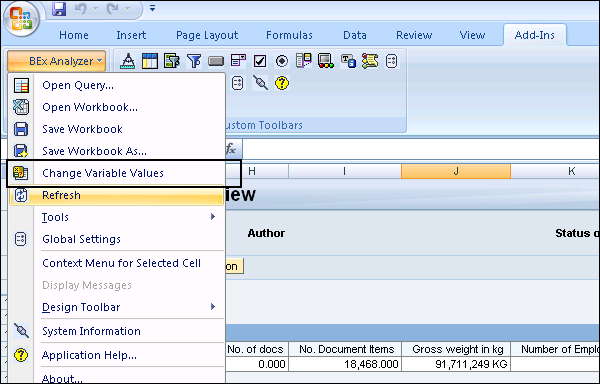
Changing Variable Values
You can use this option to change the variable values in your query. In the analysis toolbar, Select BEx Analyzer → Change Variable Values as shown in the following screenshot.
Global Settings
This option can be used to configure the Global settings and it allows you to enter the setting that is applicable to the full application.
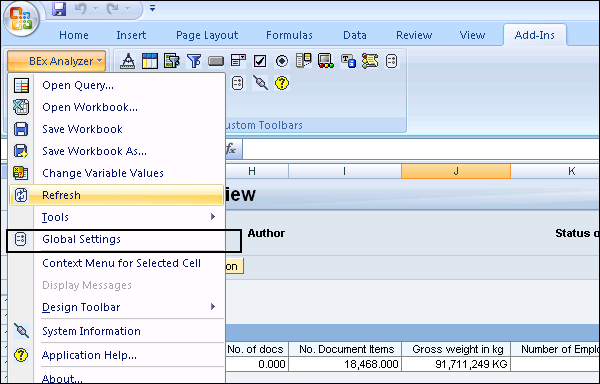
There are other options that you can select from the BEx Analyzer drop down box. You can access the SAP Documentation on the BEx Analyzer by going to the Application Help option.
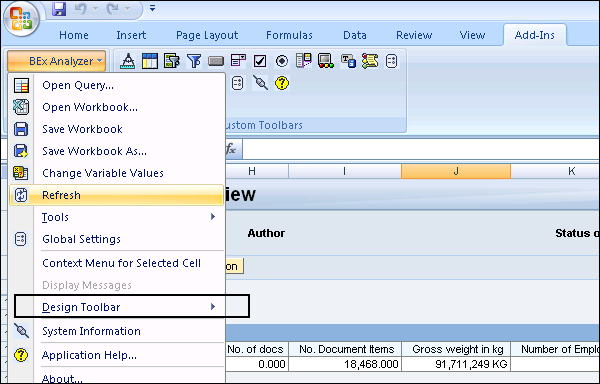
Business Explorer Design Mode in Analyzer
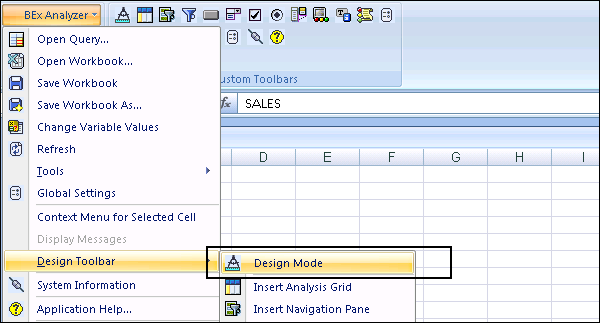
When you are in the Analysis mode, to switch to the design mode you should navigate to the BEx Analyzer → Design Toolbar → Design Mode in the menu as shown in the following screenshot.
There are 11 design items from which you can select under the Design Toolbar. When you click on the Design Toolbar, you can find the following options −
- Insert Analysis Grid
- Insert Navigation Pane
- Insert List of Filters
- Insert Button
- Insert Dropdown Box
- Insert Checkbox Group
- Insert Radio Button Group
- Insert List of Conditions
- Insert List of Exceptions
- Insert Text
- Insert Messages
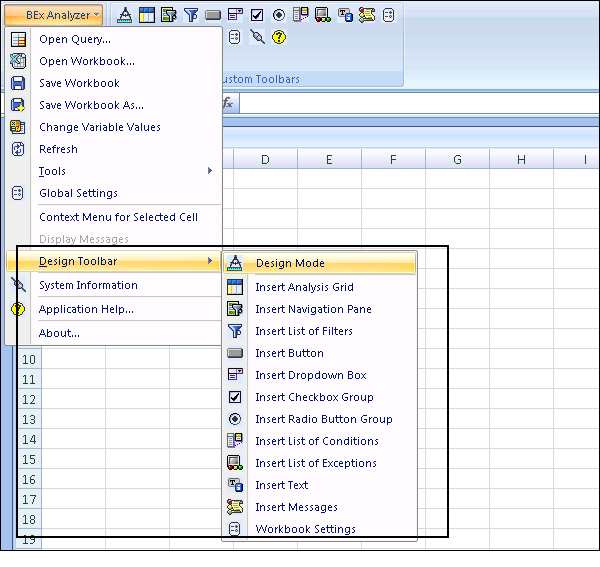
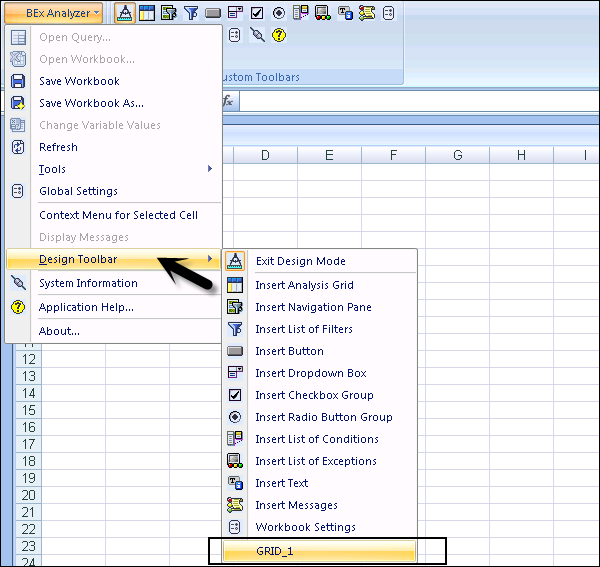
The last option is Workbook setting, which can be used to configure the general functions to workbooks in the Analyzer. All the design items that you insert in the workbook are shown in the end of the list under the Design Tools.
To open the properties of the design item, click on the design item in the list.
Under the Properties of the Design Item, you can define different fields such as −
- General
- Associated charts
- Clipping.
Business Explorer Creating Planning Applications
A Planning application can contain a planning function such as Copy, Save or Delete, or Selection List, etc. Let us see how to create a planning application.
To start with, you need to check the security settings. Choose Tools → Macro → Security and set the indicator for Trust access to the Visual Basic Project.
Create a new workbook and to put the title of workbook move to the required cell in the workbook → Enter the Title and assign a font to it.

To design the workbook, move to the Design mode. Navigate to Design Toolbar → Design Mode as shown in the following screenshot.
To show the query results with the actual and plan data, move to the relevant cell and select Insert Analysis Grid in the Design toolbar and open the properties of the design item as mentioned in the previous topic.
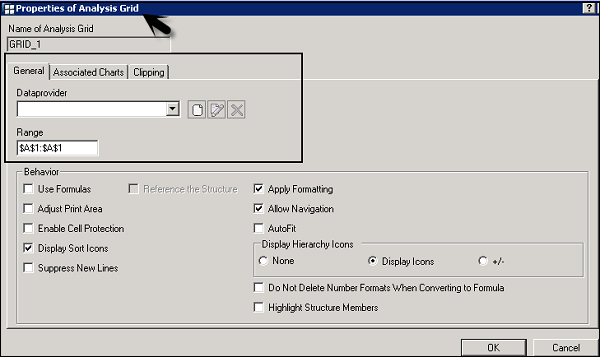
Go to the General tab of the Properties and select create a new data provider and it will open the dialog box which displays the name of current data provider.
To define start view of the data provider, click on the Query view and a dialog box appears.
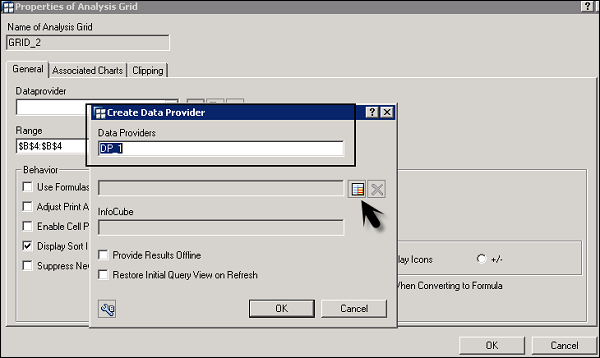
The next step is to select the required query or the query view and the select Open. This will allow the system to insert the name of the InfoProvider on which the query is created and this information is displayed in the InfoCube field as shown below −

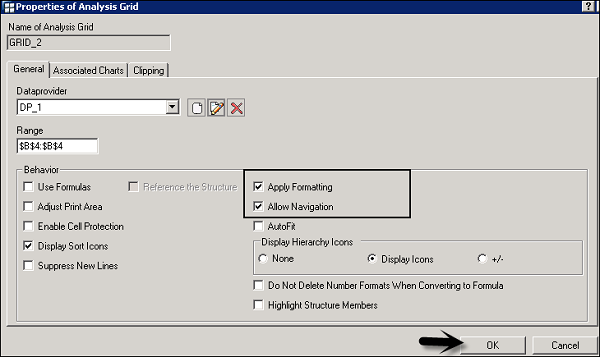
Once your data provider is configured, click OK and this will take to Properties of Analysis Grid design item. You should select the check box for Apply Formatting and Allow Navigation.
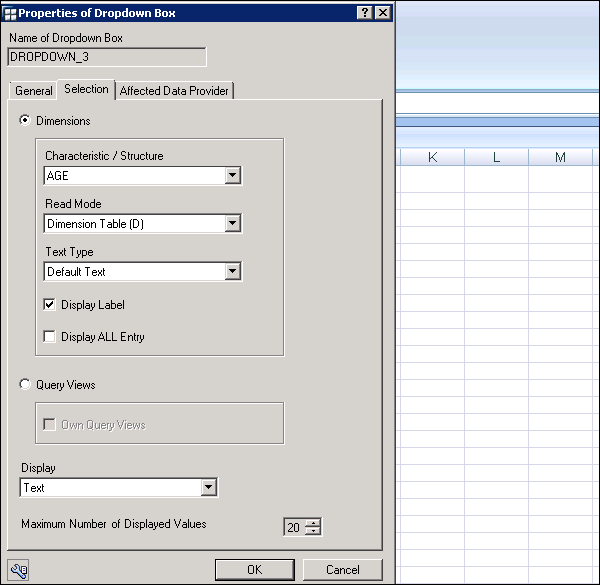
In a similar way, add the dropdown box to the required cell and select Properties. Select the configured data provider and check the option Label Indicator. Now, the next step is to go to the Dimensions tab page, you need to select the dimensions for which you want to be able to select values in the dropdown as shown in following screenshot.
The next step is to add the push button for this special function. Go to the Design Toolbar and add a design item type Button.
Go to the context menu of the button and select Planning specific command → Select the required planning function and data provider.
Planning function − PF_Copy
Planning function − PF_Revaluate01
Planning function − PF_Delete
Click on the Finish button and select the save button.