- QC - Home
- QC - Introduction
- QC - Environment Setup
- QC - Server Side Configurations
- QC - Common Functionalities
- QC - Management
- QC - Requirements
- QC - Test Plan
- QC - Test Lab
- QTP - QC Integration
- QC - Defects
- QC - Dashboard Analysis
- QC - Project Customization
Quality Center - QC-QTP Integration
In this section, we are going to learn how to integrate QTP and QC. By Integrating, the QTP automation scripts can be executed right from Quality Center. For establishing a connection, first step is to install the required Addins. We will understand how to integrate by taking a sample QTP script and execute it from QC.
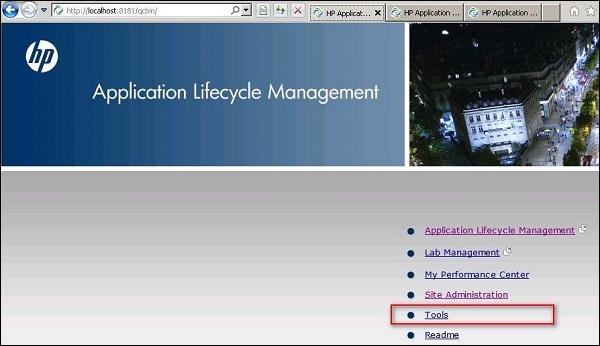
Step 1 − Navigate to ALM home page and click on "Tools" from the list of links.
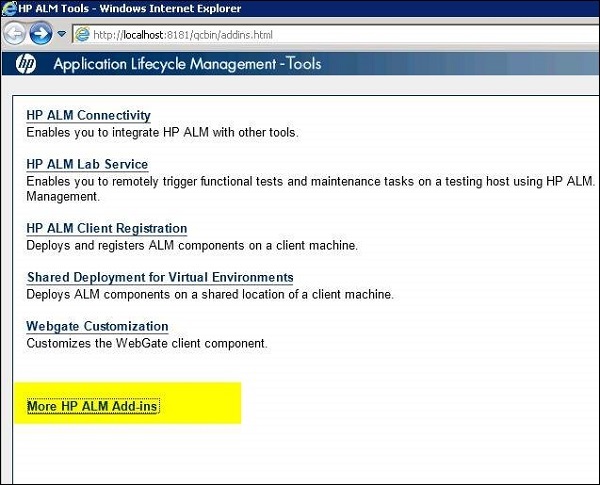
Step 2 − Click on "More HP ALM Addins" Link from the addins page as shown below.
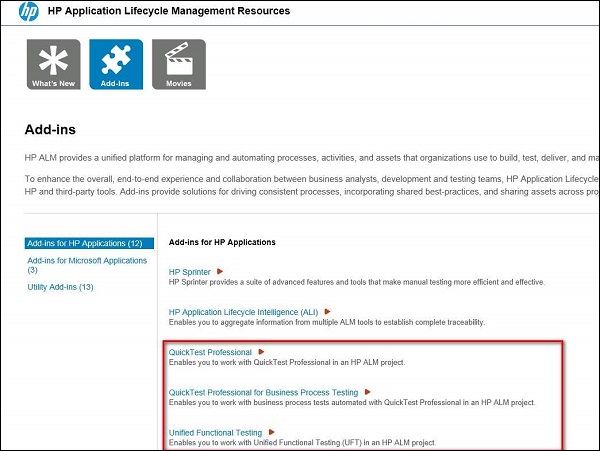
Step 3 − In the Addins page, select "Addins for HP applications" and choose "Quick Test Professional". In case of "Unified Functional testing" (UFT), choose the options appropriately and install the addins. The Installation is similar to HP-MS Office Addins.
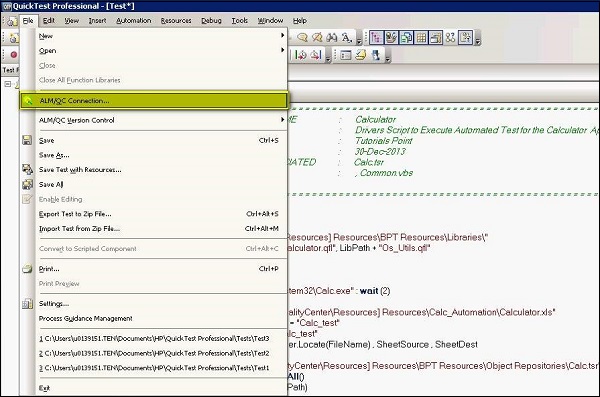
Step 4 − Establish a connection between QTP and QC by Navigating to "File" >> "ALM/QC Connection".
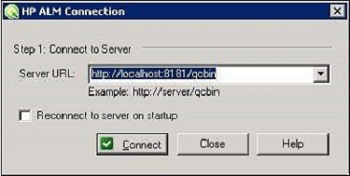
Step 5 − HP ALM Connection dialog opens. Enter the Server URL as shown in the below example.
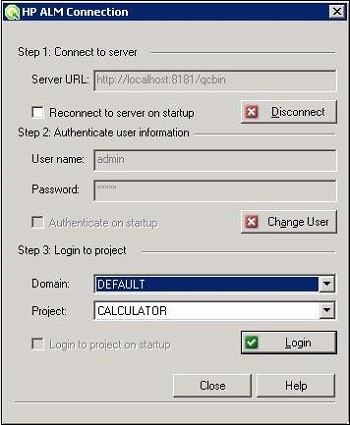
Step 6 − Once the URL is correct, the credentials dialog opens. Tester has to connect to the relevant project area.
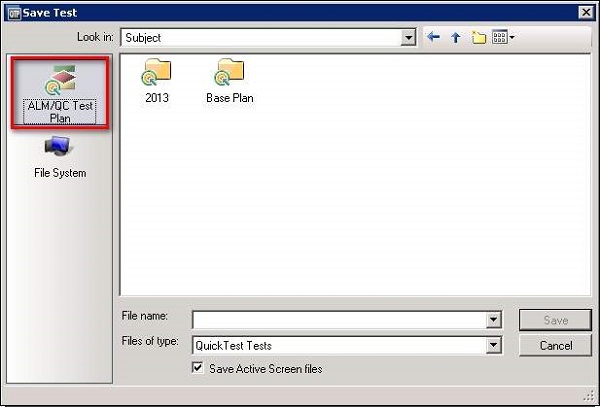
Step 7 − Once ALM Connection is successful, we need to save the Driver Script in Quality Center. Select ALM/QC Plan as shown below.
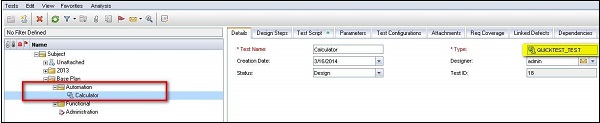
Step 8 − Once the test is saved, we can see the in ALM where the test type is shown as "Quick Test".
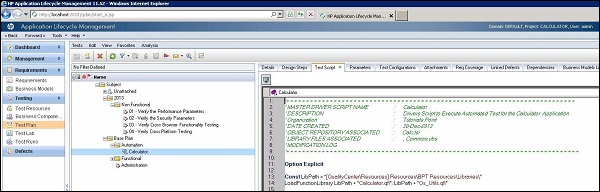
Step 9 − Upon Navigating to "Test Script" Tab which appears only if the test type is of "Quick Test", The script shown in QTP screen would be displayed in Quality Center as well.
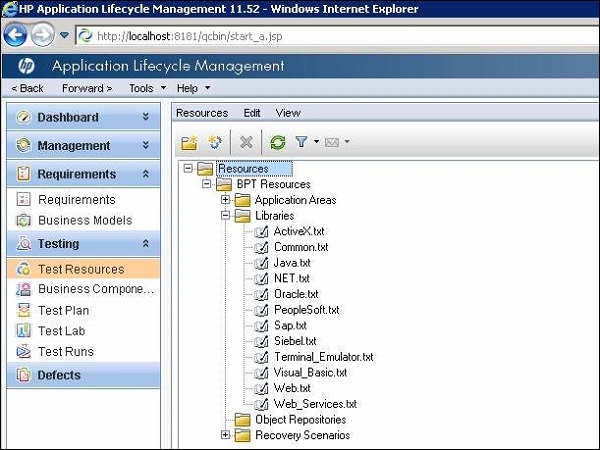
Step 10 − The other necessary component that is required for script execution is Library files which can be placed under "Test Resources" Folder.
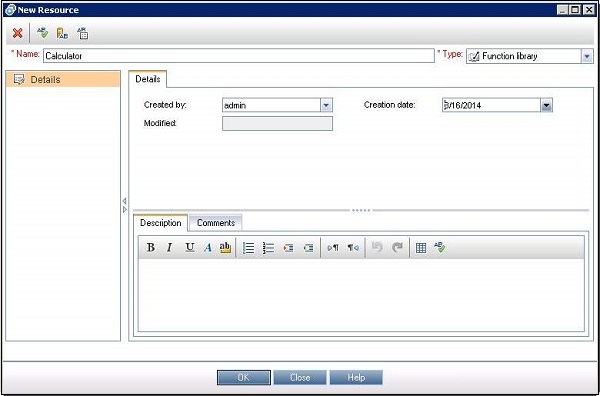
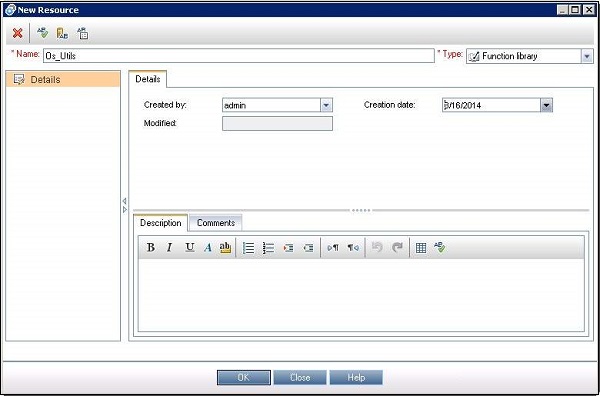
Step 11 − The Function Library file can be added by creating a new resource of type ".qfl" or ".vbs".
Step 12 − The Added library file can be accessed in quality Center using resource Viewer.
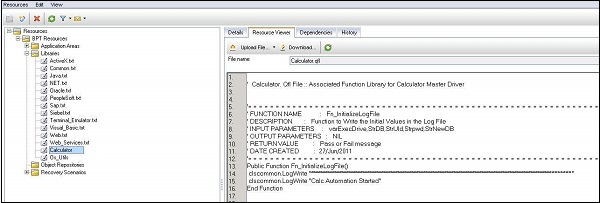
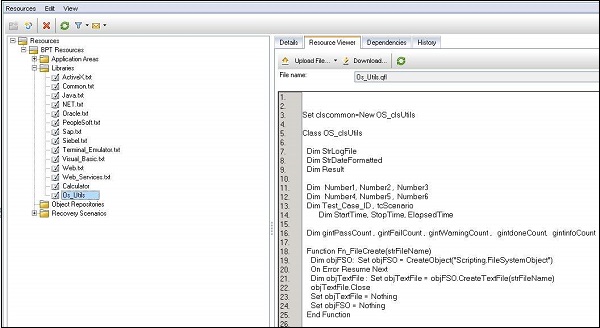
Step 13 − If there are more library files, the same is added by creating a new resource of type ".qfl" or ".vbs".
Step 14 − Once again, Added library file can be accessed in quality Center using resource Viewer.
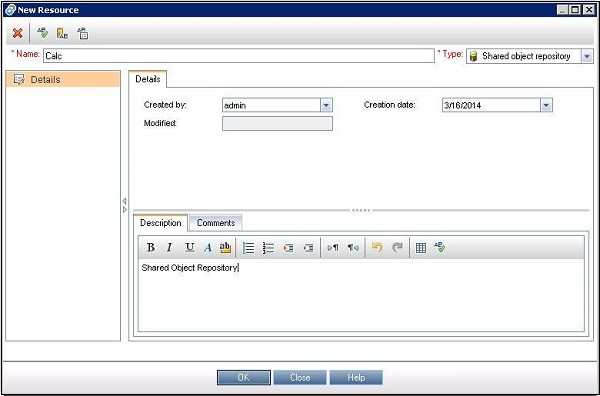
Step 15 − The Next dependent component for any script execution is "Object Repository" which is again placed under "Resources" section
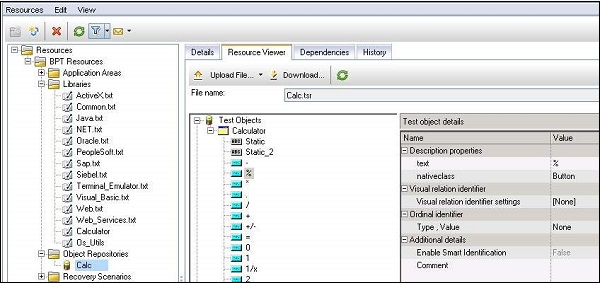
Step 16 − The added Object Repository and its properties can be viewed using "Resource Viewer".
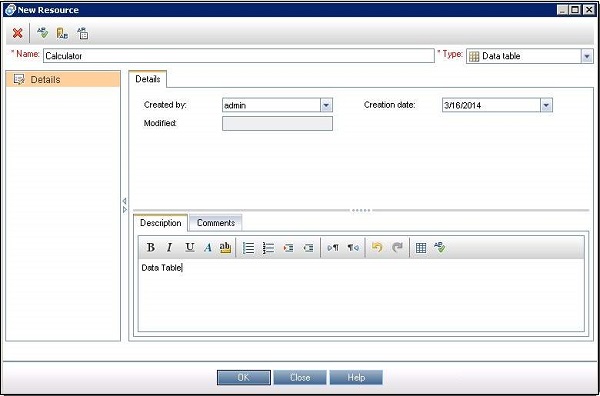
Step 17 − The Datatable, parameterized data setup also be placed in Quality Center under "Test Resources" section.
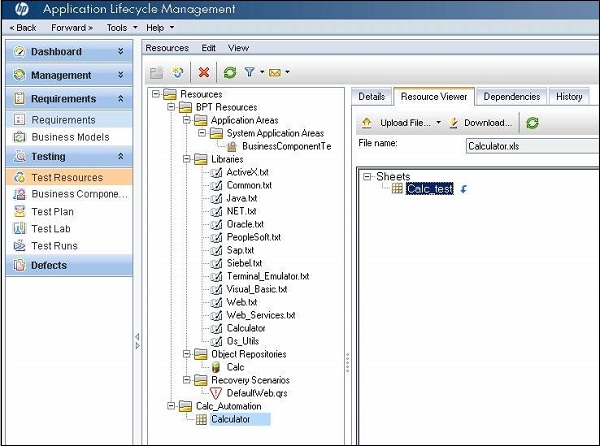
Step 18 − The added data Table can be viewed using in "Resource Viewer"
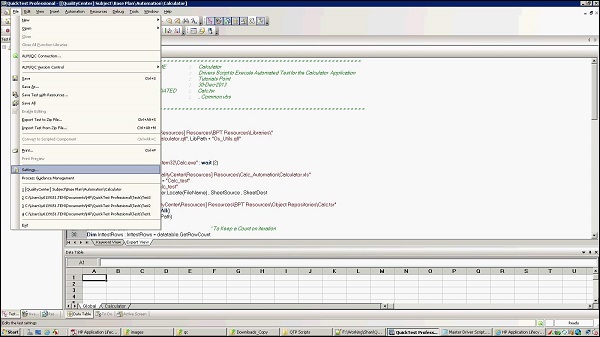
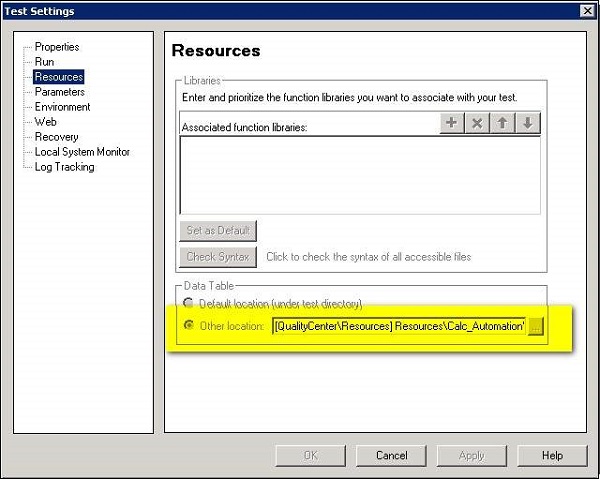
Step 19 − The Datatable should now also be mapped to the test settings so that they can be picked while execution. The same can be done using "Settings" of "File" Menu.
Step 20 − The Test Settings dialog opens. Navigate to Resources Tab and select the Datatable that we added in Step 16.
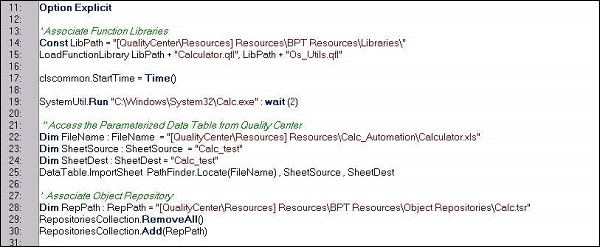
Step 21 − Now we can access those test resources that are uploaded in Quality Center in QTP script as shown below. The Libraries files and Object Repositories are bound dynamically.
Step 22 − Now, we should allow QTP to interact with other HP Products. This will allow QTP to interact with Quality Center. Go to "Tools" >> "Options"
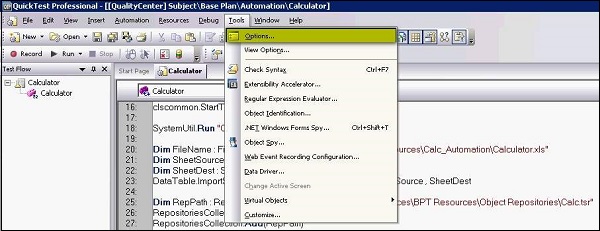
Step 23 − Now, enable "Allow other HP products to run tests and components" as shown below.

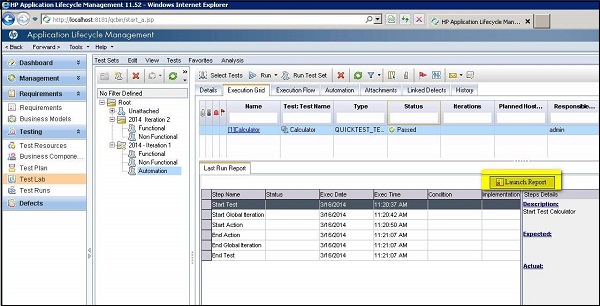
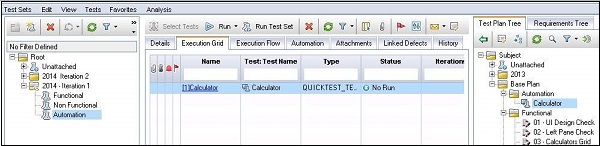
Step 24 − The Next Step is to add the test in "Test Lab" and execute the test. The Procedure to Add tests into Test Lab remains the same as that of manual tests.
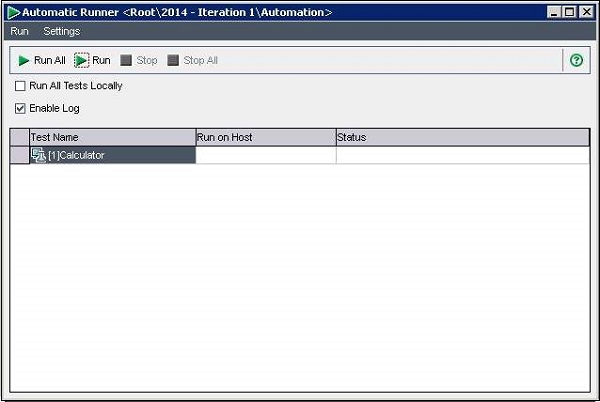
Step 25 − Upon clicking on "Run", the automatic runner opens and enable "Run all tests locally" and hit "Run".
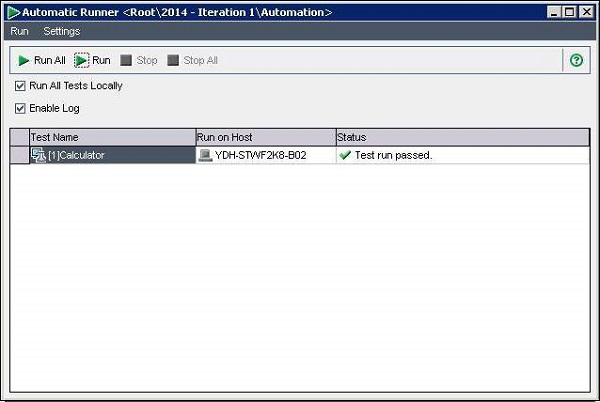
Step 26 − Once execution is complete, the test result is displayed on the same "Automatic Runner" dialog.
Step 27 − In Test Lab QTP report is loaded automatically. User can click on "Launch report" to get to know about more details of the execution.