- QC - Home
- QC - Introduction
- QC - Environment Setup
- QC - Server Side Configurations
- QC - Common Functionalities
- QC - Management
- QC - Requirements
- QC - Test Plan
- QC - Test Lab
- QTP - QC Integration
- QC - Defects
- QC - Dashboard Analysis
- QC - Project Customization
Quality Center - Defects
During test execution, when the expected result does not match with the actual result, a defect should be logged. Now Let us focus various functionalities associated with defects.
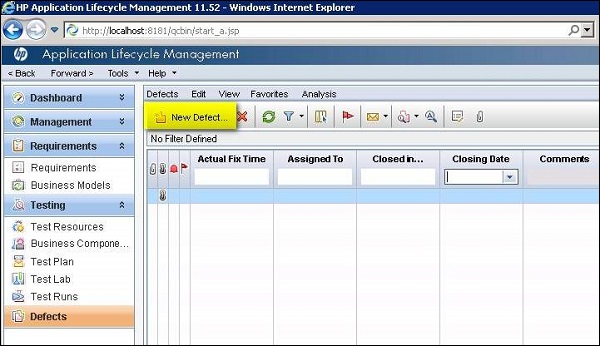
Navigate to defects Tab in Quality Center and Click on "New Defects".
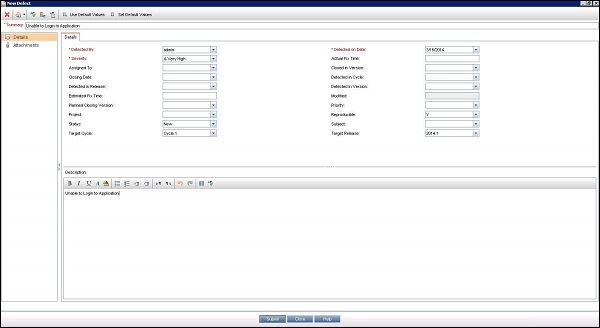
Fill in the mandatory parameters such as defect summary, detected by, Severity and Description.
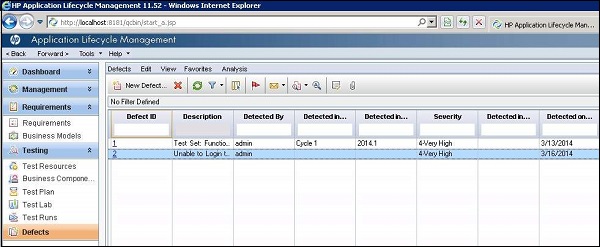
Once a defect is posted, the same be accessed in Defects Tab as shown below.
If the defects are logged during the test execution the step and description would be autopopulated from test case where as If a defect is logged by clicking on "New Defect" in defect module the steps, description and summary needs to be entered manually by the user.
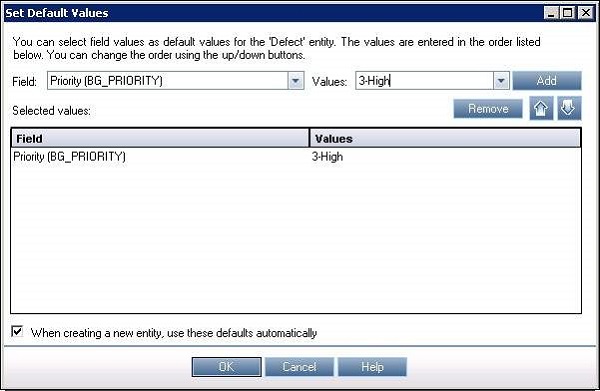
Many a times testers will NOT be in a position to enter all field values in "New Defect" Window. Instead they can make use of "Set Default Values" Option. It can be accessed from "New Defect" Window as shown below.
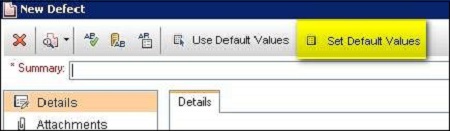
The "Set Default Values" dialog opens. We will be able to set a default value for each one of the fields in "Defects" Section which would be prepopulated once we click on "New Defect" button. We can also add/remove Default values using the appropriate button in this dialog box.
Defects can also be uploaded from Excel to Quality Center and the procedure remains the same as that of uploading "Requirements" and "Test Cases" using HP-MS Excel plugin utility.
All the defects are displayed by default, hence the user has to use filter functionalities to display only those that are filtered by user.
