- QC - Home
- QC - Introduction
- QC - Environment Setup
- QC - Server Side Configurations
- QC - Common Functionalities
- QC - Management
- QC - Requirements
- QC - Test Plan
- QC - Test Lab
- QTP - QC Integration
- QC - Defects
- QC - Dashboard Analysis
- QC - Project Customization
Hp-Quality Center - Environmental Set up
Hp-Quality Center Setup
HP Quality Center Environment Setup is a complicated process and it is NOT the usual installation that we carry out on a Windows operating system.
Enterprise installation would be distributed, however for learning/evaluating purpose, one can install the trial version of HP-ALM 11.5x on a standalone server. One should also need to take care of the prerequisites carefully to carry out a successful installation.
Prerequisites for Installing QC
For evaluation purpose, both client and server can reside on the same system and in this chapter, we will do the installation of that kind.
Supported Windows Operating Systems
Only the following list of Windows OS are supported, hence one has to ensure that HPALM is installed on one of the following Windows OS only −
- Microsoft Windows Server 2008 Enterprise SP2 32 Bit/64 Bit
- Microsoft Windows Server 2008 R2 Enterprise SP1 64 Bit
- Microsoft Windows Server 2012 Standard 64 Bit
- Microsoft Windows Server 2012 R2 Standard 64 Bit
Supported Databases
Ensure that you have one of the following databases installed in your system before proceeding to install HP-ALM−
- Oracle 10.2.0.5
- Oracle 11.2.0.3
- Oracle 11.2.0.4
- Microsoft SQL Server 2005 SP4
- Microsoft SQL Server 2008 R2 SP1
- Microsoft SQL Server 2008 R2 SP2
Supported AppServers
Ensure that the server has got any of the following AppServers installed −
- Apache 2.2
- Microsoft IIS 7.0
- Microsoft IIS 7.5
- Microsoft IIS 8.0
- Microsoft IIS 8.5
Supported Browsers
HP ALM can be accessed only by using Active X based browsers, hence Internet Explorer is the only browser that is supported −
- Microsoft Internet Explorer 8
- Microsoft Internet Explorer 9
- Microsoft Internet Explorer 10
- Microsoft Internet Explorer 11
Downloading Hp-ALM
Following are the steps for downloading the 30-day trial version of HP-ALM from HP website.
Step 1 − Launch the following URL - Downloading Hp-ALM
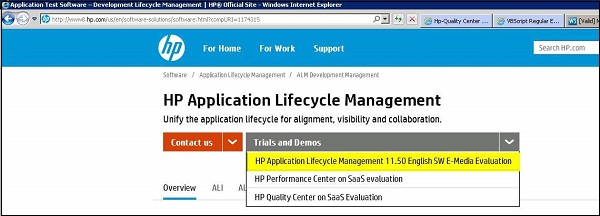
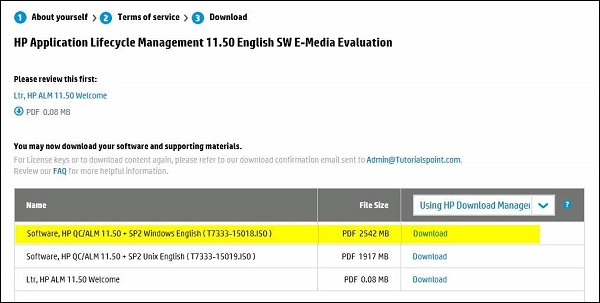
Step 2 − Click on "Trials and Demos" and Select "HP Application LifeCycle Management 11.50 English SW E-Media Evaluation" as shown below −
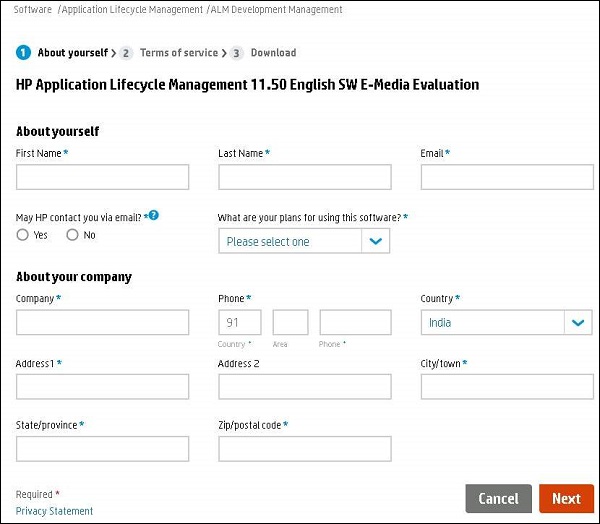
Step 3 − Fill in all the necessary details and click on "NEXT" as shown below −
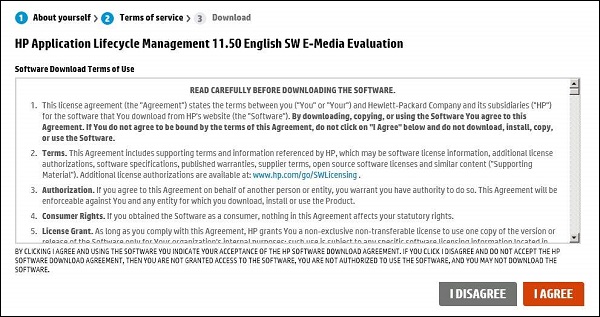
Step 4 − Accept the Software terms and click on "NEXT" as shown below
Step 5 − Download link appears and select the appropriate edition you want to install (windows/Unix)
Installing HP-ALM
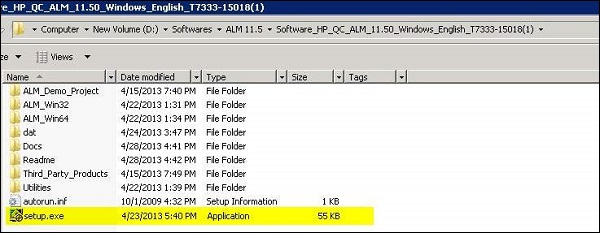
Step 1 − After downloading the ISO file, unzip the contents and after unzipping, the folder structure would be as shown below −
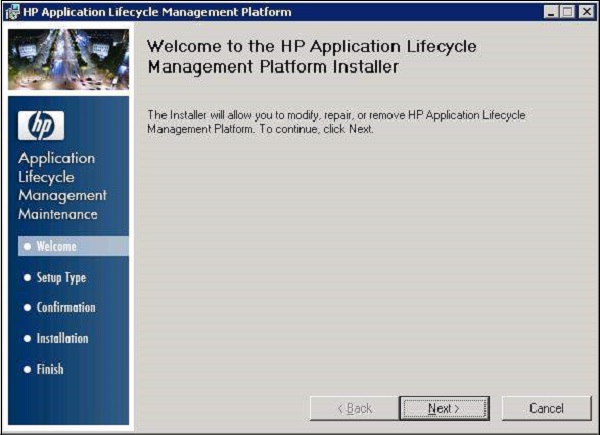
Step 2 − After the Welcome screen opens up, click the "NEXT" button as shown below. Continue to click the Next button until you reach the Finish screen.
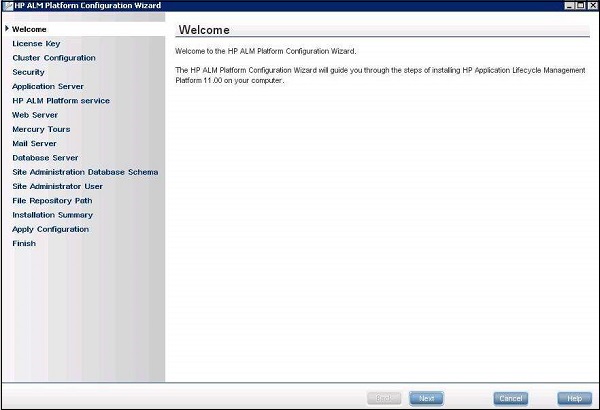
Step 3 − Upon finishing, the HP ALM Platform Configuration Wizard opens as shown below.
Step 4 − License Key Tab opens and the user needs to select "Application Life Cycle Management" so that we can access all the features of the package.

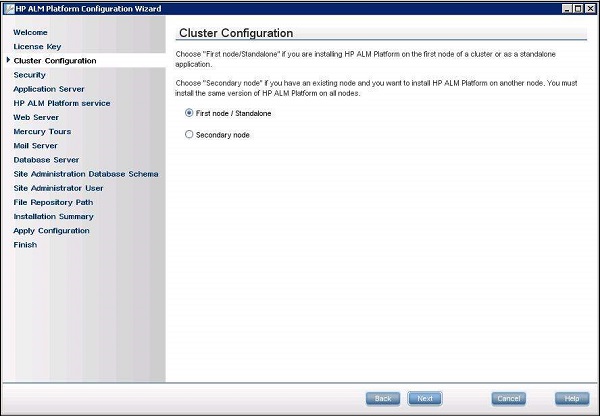
Step 5 − Cluster Configuration Tab opens and choose Standalone, as we will install all services in a standalone host and NOT as a distributed system.
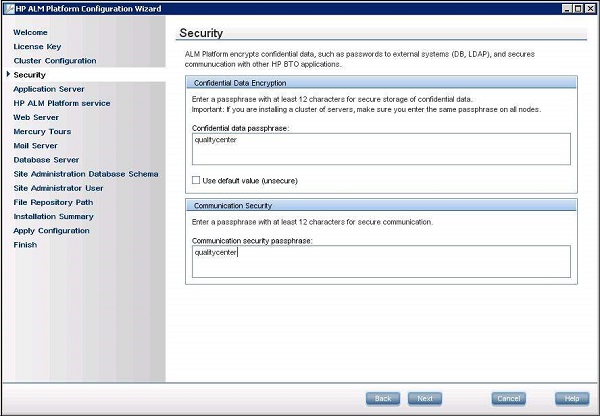
Step 6 − Security Tab opens. Here you need to key-in the passphrase such that there is a minimum of 12 characters.
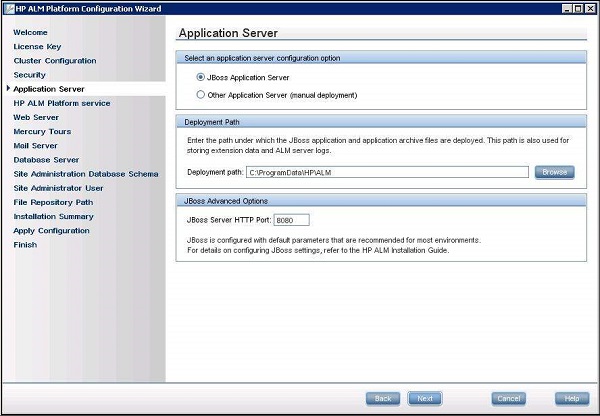
Step 7 − Application Server Tab opens. Choose "Jboss Application Server" and allow all others as default values.
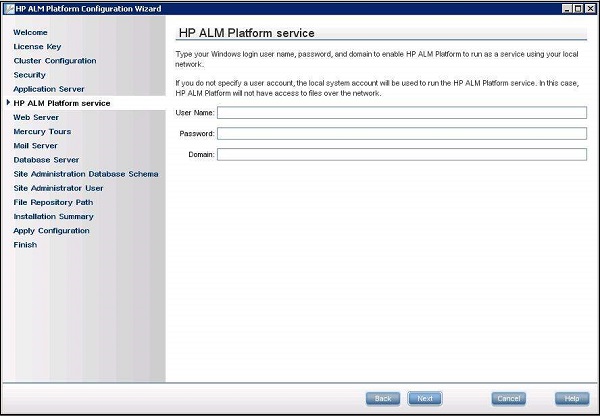
Step 8 − HP ALM Platform Service tab opens. Leave it empty so that your Windows login is used as the userid for starting the ALM Services.
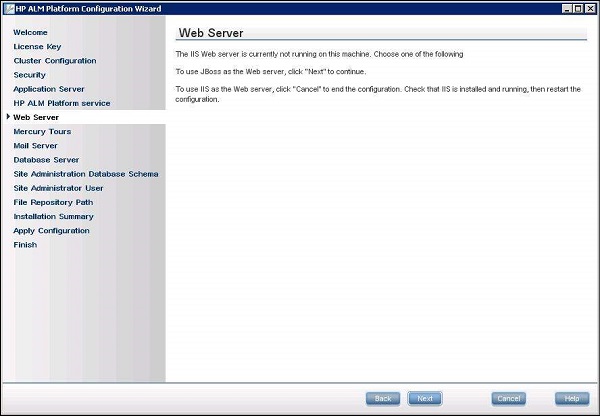
Step 9 − Web Server selection window opens. We will use JBOSS as the Webserver. Hence we need NOT select anything but just click on the "NEXT" button.
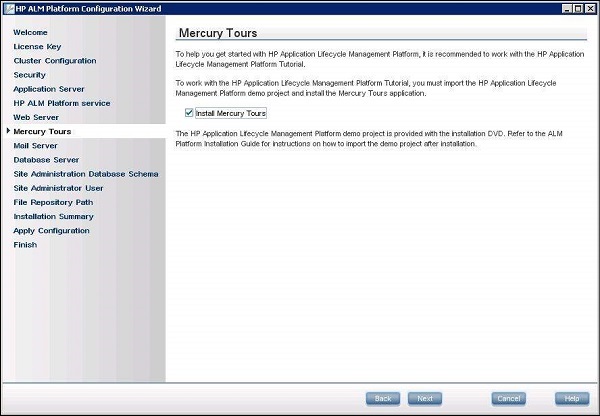
Step 10 − If you would like to install the sample application "Mercury Tours", please select and click "NEXT".
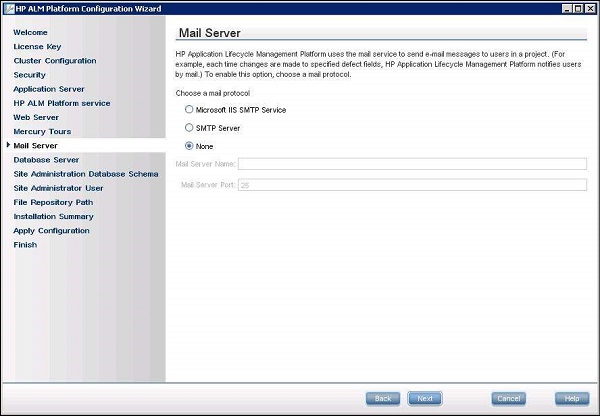
Step 11 − For Mail Server Configuration, add your SMTP or MS IIS SMTP server name or Select None and Click "NEXT". This server setting will enable you to interact with other QC users via Email or it triggers an email based on the settings.
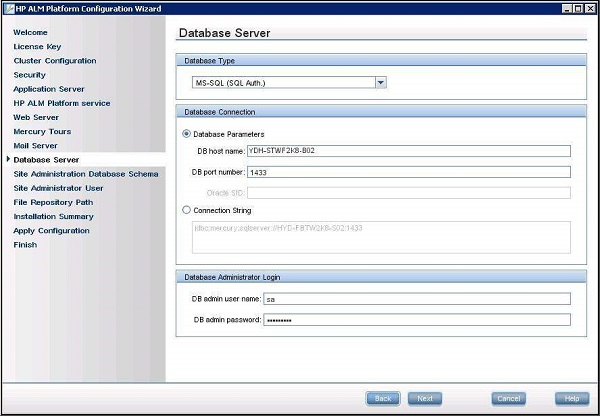
Step 12 − Choose the correct database Server Configuration. Please note that the database corresponds to the one that is already installed on the server. The user credentials should have privileges to create Database on the server. Only if all the field values are correct, it moves on to the next screen.
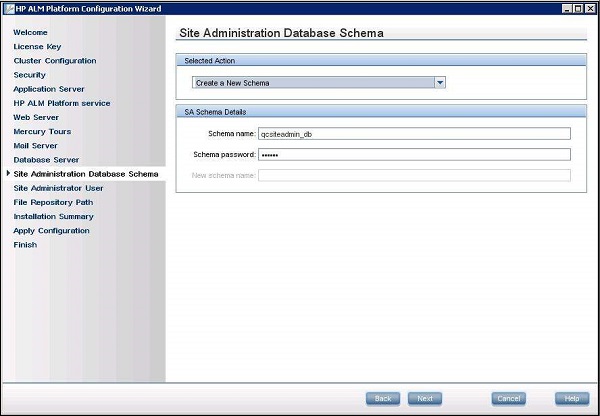
Step 13 − The Site Administration Database Schema configuration window Opens. Ensure that you give a unique DB Schema name where all the Admin data of QC will be stored.
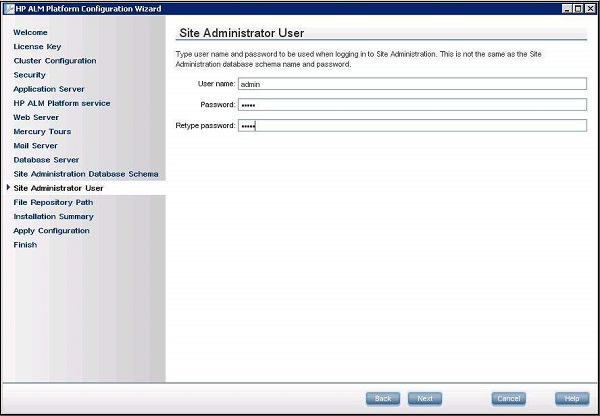
Step 14 − Enter the Site Administrator user credentials. Do NOT forget to remember these credentials so that you can log into QC using these credentials after successful installation.
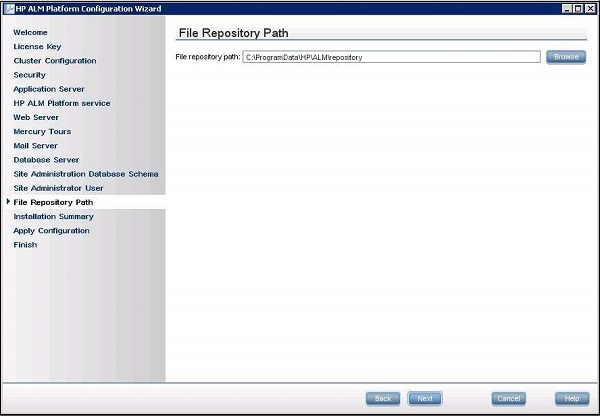
Step 15 − File Repository Path is the location where all the QC related assets which we create would be saved.
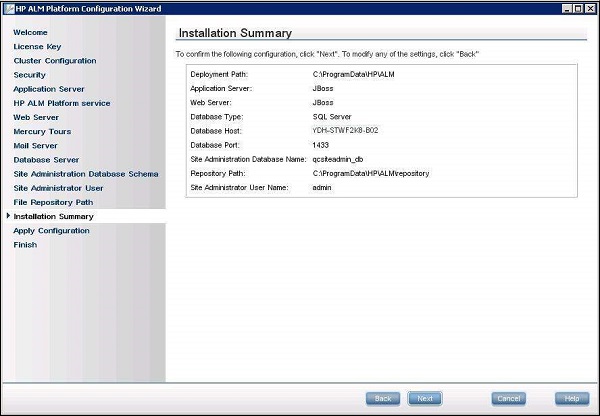
Step 16 − The Installation Summary Window opens up which shows the complete summary of the selected configuration. If the user wishes to make any changes, then he can do so by going back to the previous window.
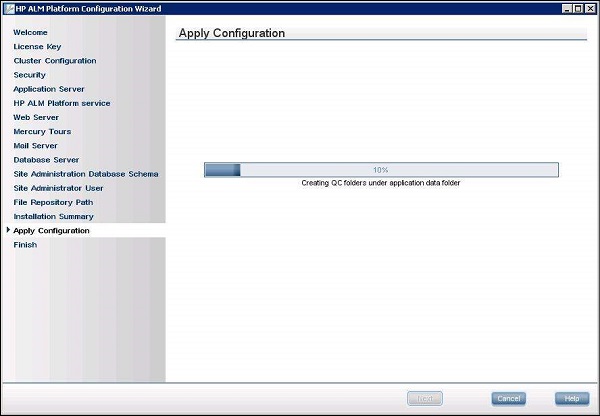
Step 17 − Apply Configuration shows that the selected components will be installed with the selected configuration. Upon Completion the message is thrown to the user if the installation is successful.
Launching HP-ALM
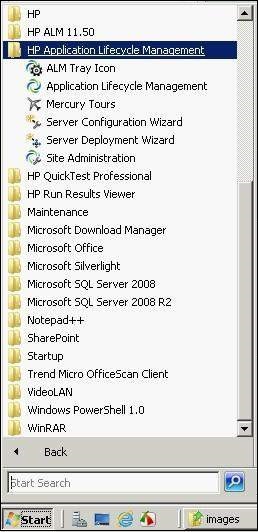
Step 1 − Upon installing HP-ALM successfully, the ALM can be launched from the Start menu as shown below.
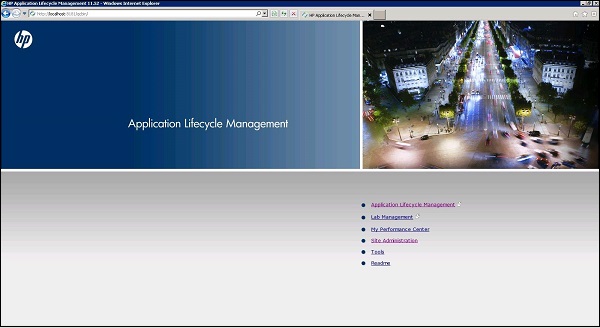
Step 2 − After installation, we can also launch ALM by typing the following URL in Internet. Explorer − http://localhost:8181/qcbin/
ALM would open as shown below.