- QC - Home
- QC - Introduction
- QC - Environment Setup
- QC - Server Side Configurations
- QC - Common Functionalities
- QC - Management
- QC - Requirements
- QC - Test Plan
- QC - Test Lab
- QTP - QC Integration
- QC - Defects
- QC - Dashboard Analysis
- QC - Project Customization
Hp-QC - Create Test Set
Once the test design is completed using Test Plan, testers organize test execution by creating test sets in the Test Lab module. A test set contains a set of the tests that are designed to achieve specific test goals.
HL ALM supports different types of test sets and are listed below −
- Performance
- Functional
- Default
Following are the steps to create test sets in Test Lab module.
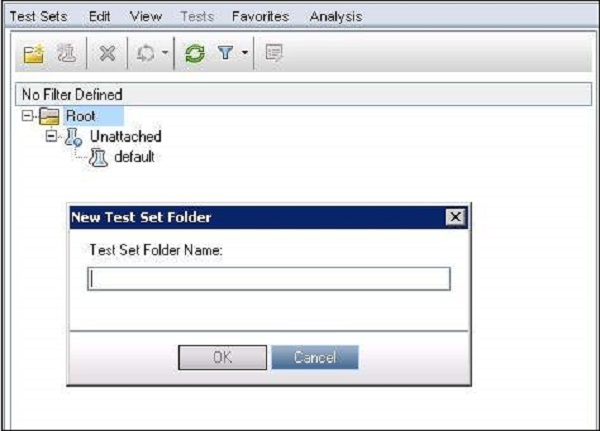
Step 1 − Create a Root folder as a container for having the test sets. Name it in-line with the release and cycle so that it is easy to track.
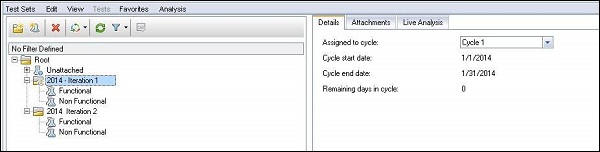
Step 2 − Upon creating root folder, testers can assign it to a specific cycle on root folder level. Only if it is mapped to a particular cycle, we can track the test results based on a cycle.
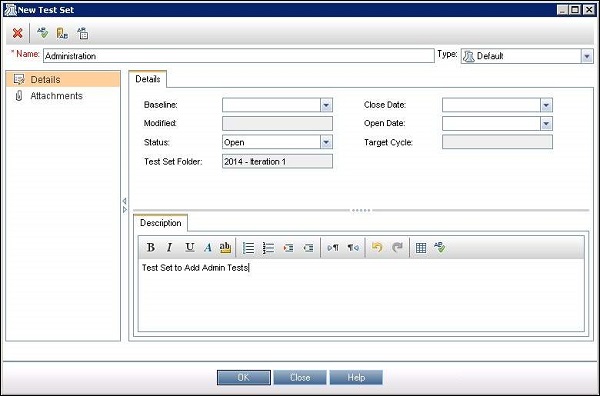
Step 3 − Create a new test set by entering the type, description and attach documents/attachments if any.
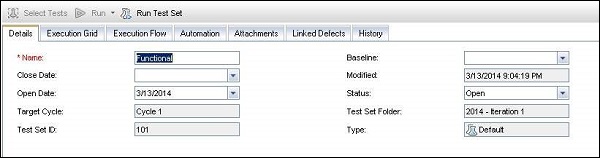
Step 4 − Upon creating a test set, the details can be accessed using details tab.
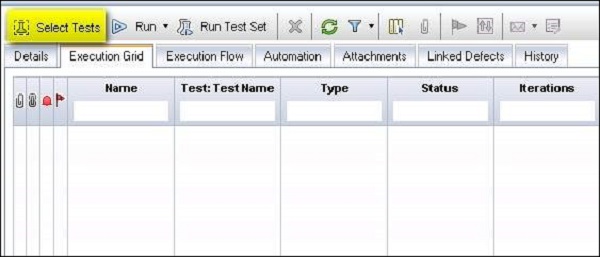
Step 5 − Select "Execution Grid", the "Select Test" Button would be activated as shown below.
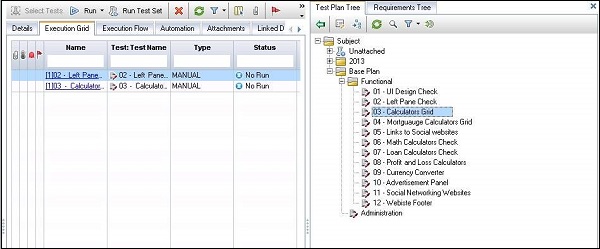
Step 6 − When "Select test" button is clicked, Test Plan tree opens for the user to select the tests into this test set.
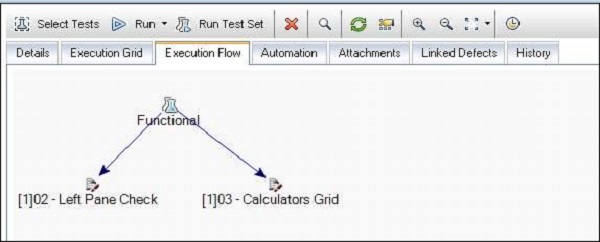
Step 7 − The "Execution Flow" tab shows how the tests are organized.
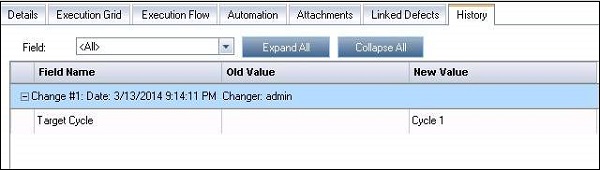
Step 8 − "History" rab shows the sequence of changes that this particular test set underwent since the user created it.