- Meteor - Home
- Meteor - Overview
- Meteor - Environment Setup
- Meteor - First Application
- Meteor - Templates
- Meteor - Collections
- Meteor - Forms
- Meteor - Events
- Meteor - Session
- Meteor - Tracker
- Meteor - Packages
- Meteor - Core API
- Meteor - Check
- Meteor - Blaze
- Meteor - Timers
- Meteor - EJSON
- Meteor - HTTP
- Meteor - Email
- Meteor - Assets
- Meteor - Security
- Meteor - Sorting
- Meteor - Accounts
- Meteor - Methods
- Meteor - Package.js
- Meteor - Publish & Subscribe
- Meteor - Structure
- Meteor - Deployment
- Meteor - Running on mobile
- Meteor - ToDo App
- Meteor - Best Practices
Meteor - Forms
In this chapter, we will learn how to work with Meteor forms.
Text Input
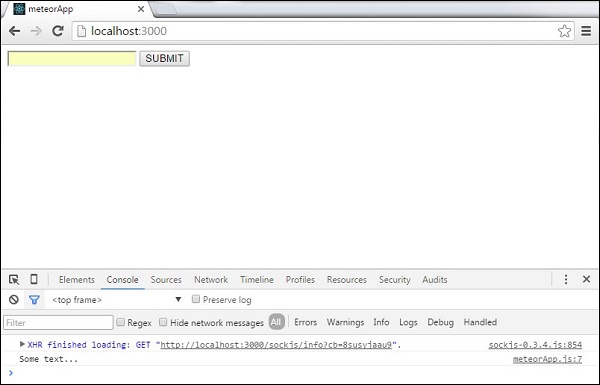
First, we will create a form element with text input field and a submit button.
meteorApp.html
<head>
   <title>meteorApp</title>
</head>

<body>
   <div>
      {{> myTemplate}}
   </div>
</body>

<template name = "myTemplate">
   <form>
      <input type = "text" name = "myForm">
      <input type = "submit" value = "SUBMIT">
   </form>
</template>
In a JavaScript file, we will create the submit event. We need to prevent default event behavior to stop the browser from refreshing. Next, we are going to take the content of the input field and assign it to textValue variable.
In the following example, we will only log that content to developers console. And the last thing we need is to clear the input field.
meteorApp.js
if (Meteor.isClient) {

   Template.myTemplate.events({

      'submit form': function(event) {
         event.preventDefault();
         var textValue = event.target.myForm.value;
         console.log(textValue);
         event.target.myForm.value = "";
      }
   });
}
When we type "Some text..." in our input field and submit it, the console will log the text we entered.
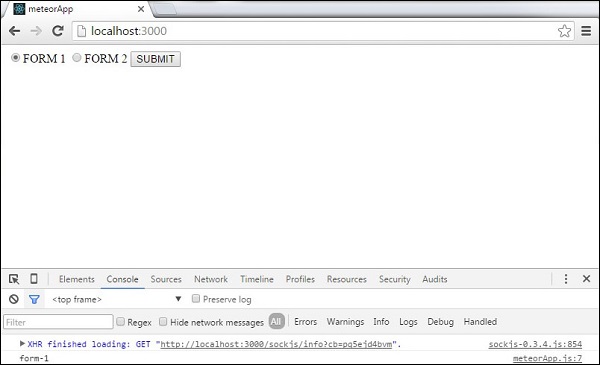
Radio Buttons
A similar concept can be used for radio buttons.
meteorApp.html
<head>
   <title>meteorApp</title>
</head>

<body>
   <div>
      {{> myTemplate}}
   </div>
</body>

<template name = "myTemplate">
   <form>
      <input type = "radio" name = "myForm" value = "form-1">FORM 1
      <input type = "radio" name = "myForm" value = "form-2">FORM 2
      <input type = "submit" value = "SUBMIT">
   </form>
</template>
meteorApp.js
if (Meteor.isClient) {

   Template.myTemplate.events({

      'submit form': function(event) {
         event.preventDefault();
         var radioValue = event.target.myForm.value;
         console.log(radioValue);
      }
   });
}
When we submit the first button, the console will show the following output.
Checkbox
Following example shows how to use checkboxes. You can see that we are just repeating the same process.
meteorApp.html
<head>
   <title>meteorApp</title>
</head>

<body>
   <div>
      {{> myTemplate}}
   </div>
</body>

<template name = "myTemplate">
   <form>
      <input type = "checkbox" name = "myForm" value = "form-1">FORM 1
      <input type = "checkbox" name = "myForm" value = "form-2">FORM 2
      <input type = "submit" value = "SUBMIT">
   </form>
</template>
meteorApp.js
if (Meteor.isClient) {

   Template.myTemplate.events({

      'submit form': function(event) {
         event.preventDefault();
         var checkboxValue1 = event.target.myForm[0].checked;
         var checkboxValue2 = event.target.myForm[1].checked;
         console.log(checkboxValue1);
         console.log(checkboxValue2);
      }
   });
}
Once the form is submitted, the checked input will be logged as true, while the unchecked one will be logged as false.

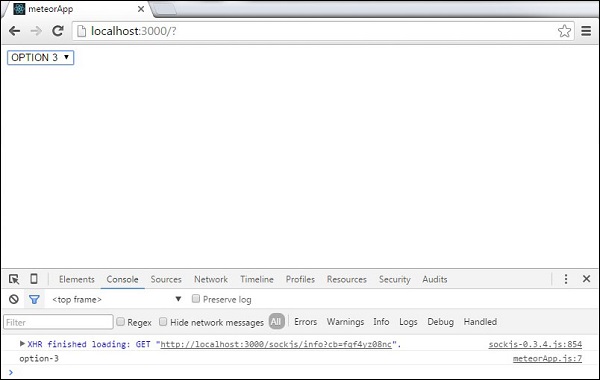
Select Dropdown
In the following example, we will learn how to use the select element. We will use the change event to update data every time the option changes.
meteorApp.html
<head>
   <title>meteorApp</title>
</head>

<body>
   <div>
      {{> myTemplate}}
   </div>
</body>

<template name = "myTemplate">
   <select>
      <option name = "myOption" value = "option-1">OPTION 1</option>
      <option name = "myOption" value = "option-2">OPTION 2</option>
      <option name = "myOption" value = "option-3">OPTION 3</option>
      <option name = "myOption" value = "option-4">OPTION 4</option>
   </select>
</template>
meteorApp.js
if (Meteor.isClient) {

   Template.myTemplate.events({

      'change select': function(event) {
         event.preventDefault();
         var selectValue = event.target.value;
         console.log(selectValue);
      }
   });
}
If we choose the third option, the console will log the option value.