- MERN Stack - Home
- MERN Stack - Installation
- MERN Stack - MongoDB Setup
- MERN Stack - Node Setup
- MERN Stack - Connect React with Node
- MERN Stack - Folder Structure
- MERN Stack Useful Resources
- MERN Stack - Useful Resources
- MERN Stack - Discussion
Node Backend Setup in MERN
In the MERN Stack, Node.js serves as the backend runtime environment that allows developers to run JavaScript code outside the browser. It provides a fast and efficient way to build scalable server-side applications using JavaScript.
Node.js uses the V8 JavaScript Engine the same engine used in Google Chrome to execute JavaScript code directly on the server, enabling developers to use a single programming language for both frontend and backend development.
Install Node.js
To set up the backend for your MERN project, you first need to install Node.js on your system. Since you have already downloaded Node.js in the previous chapter, "MERN Stack Installation Guide".
Verify Node.js Installation
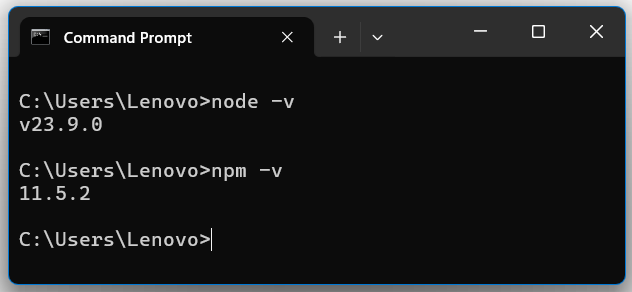
After installation, open the Command Prompt or Terminal and verify that Node.js and npm (Node Package Manager) are successfully installed by typing −
node -v
npm -v
If both commands return version numbers, it means Node.js and npm are installed successfully.
Initialize a Node.js Project
Once Node.js is installed, create a new folder for your backend project. Open the folder in the terminal or Command Prompt and initialize the project using the following command −
npm init -y
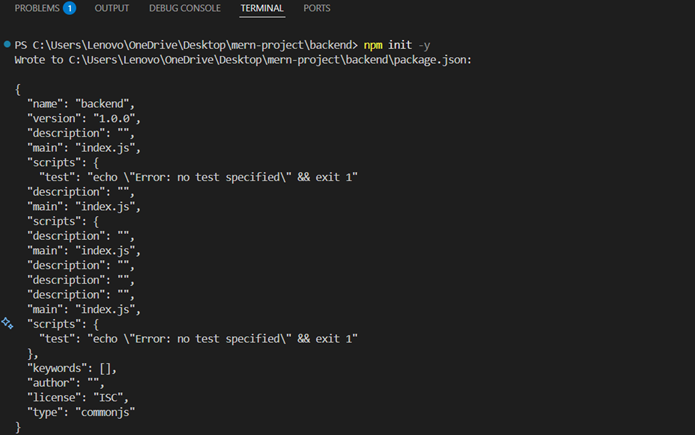
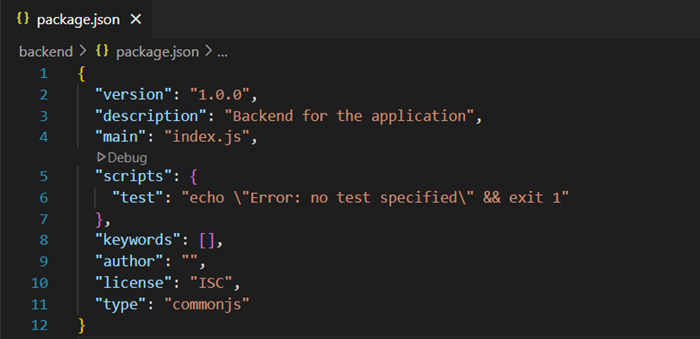
This will create a default package.json file that manages your project dependencies and configurations.
Install Express.js
Express.js is a lightweight Node.js framework used to handle HTTP requests, define routes, and manage APIs efficiently.
Install Express using the npm command −
npm install express
Create the Server File
After installing Express, create a file named server.js (or index.js) in your project folder. This file will contain the main code to run your backend server.
const express = require('express');

const app = express();

const PORT = process.env.PORT || 5000;

app.get('/', (req, res)=>{
   res.send('Hello Tpians! Nodejs Backend is running successfully.');
})

app.listen(PORT, ()=>{
   console.log(`Server is running on port ${PORT}`);
})
Now, run your backend server using the following command −
node server.js

Verify Server
Open your browser and go to the following URL: http://localhost:5000
If you see the message "Hello Tpians! Nodejs Backend is running successfully.", your Node.js backend is set up correctly.
Connect MongoDB to Node.js
To connect with MongoDB, you will be using Mongoose and the ODM (Object Data Modelling) library for MongoDB. Following are the steps to connect −
Install Mongoose
To install the mongoose in node.js use below command −
npm install mongoose
Connect to Database
Create a connection file "db.js" inside backend directory −
const mongoose = require("mongoose");

const mongoURI = "mongodb://localhost:27017/mernDatabase";
const connectDB = async () => {
  try {
    await mongoose.connect(mongoURI, {
      useNewUrlParser: true,
      useUnifiedTopology: true,
    });
    console.log("Connected to local MongoDB successfully");
  } catch (err) {
    console.error("MongoDB connection error:", err.message);
  }
};

module.exports = connectDB;
Import the "db.js" into the "server.js" file to get the connection successfully.
const express = require("express");
const connectDB = require("./db");

const app = express();

const PORT = process.env.PORT || 5000;

// Connect to MongoDB
connectDB();

app.get("/", (req, res) => {
  res.send("MongoDB Database setup completed successfully!");
});

app.listen(PORT, () => {
  console.log(`Server is running on port ${PORT}`);
});
Run the server.js file using the following command: node server.js. If everything is set up correctly, you will see the message below −
Server is running on port 5000
Connected to local MongoDB successfully
Conclusion
In this chapter, you learned how to install Node.js, how to connect MongoDB, and how to set up a basic Express server. Your backend is now ready to handle API routes and connected to the MongoDB database.
