
 Data Structure
 Networking
 RDBMS
RDBMS Operating System
 Java
Java MS Excel
 iOS
iOS HTML
HTML CSS
CSS Android
 Python
 C Programming
 C++
C++ C#
C# MongoDB
 MySQL
MySQL Javascript
 PHP
PHP
- Selected Reading
- UPSC IAS Exams Notes
- Developer's Best Practices
- Questions and Answers
- Effective Resume Writing
- HR Interview Questions
- Computer Glossary
- Who is Who
How to setup Conda environment with Jupyter Notebook?
The Jupyter Notebook is an open-source web application that allows users to run all features of the Data and Machine Learning project. The word Conda is known as package manager which handles different packages by installing them through its command. The Conda environment is similar to Python virtual environment that allows users to write code in Python programming language.
The benefits of a conda environment ?
Getting more Python Package that handles large-scale data project.
Its packages help to understand the complex structure of any dataset.
System Requirement to set up Conda Environment With Jupyter Notebook
Requirement |
Details |
|---|---|
RAM |
8GB is good |
CPU |
2 x 64-bit |
Disk Space |
20GB is good for sufficient space |
Screen Resolution |
1536 x 834(might be support less than it) |
Operating System |
Linux, Windows, and Mac |
Language Supports |
It supports more than 40 programming languages. For eg. Python, Scala, R, etc. |
Steps to Set up Conda Environment With Jupyter Notebook
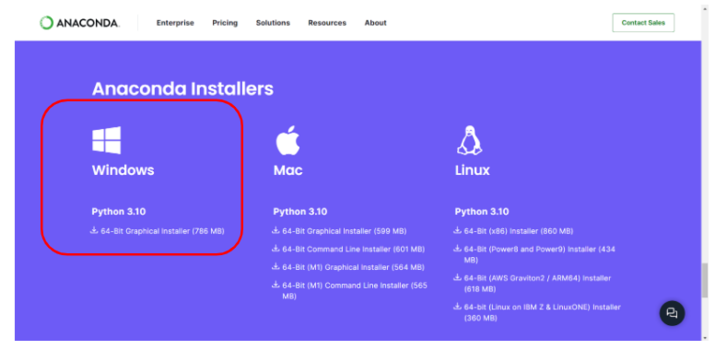
Step 1 ? Seach Anaconda to the browser and open the website to download the Anaconda extension for the window system.
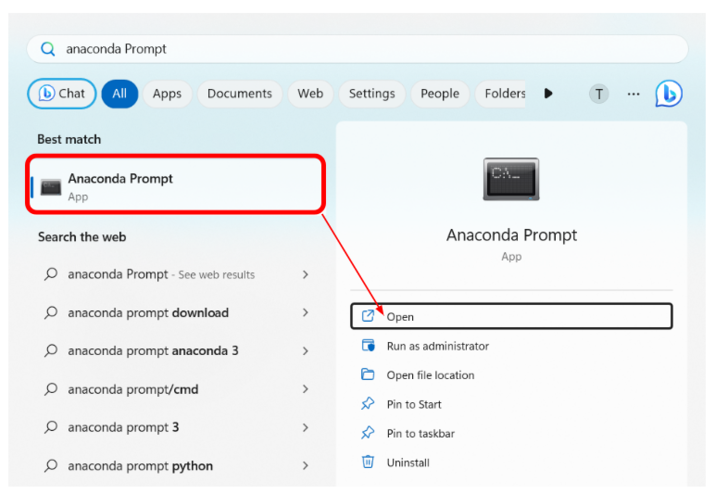
Step 2 ? After completing of download, press the window button on the keyboard and search for the Anaconda Prompts. Then click to open the interface prompt.
Step 3 ? The anaconda prompt has opened and type the command conda create -n environment_name that will create the new open path for jupyter. You can use any name instead of environment_name. Here, we are mentioning the environment_name as jupyter.

Step 4 ? Now prompt asks the user to select the option[yes/No]. If the user writes y it will suggest the command for activation of jupyter.

Step 5 ? Then move to the next prompt line and type the command as conda activate jupyter.

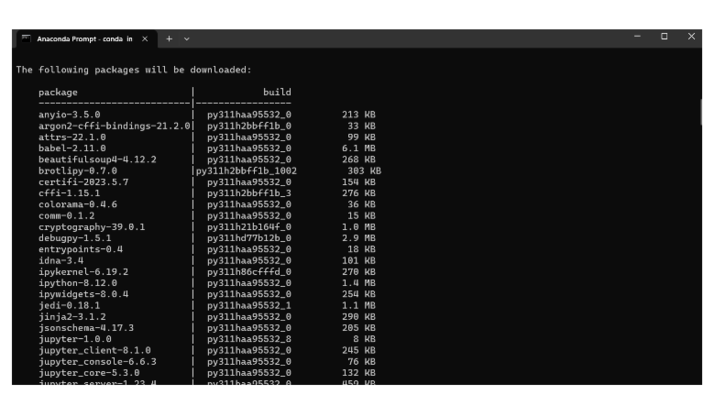
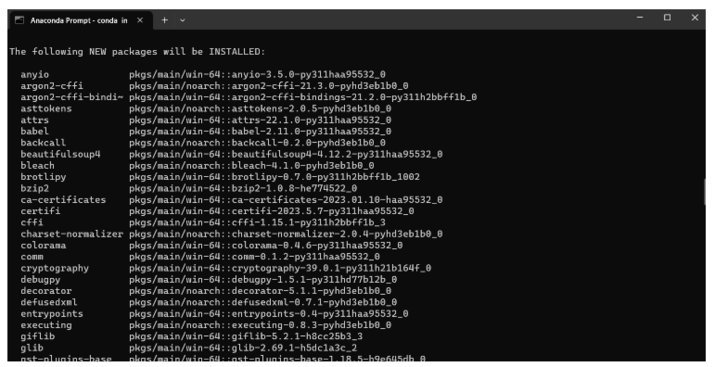
Below there are two images that show the auto download and installation of Jupyter Notebook. Both these are useful to help the users while doing programs on Jupyter Notebook.
Auto Download of Python packages
Auto installation of Python packages
Step 6 ? The prompt asks the user to continue the next command line.

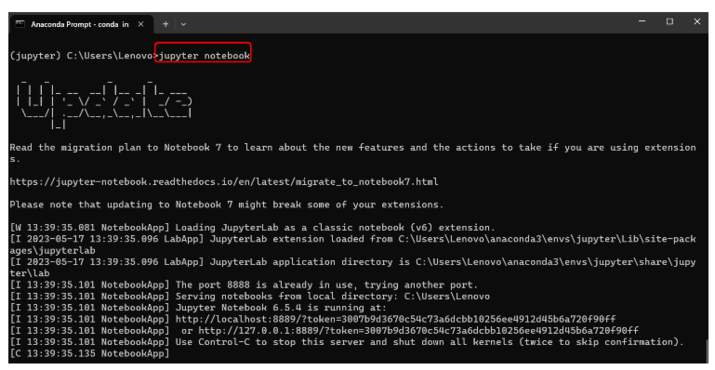
Step 7 ? Here, we are opening the Jupyter Notebook using prompt command i.e. Jupyter Notebook and the notebook will run automatically in the browser.
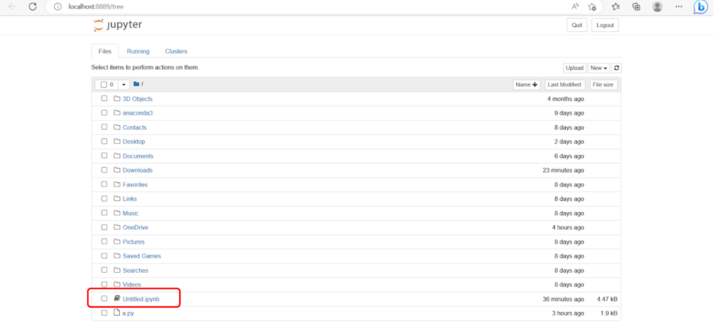
Step 8 ? Below the image the Jupyter Notebook has opened and the red mark depicts, opening the file to write the program based on Python.
Conclusion
We discussed how to set up a Conda environment with Jupyter Notebook in the Window operating system. The first steps create the newly open path to solve the environment for the Jupyter Notebook. Then prompt suggests to the user to select the option of yes or no to provide the activation/deactivation command of Jupyter Notebook. Then we used the activation command getting from the prompt and it result in the form of auto download and installation of Python packages. Next, the prompt asked the user to move the new line command and we write the command as jupyter notebook and the interface will auto-open in the browser. The data scientist and data engineer used this tool to get the core insight of the data project.

