- Flex - Home
- Flex - Overview
- Flex - Environment
- Flex - Applications
- Flex - Create Application
- Flex - Deploy Application
- Flex - Life Cycle Phases
- Flex - Style with CSS
- Flex - Style with Skin
- Flex - Data Binding
- Flex - Basic Controls
- Flex - Form Controls
- Flex - Complex Controls
- Flex - Layout Panels
- Flex - Visual Effects
- Flex - Event Handling
- Flex - Custom Controls
- Flex - RPC Services
- Flex - FlexUnit Integration
- Flex - Debug Application
- Flex - Internationalization
- Flex - Printing Support
Flex - FlexUnit Integration
Flash Builder 4 has an excellent inbuilt support for FlexUnit integration in Flex development Cycle.
Create a Test Case Class
You can create a Test Case Class using Flash Builder Create Test Class wizard. Running test cases is a breeze with Flash Builder as you will see in this article.
To create a test case class using Flash Builder, Click on File > New > Test Case Class. Enter the details as shown below.
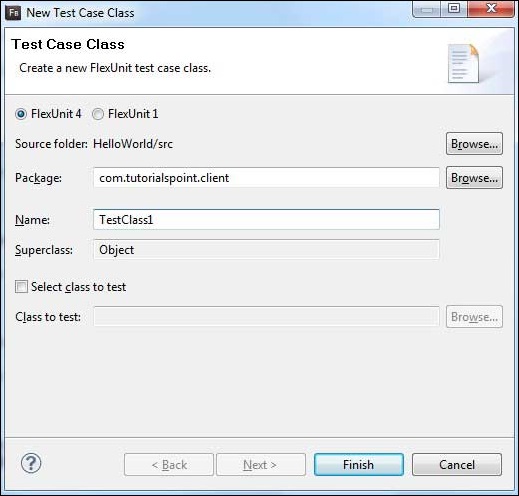
Flash Builder will create the following TestClass1.as a file.
package com.tutorialspoint.client {
   public class TestClass1 {
      [Before]
      public function setUp():void {}

      [After]
      public function tearDown():void {}

      [BeforeClass]
      public static function setUpBeforeClass():void {}

      [AfterClass]
      public static function tearDownAfterClass():void {}
   }
}
FlexUnit Integration Example
Now, let us follow the steps to test FlexUnit Integration in a Flex application −
| Step | Description |
|---|---|
| 1 | Create a project with a name HelloWorld under a package com.tutorialspoint.client as explained in the Flex - Create Application chapter. |
| 2 | Modify HelloWorld.mxml as explained below. Keep rest of the files unchanged. |
| 3 | Create TestClass1.as test case as described above and Modify TestClass1.as as explained below. |
| 4 | Compile and run the application to make sure business logic is working as per the requirements. |
Following is the content of the modified as file src/com.tutorialspoint/client/TestClass1.as.
package com.tutorialspoint.client {
   import org.flexunit.asserts.assertEquals;

   public class TestClass1 {
      private var counter: int = 1;

      [Before]
      public function setUp():void {
         //this code will run before every test case execution
      }

      [After]
      public function tearDown():void {
         //this code will run after every test case execution
      }

      [BeforeClass]
      public static function setUpBeforeClass():void {
         //this code will run once when test cases start execution
      }

      [AfterClass]
      public static function tearDownAfterClass():void {
         //this code will run once when test cases ends execution
      }

      [Test]
      public function testCounter():void {
         assertEquals(counter, 1);
      }
   }
}
Following is the content of the modified mxml file src/com.tutorialspoint/HelloWorld.mxml.
<?xml version = "1.0" encoding = "utf-8"?>
<s:Application xmlns:fx = "http://ns.adobe.com/mxml/2009"
   xmlns:s = "library://ns.adobe.com/flex/spark"
   xmlns:mx = "library://ns.adobe.com/flex/mx"
   minWidth = "500" minHeight = "500">
</s:Application>
Once you are ready with all the changes done, let us compile in normal mode as we did in Flex - Create Application chapter.
Running Test cases
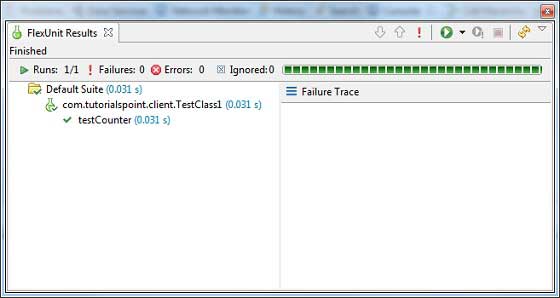
Now Right Click on TestClass1 in package explorer and select Run As > FlexUnit Tests. You'll see the following output in Flash Builder test window.
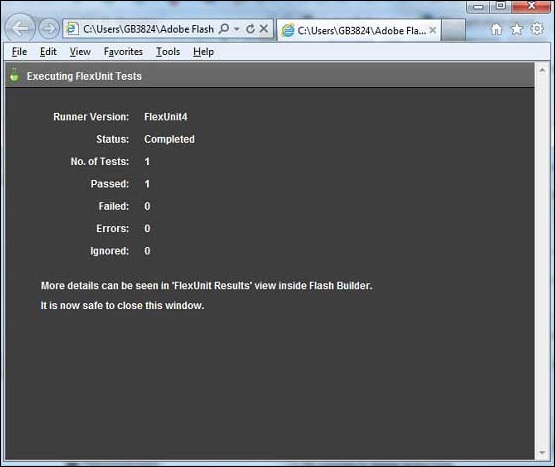
Flash Builder also shows test results in the browser.