- .NET Core - Home
- .NET Core - Overview
- .NET Core - Prerequisites
- .NET Core - Environment Setup
- .NET Core - Getting Started
- .NET Core - Numerics
- .NET Core - Garbage Collection
- .NET Core - Code Execution
- .NET Core - Modularity
- .NET Core - Project Files
- .NET Core - Package References
- Create UWP App with .NET Core
- .NET Core - MSBuild
- .NET Core - Metapackage
- Windows Runtime & Extension SDKs
- Create .NET Standard Library
- .NET Core - Portable Class Library
- Adding References to Library
- Sharing .NET Core Libraries
- Creating a Xamarin.Forms Project
- .NET Core - PCL Troubleshooting
- .NET Core - Create a Testing Project
- Running Tests in Visual Studio
- .NET Core - Testing Library
- Managed Extensibility Framework
- .NET Core - SDK
- .NET Core - MSBuild & project.json
- Restoring and Building & MSBuild
- .NET Core - Migrations
.NET Core - Environment Setup
In this chapter, we will discuss the Environment Setup of .NET Core. It is a significant redesign of the .NET Framework. To use .NET Core in your application, there are two versions you can use −
- Visual Studio 2015
- Visual Studio 2017 RC
Visual Studio 2015
To use Visual Studio 2015, you must have installed the following −
- Microsoft Visual Studio 2015 Update 3
- Microsoft .NET Core 1.0.1 - VS 2015 Tooling Preview 2
Microsoft provides a free version of visual studio which also contains the SQL Server and can be downloaded from https://visualstudio.microsoft.com/downloads/ and Microsoft .NET Core 1.0.1 - VS 2015 Tooling Preview 2 can be downloaded from https://visualstudio.microsoft.com/downloads/
You can also follow the installation guidelines on the following Url https://dotnet.microsoft.com/en-us/download#windowsvs2017
Installation of Visual Studio 2015
Follow these steps to install Visual Studio 2015 −
Step 1 − Once the downloading completes, then run the installer. The following dialog box will be displayed.
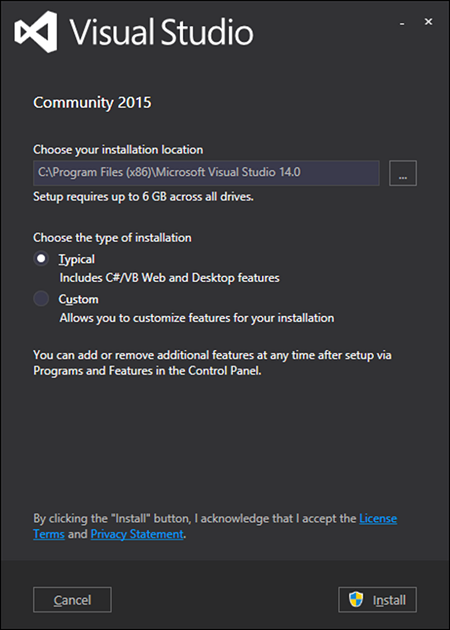
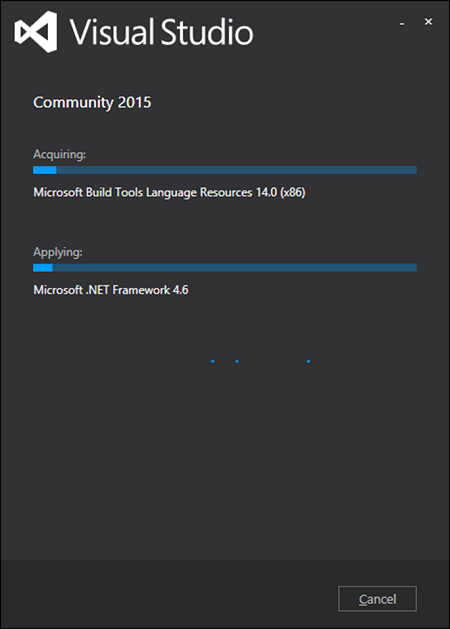
Step 2 − Click Install to start the installation process.
Step 3 − Once the installation completes, you will see the following dialog box.
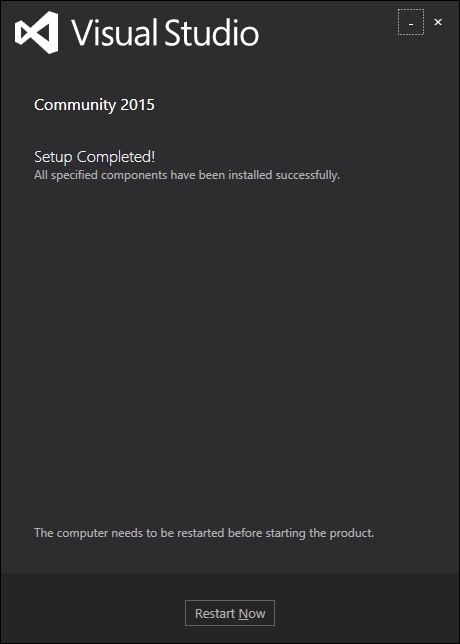
Step 4 − Close this dialog and restart your computer if required.
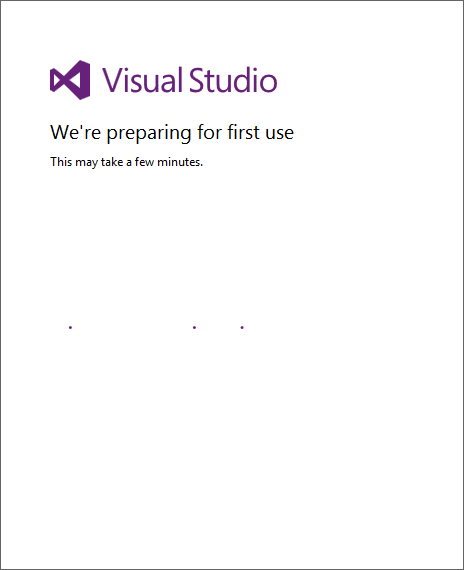
Step 5 − Open Visual Studio from the Start Menu; you will receive the following dialog box. It may take a few minutes to load and finally be used for the first time.
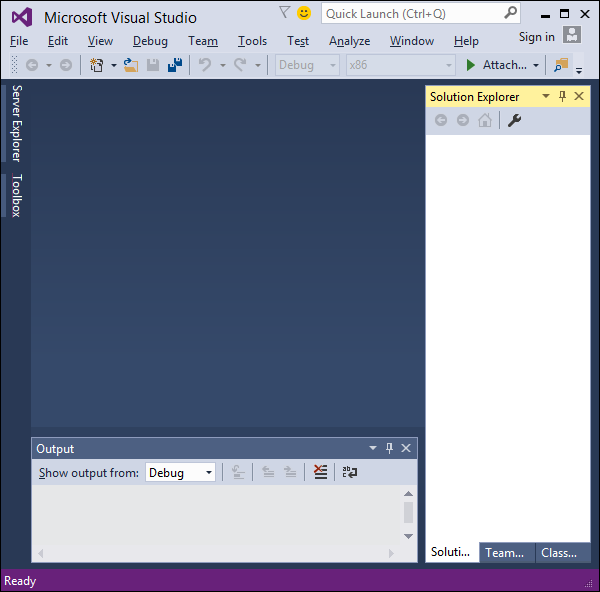
Step 6 − Once it is loaded, you will see the following screen.
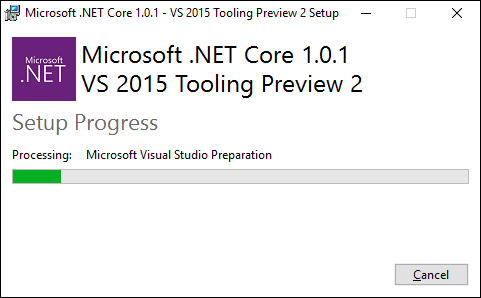
Step 7 − Once Visual Studio installation is finished, then close Visual Studio and launch Microsoft .NET Core - VS 2015 Tooling Preview 2.

Step 8 − Check the checkbox and click Install.
Step 9 − Once the installation completes, you will see the following dialog box.
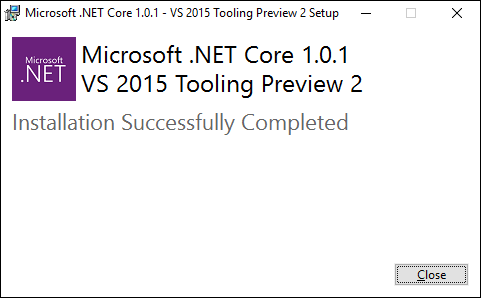
You are now ready to start your application using .NET Core.
Visual Studio 2017
In this tutorial, we will be using Visual Studio 2015, but if you want to use Visual Studio 2017, an experimental release of .NET Core tools for Visual Studio is included in Visual Studio 2017 RC and you can see the installation guidelines here https://dotnet.microsoft.com/en-us/download#windowsvs2017
